
Home painting FAQs: your practical guide for 2026
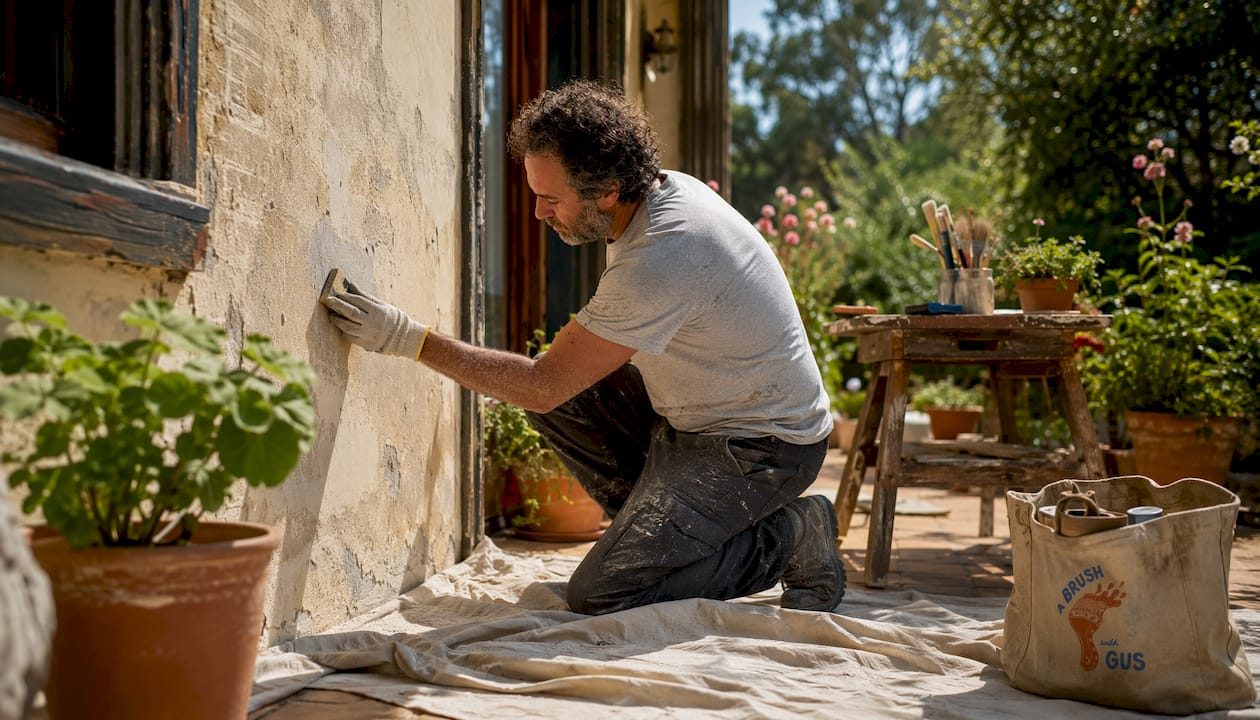
The most common questions about home painting, answered
Most homeowners come to a painting project with the same handful of questions. Here are the answers upfront, so you can plan with confidence before reading further.
What paint type should I use? Emulsion for interior walls, gloss for trim and doors, masonry paint for exterior brickwork, and wood stain for timber surfaces. Each has a specific job.
Do I need a primer? Often yes. Even paints marketed as self-priming benefit from a dedicated primer when covering bare drywall, stained surfaces, or making a dramatic colour change.
How long will it take? A standard room typically takes several days, factoring in prep, multiple coats, and drying time between each.
What will it cost? Interior painting typically costs £2–£6 per square foot in the UK, while exterior painting generally runs £2–4 per square foot, depending on surface condition and project complexity.
How do I find a reliable painter? Ask for references, check for public liability insurance, and get at least two written quotes. Reading through questions to ask painters before you hire helps enormously.
Proper surface preparation accounts for the bulk of any quality paint job. Skipping it is where most DIY projects go wrong.
Which paint types should you use where?
Choosing the wrong paint for a surface is one of the most common and costly mistakes homeowners make. The right paint type affects not just appearance but how long the finish lasts.
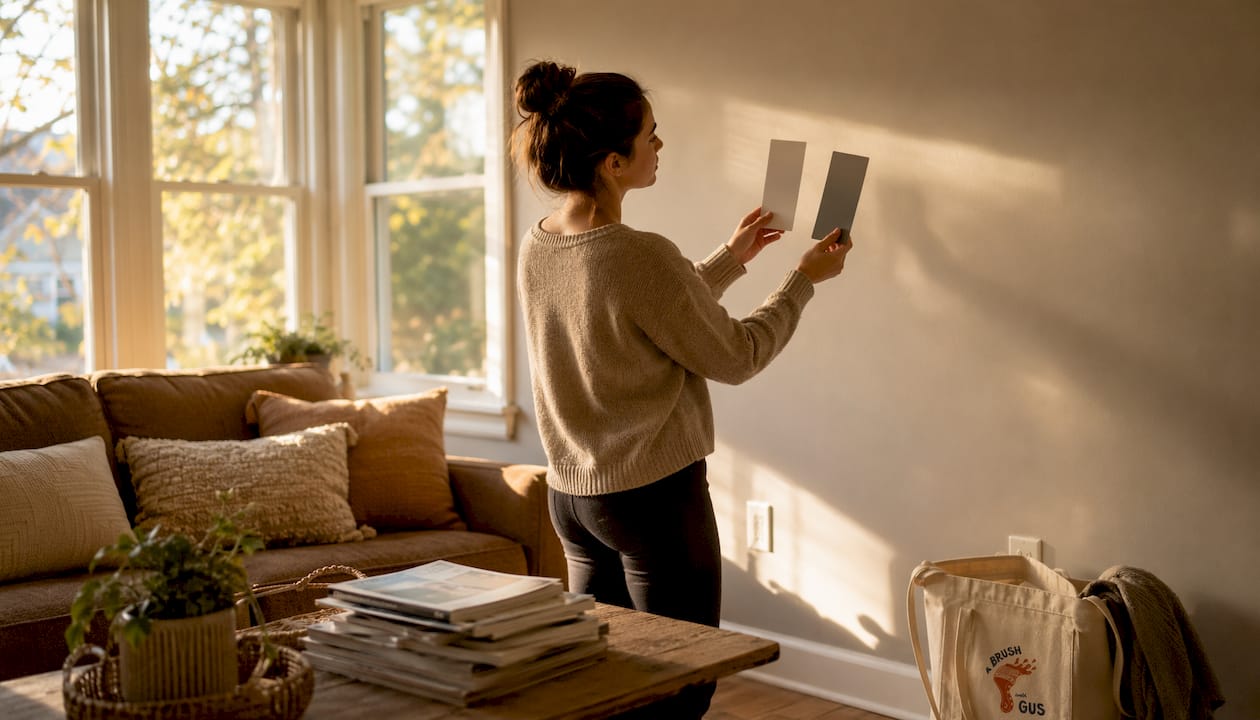
Emulsion paint is the standard choice for interior walls and ceilings. It is water-based, dries quickly, and comes in a range of finishes from flat matt to silk. Matt emulsion suits living rooms and bedrooms; silk or satin emulsion holds up better in kitchens and hallways where walls get wiped down regularly.
Gloss paint is oil-based or water-based and designed for hard-wearing surfaces: skirting boards, door frames, banisters, and window sills. Its tough, shiny finish resists knocks and cleans easily. Paint sheen selection matters here: flat finishes suit low-traffic areas, semi-gloss works well in kitchens and bathrooms, and gloss is the right call for trim and doors.
Masonry paint is formulated specifically for exterior brickwork, render, and stone. It contains additives that resist moisture, frost, and algae growth. Using standard emulsion on an exterior wall will result in rapid failure, typically within a single winter.
Wood stain penetrates timber rather than sitting on top of it, which means it does not peel or flake the way paint does. It is the preferred finish for garden fences, decking, and exterior timber cladding, and it needs reapplying every few years depending on exposure.
Emulsion: interior walls and ceilings
Gloss: skirting boards, doors, window frames, banisters
Masonry paint: exterior brick, render, stone
Wood stain: fences, decking, exterior timber
Specialist primers: bare plaster, new drywall, stained or dark surfaces
Pro Tip: Despite what the tin says, self-priming paints rarely deliver on bare or heavily stained surfaces. A dedicated primer gives you better adhesion and truer colour, and it usually saves you a coat of expensive topcoat paint.
How to prepare your home for painting properly
Preparation is where a paint job is won or lost. As the team at This Old House put it, roughly 85% of any painting project is the preparation. That figure surprises most homeowners, but anyone who has watched a beautiful topcoat peel off a poorly prepped wall will understand it immediately.
Step-by-step preparation
Clear and protect the room. Move furniture out or push it to the centre and cover it with drop cloths. Canvas drop cloths are far better than plastic sheeting: plastic is slippery underfoot and traps wet paint drips, which then get tracked across the floor. Canvas absorbs spills and stays put.
Clean the surfaces. Interior walls need wiping down with a damp cloth to remove dust and grease. Exterior walls require power washing to strip dirt, mildew, and any loose or flaking paint. Skipping this step means the new paint bonds to grime rather than the surface beneath.
Fill holes and cracks. Use ready-mix spackle for small holes in plasterboard walls. For larger cracks in plaster, joint compound with mesh tape gives a more durable repair. On timber trim, wood filler is the right product.
Sand repaired areas. Once filler is dry, sand smooth with 220-grit sandpaper. For walls, a pole sander with 120-grit paper speeds things up considerably. Always vacuum sanding dust before painting.
Apply painter’s tape. Tape off skirting boards, window frames, and any surface you want to keep clean. Press the edge down firmly with a putty knife to prevent paint bleeding underneath.
Prime where needed. Bare plaster, new drywall, and heavily stained surfaces all need a primer coat before topcoat paint goes on. Tinting the primer to roughly match your topcoat colour reduces the number of finish coats required.
Protect landscaping outdoors. Cover plants, shrubs, and paving with drop cloths before starting any exterior work. Masonry paint and exterior primers are difficult to remove from foliage and paving once dry.
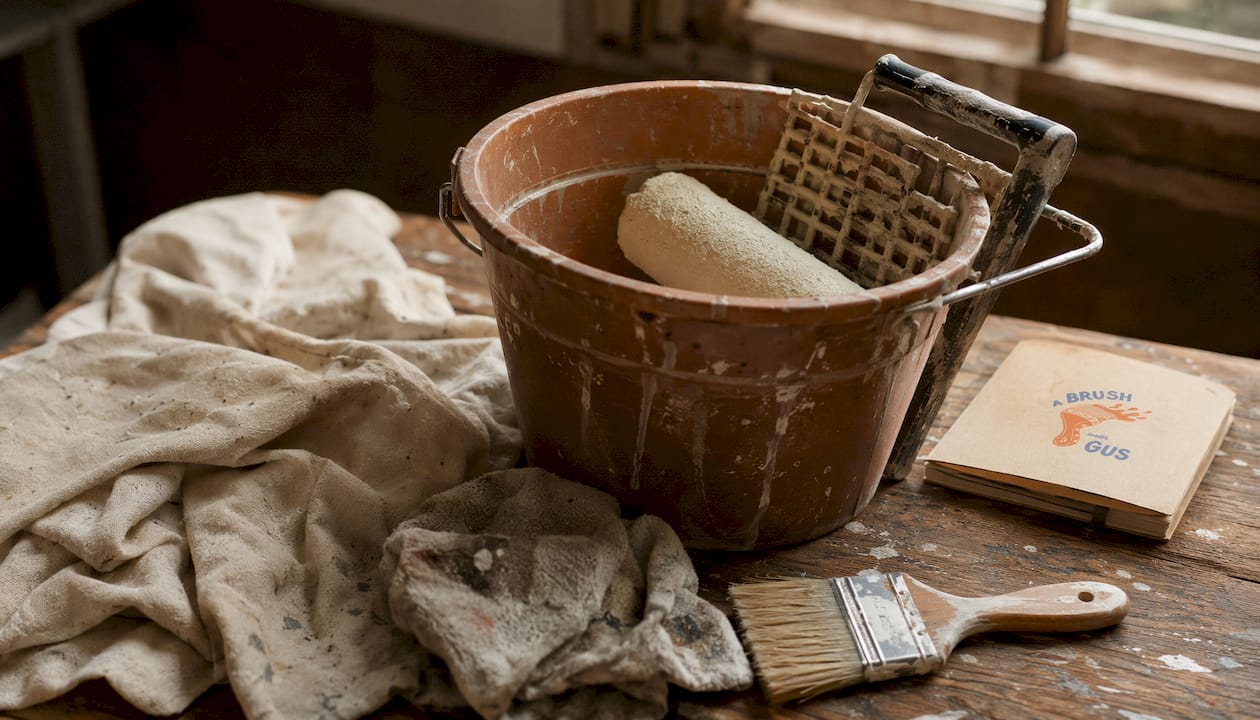
Pro Tip: Instead of a standard paint tray, use a 5-gallon bucket with a roller grid. It holds far more paint, loads your roller more evenly, and cuts down on the constant trips back to refill. Professionals use this method for good reason.
Cost guide: what UK homeowners should expect when painting their home
Painting costs vary considerably depending on the size of the project, the condition of the surfaces, and the quality of materials chosen. These figures give you a realistic starting point for budgeting.
Project type | Typical cost per sq ft (UK) | Key variables |
Interior walls and ceilings | £2–£6 | Room size, number of coats, paint quality |
Exterior walls | £2–4 | Surface condition, access, paint type |
Trim and woodwork | Quoted per linear metre | Condition, number of coats, gloss type |
Full interior repaint | Project-based | Number of rooms, prep work required |
These UK cost estimates reflect labour and materials combined for professionally completed work. DIY projects reduce labour costs but require investment in tools, primer, and quality paint.
Factors that push costs up or down:
Surface condition: walls with significant cracking, damp staining, or old wallpaper require more prep time and materials
Paint quality: budget paints often need an extra coat, which adds labour time and can cancel out the saving on the tin
Access: high ceilings, stairwells, and multi-storey exteriors require scaffolding or specialist equipment
Number of colours: feature walls and complex colour schemes take longer to mask and cut in
Square footage: one gallon of quality paint covers approximately 400 square feet, so accurate measurement before purchasing avoids waste and shortfall
For an accurate quote, always get a professional to assess the surfaces in person. Online calculators are useful for rough estimates, but they cannot account for the actual condition of your walls.
Interior vs exterior painting: what changes and why
Interior and exterior painting share the same basic principles but differ significantly in materials, timing, and technique. Understanding those differences saves you from expensive mistakes.
Paint formulation is different by design. Interior paints prioritise low odour, washability, and colour accuracy under artificial light. Exterior paints are engineered to flex with temperature changes, resist UV fading, and repel moisture. Using interior emulsion outside will result in rapid breakdown, typically within one season.
Weather governs exterior work entirely. Paint should not be applied in rain, high winds, or temperatures below around 10°C. Applying paint to a damp surface traps moisture beneath the film, which leads to blistering and peeling. Early autumn and late spring tend to offer the most reliable conditions in the South West of England.
Interior sheen selection is more nuanced. In a bedroom or dining room, a flat or matt finish hides surface imperfections and creates a calm, even look. In a kitchen or bathroom, a semi-gloss or satin finish is far more practical because it wipes clean without marking. High-gloss finishes on interior doors and trim add a crisp, durable edge that holds up to daily use.
Interior: emulsion for walls, gloss or satin for woodwork, low-VOC options for bedrooms and children’s rooms
Exterior: masonry paint for walls, exterior gloss or microporous paint for timber, specialist UPVC paint for window frames and fascias
Both: two coats minimum, proper primer on bare surfaces, canvas drop cloths for floor protection
Pro Tip: For exterior timber window frames and fascias, microporous paint is worth the extra cost. Unlike standard gloss, it allows the wood to breathe, which dramatically reduces the risk of peeling caused by moisture trapped beneath the surface.
Colour choice also behaves differently indoors and out. Natural daylight shifts throughout the day, so an exterior colour that looks warm and terracotta at noon can appear almost orange by late afternoon. Always test a sample patch and observe it at different times before committing to a full coat.
More painting questions homeowners ask
How long does a typical painting project take? A single room generally takes multiple days when you factor in preparation, multiple coats of paint, and adequate drying time between each. A whole-house interior repaint can run from three days to well over a week, depending on the size of the property and the amount of prep work required.
How long should I wait between coats? Most interior water-based paints need at least an hour between coats, but the first coat must be fully dry to the touch before you recoat. Rushing this step causes the paint to drag and leaves an uneven finish.
How do I maintain painted surfaces after the job is done? Wipe down interior walls with a damp cloth and mild detergent when marks appear. Avoid abrasive cleaners on matt finishes, as they will dull the surface. For exterior walls, an annual inspection for cracks, peeling, or algae growth lets you catch problems early. Small touch-ups extend the life of a full repaint considerably.
What safety precautions should I take when painting indoors? Keep rooms well ventilated throughout the project and for several hours after each coat. Water-based paints have lower VOC (volatile organic compound) levels than oil-based products, making them a better choice for enclosed spaces, particularly bedrooms and children’s rooms. Dispose of oil-based paint as hazardous waste through your local council’s collection service, never down the drain.
How do I choose a professional painter? Ask for proof of public liability insurance, a portfolio of recent work, and at least two references you can contact directly. A written quote that breaks down labour, materials, and preparation costs separately is a sign of a professional operation. Avoid anyone who asks for full payment upfront.
How do I select paint colours for my home? Start with large sample swatches painted directly onto the wall, not just colour chips. Observe them at different times of day as natural light changes the appearance of any colour significantly. For guidance on choosing paint colours that work with your existing furniture and fittings, a colour consultation with an experienced decorator is often the most efficient route.
Can I paint over wallpaper? Technically yes, but it is rarely advisable. Moisture from the paint can cause the wallpaper to bubble and lift, and any seams or texture will show through the finished coat. Stripping the wallpaper and preparing the bare wall properly gives a far better result.
What tools do I need for a basic painting project? A 2.5-inch angled sash brush for cutting in, a medium-nap roller for walls, a roller frame with an extension pole, painter’s tape, canvas drop cloths, a spackle knife, sandpaper (120-grit and 220-grit), and a paint can opener. For larger projects, a 5-gallon bucket with a roller grid replaces the standard paint tray.
Expert tips from Abrushwithgus: professional painting insights for UK homeowners
Gus and Rhys have completed hundreds of residential painting projects across the South West, and the same lessons come up on every job. These are the ones that make the biggest difference.
Always paint top to bottom. Start with the ceiling, move to the walls, and finish with the skirting boards and trim. Painting the ceiling first means any drips or roller spray land on unpainted surfaces. Doing the trim last gives you crisp, clean edges without the risk of smudging freshly painted walls.
Use the right brush for the job. A synthetic bristle brush works well with water-based emulsions and gloss paints. Natural bristle brushes are better suited to oil-based products. For cutting in along ceilings and trim, a 2.5-inch angled sash brush gives you the control you need. Cheap brushes shed bristles into wet paint and leave streaks.
Never dip your brush directly into the tin. Pour paint into a small pot or bucket and load the brush from there. Dipping into the tin risks contaminating the whole batch with dust or debris, and it makes the paint harder to store cleanly for touch-ups later.
Quality paint is worth the investment. Budget paints often require an extra coat to achieve even coverage, which adds time and labour. A higher-quality paint covers better, lasts longer, and tends to be more washable. The saving on a cheap tin rarely survives the cost of the additional coat.
Keep a small pot of leftover paint for touch-ups. Label it with the room, the paint brand, and the colour code. Walls get scuffed and marked over time, and a quick touch-up with the original paint is far easier than trying to match a colour years later.
Paint in the correct order: ceiling, walls, trim
Use canvas drop cloths, not plastic sheeting
Apply two coats minimum on all surfaces
Allow full drying time between coats before recoating
Store leftover paint in a sealed, labelled container in a cool, dry place
Pro Tip: If you need to stop mid-job, wrap your brushes and rollers tightly in cling film and put them in the fridge. They will stay workable for up to 24 hours without drying out, saving you a full clean between sessions.
For specialist work such as UPVC window frames, fascias, and soffits, airless spraying delivers a far smoother finish than brush or roller application. Abrushwithgus offers UPVC spraying as a dedicated service, transforming tired frames without the cost of full replacement.
Ready to get your home painted properly?

Whether you are planning a full interior repaint or need an exterior refresh before winter, Abrushwithgus brings the experience and attention to detail that turns a painting project into a lasting result. As a family-run business serving the South West, Gus and Rhys treat every home as if it were their own.
Get in touch for a free, no-obligation quote on exterior painting services or browse the full range of domestic painting services to find the right fit for your project.
Key takeaways
Good preparation and the right paint type are the two factors that determine whether a home painting project lasts two years or ten.
Point | Details |
Match paint to surface | Use emulsion for interior walls, masonry paint for exterior brick, gloss for trim, and wood stain for timber. |
Prepare before you paint | Cleaning, filling, sanding, and priming account for the majority of a quality result. |
Budget realistically | Interior painting typically costs £2–£6 per sq ft; exterior work runs £2–4 per sq ft in the UK. |
Follow the correct order | Paint ceiling first, then walls, then trim to avoid drips and rework. |
Use quality materials | One gallon of quality paint covers approximately 400 square feet; better paint means fewer coats and longer life. |
Recommended
Comments