
Paint spraying technique: Achieve flawless home finishes
- WM Creative Designs Limited
- Apr 10
- 8 min read

TL;DR:
Paint spraying offers ultra-smooth finishes and faster coverage than traditional techniques.
Proper surface preparation and safety precautions are essential for achieving high-quality results.
Professionals can deliver superior results for complex or large-scale projects, saving time and effort.
Paint spraying is no longer the exclusive territory of industrial factories or professional decorators with years of trade experience. Across the South West and beyond, homeowners are discovering that modern spray equipment and the right technique can transform tired walls, dated kitchens, and weathered exteriors into something genuinely impressive. The results speak for themselves: ultra-smooth finishes, faster coverage, and the ability to reach corners and contours that a brush simply cannot. Whether you are weighing up a DIY project or considering bringing in a specialist, understanding how paint spraying works will help you make smarter decisions and get the finish your home deserves.
Table of Contents
Key Takeaways
Point | Details |
Effortless smooth finish | Spraying provides a fast, flawless coat across walls, kitchens and exteriors. |
Preparation is essential | Proper surface, zone preparation and choosing the right gear stop common mistakes. |
Prioritise safety | Ventilation and proper respiratory protection are vital when spraying, particularly indoors. |
Professional support pays off | Complex jobs benefit from expert touch, ensuring quality and peace of mind. |
What is the paint spraying technique?
At its core, paint spraying works by forcing liquid paint through a nozzle at high pressure, breaking it into a fine mist of tiny droplets. This process, known as atomisation, distributes paint evenly across a surface in a way that brushes and rollers physically cannot replicate. The result is a finish that looks almost factory-applied: no brush marks, no roller texture, just a clean and consistent coat.
There are three main types of sprayer you will encounter as a homeowner:
Airless sprayers: Use hydraulic pressure to push paint through the tip. Fast, powerful, and ideal for large exterior surfaces like rendered walls or timber cladding.
HVLP (High Volume Low Pressure) sprayers: Use a high volume of air at low pressure to atomise paint gently. Excellent for fine interior work, furniture, and kitchen cabinets where precision matters.
Compressed air sprayers: The traditional spray gun setup. Versatile but requires a separate compressor and produces more overspray than HVLP models.
As paint spraying distributes paint as a mist for a super-smooth finish, the technique suits a wide range of surfaces. Walls, ceilings, doors, kitchen units, garden furniture, fences, and entire exterior facades can all be sprayed effectively.
| Surface type | Recommended sprayer | Typical finish || |—|—|—| | Interior walls and ceilings | HVLP or airless | Smooth, matt or eggshell | | Kitchen cabinets and doors | HVLP | Fine, hard-wearing | | Exterior render and masonry | Airless | Thick, weather-resistant | | Timber fences and cladding | Airless or compressed air | Even, penetrating | | Garden furniture | HVLP | Detailed, smooth |
For homeowners curious about going further, our guide on professional painting techniques covers the broader landscape of methods used by decorators today. If you want to understand how to paint walls professionally using both traditional and spray methods, that resource is worth a read too.
“A sprayer does not just save time. On complex surfaces with mouldings, recesses, or uneven textures, it is often the only way to achieve a truly even coat without multiple laborious brush passes.”
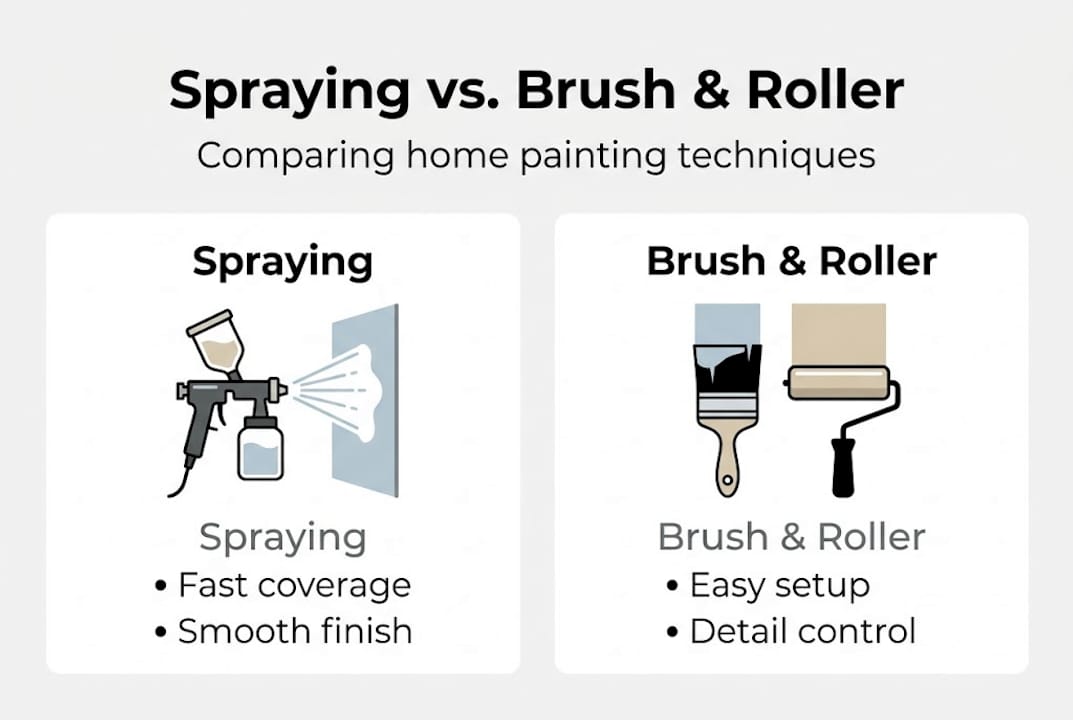
Spraying vs. traditional painting: Pros and cons
With the basics of spraying clear, homeowners often wonder how it truly compares to traditional brush and roller techniques. The honest answer is that each method has its place, and the best decorators know when to switch between them.
Where spraying wins:
Speed on large, open surfaces: a sprayer can cover a full exterior wall in a fraction of the time a roller would take
Smoothness: no stipple texture, no brush lines, just a clean and even coat
Reaching awkward spots: spindles, mouldings, grilles, and louvred shutters are far easier to coat evenly with a sprayer
Consistency: the same pressure and distance delivers the same result across the entire surface
Where brushes and rollers still lead:
Control on small or detailed trim work
Lower setup time for quick touch-ups
No masking or overspray management required
More forgiving for beginners on uneven or textured walls
Factor | Spraying | Brush and roller |
Speed on large areas | Very fast | Moderate |
Finish quality | Ultra-smooth | Good, some texture |
Prep and masking time | High | Low |
Overspray risk | Yes | None |
Equipment cost | Higher | Lower |
Skill required | Moderate to high | Low to moderate |
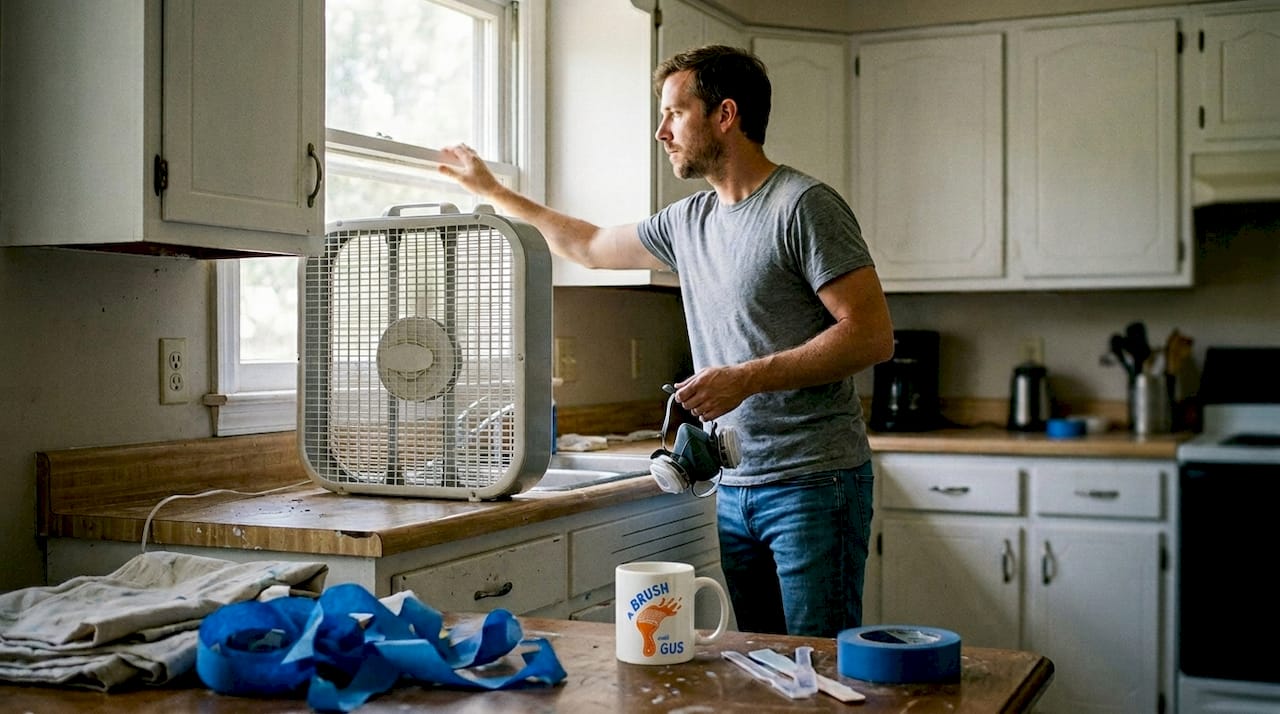
One area that catches many DIYers off guard is safety. Ventilation and appropriate protective equipment are crucial for safe spraying, particularly indoors. Fine paint particles can linger in the air and be inhaled if you are not wearing the correct respiratory protection. A basic dust mask is not sufficient. You need a proper respirator rated for paint fumes.
Pro Tip: If you are spraying indoors, open every window and door possible, use a fan to direct airborne particles away from your breathing zone, and always wear a correctly rated respirator. Never spray solvent-based paints in a room without serious airflow.
For a broader look at what works best in South West homes specifically, our article on best home painting practices is a useful companion. You can also explore our painting techniques guide for a deeper comparison of methods.
Getting the best results: Preparation and technique
Once you choose spraying, attention shifts towards prepping surfaces correctly and ensuring your spray technique yields the desired results. This is where most DIY spray jobs go wrong. The equipment gets all the attention, but preparation is what separates a flawless finish from a patchy, drip-ridden mess.
Clean the surface thoroughly. Grease, dust, and mildew will show through sprayed paint even more than brushed paint. Wash walls with sugar soap, degrease kitchen cabinets, and scrub exterior surfaces before you do anything else.
Repair any damage. Fill cracks, holes, and dents. Sand them flush once dry. Spraying over imperfections does not hide them; it often highlights them.
Sand for adhesion. Lightly sand glossy or previously painted surfaces so the new coat has something to grip. Wipe away all dust afterwards.
Mask everything you are not spraying. This is not optional. Use good quality masking tape and plastic sheeting to protect floors, skirting boards, window frames, light fittings, and anything else nearby. Overspray travels further than you expect.
Thin your paint if required. Many paints need thinning before they will atomise correctly through a sprayer. Check the manufacturer’s guidance and test on a piece of card before committing to the surface.
Practise your technique first. Hold the sprayer 25 to 30 centimetres from the surface, move at a steady and consistent pace, and overlap each pass by around 50 percent. Keep the gun perpendicular to the surface at all times.
Pro Tip: Always start and stop your spray stroke off the edge of the surface. Beginning or ending a pass on the surface itself causes paint to build up and drip at the edges.
Regarding safety, avoid using solvents in enclosed spaces and always use suitable respiratory protective equipment with A1P3 filters or air-fed options for solvent-based products. For kitchens in particular, our guide on kitchen spraying preparation walks through the specific steps for cabinetry and units, and our kitchen painting tips article covers finish choices in more detail.
Choosing paints and equipment for home spraying
With preparation and good technique in place, the next step is choosing paints and gear that bring the best out of the spraying process. Not every paint is designed to be sprayed, and using the wrong product in the wrong machine is a fast route to frustration.
Paint types that work well with sprayers:
Acrylic and water-based emulsions: Low odour, fast drying, and easy to clean up. Ideal for interior walls and ceilings.
Latex paints: Flexible and durable, good for surfaces that expand and contract with temperature changes.
Specialist enamels: Hard-wearing and smooth. Excellent for kitchen cabinets, doors, and trim where you want a tough, wipeable finish.
Masonry and exterior paints: Thick formulations designed for render, brick, and stone. Usually require an airless sprayer due to their viscosity.
For interiors, moisture resistance matters in bathrooms and kitchens. For exteriors, UV stability and weather resistance are the priorities. As different surface types and environments require suitable paints, always read the product guidelines and speak to a local expert if you are unsure.
Equipment type | Best for | Typical cost range |
HVLP sprayer | Cabinets, furniture, fine interior work | £80 to £300 |
Airless sprayer | Exterior walls, large interior areas | £150 to £600+ |
Compressed air gun | Versatile, trade use | £50 to £200 (plus compressor) |
For smaller interior jobs, an entry-level HVLP unit is a sensible starting point. For exterior projects or full room resprays, an airless sprayer will save you significant time. Our guide to interior paint types explains the differences between finishes in plain terms, and the painting advice blog covers a wide range of related topics for South West homeowners.
The reality of paint spraying for UK homeowners
Having covered the practicalities and logistics, it is worth being frank about how paint spraying actually plays out in real British homes. We have seen plenty of enthusiastic homeowners invest in a sprayer, watch a few videos, and then spend an entire weekend battling overspray, clogged nozzles, and uneven coats. The equipment works brilliantly, but the learning curve is steeper than most people expect.
The setup time alone surprises people. Masking a single room properly can take two to three hours before a drop of paint is sprayed. Cleaning the equipment afterwards, if done incorrectly, ruins the sprayer. And if you choose the wrong paint viscosity or hold the gun at the wrong angle, you will see runs and dry patches that are genuinely difficult to correct without starting over.
That is not to say DIY spraying is impossible. With patience and practice, it is absolutely achievable. But for larger jobs, complex surfaces, or situations where the finish really matters, such as a full exterior respray or kitchen cabinet transformation, bringing in experienced professionals makes a significant difference. The finish is better, the job is faster, and there is no equipment to clean or store afterwards. Our professional paint spraying service is built around exactly these situations, where quality and efficiency are non-negotiable.
Transform your home with professional spraying
If this guide has shown you anything, it is that paint spraying delivers results that traditional methods simply cannot match on the right surfaces. But it also demands the right knowledge, preparation, and equipment to get there.

At A Brush With Gus, Gus and Rhys provide a full domestic spraying service covering interiors and exteriors across the South West. Whether you want a flawless kitchen cabinet finish or a complete exterior home spraying transformation, the team brings the expertise and equipment to do it properly. Explore the full domestic painting service or get in touch today for a no-obligation quote and friendly advice tailored to your home.
Frequently asked questions
Can I use any paint in a sprayer for my home?
Not all paints are suitable for spraying. Always choose products specified for spray application and follow thinning instructions, as different paints have specific requirements for safe and effective use.
Is it safe to spray paint indoors?
It is safe when you properly ventilate the space and use correct respiratory protection, as good ventilation and correct RPE are essential for indoor spraying. Never use solvent-based products in a confined or unventilated room.
What’s the biggest advantage of spraying over using brushes or rollers?
Spraying provides an ultra-smooth finish much faster on large, flat, or detailed surfaces, making it the superior choice wherever a flawless coat matters most.
Should I hire a professional for paint spraying at home?
Hiring a professional ensures the best finish, safety compliance, and far less hassle, especially for large, complex, or high-value jobs where the result really counts.
Recommended
Comments