
Rain after exterior painting: what it does and how to fix it
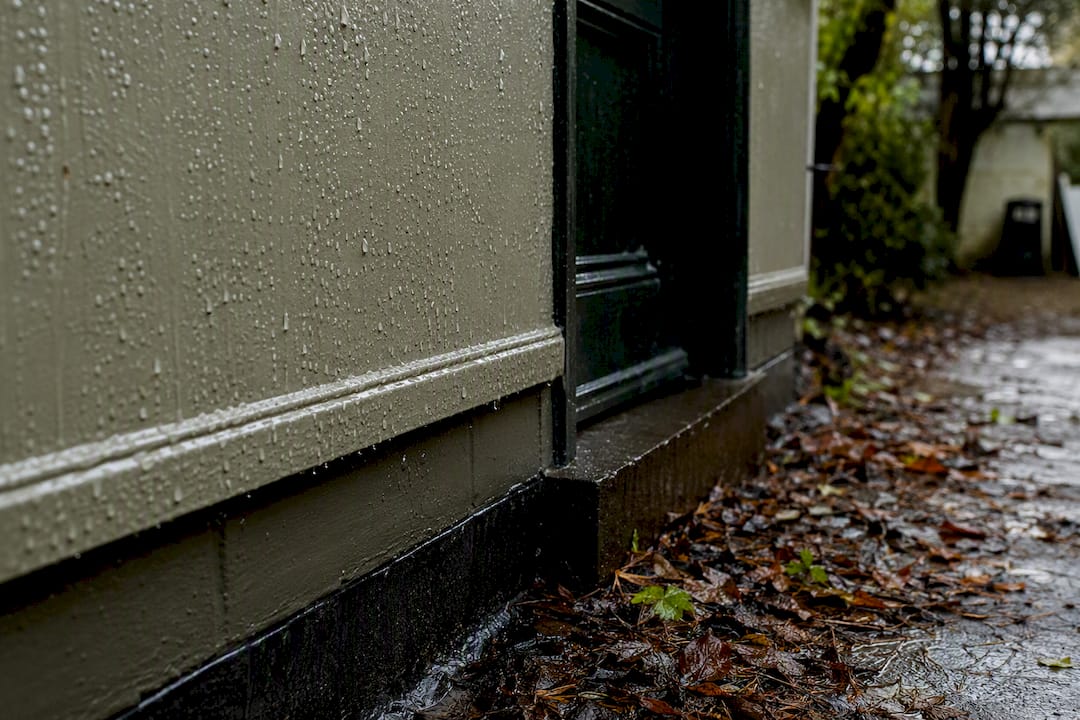
A short shower on fresh exterior paint rarely means a full repaint. Most modern acrylic paints survive light rain once they’ve had a few hours to form a skin, though full protection against washout takes closer to 24 hours in cool or damp conditions. If rain is falling now, resist the urge to wipe it off. If it’s already happened, wait until the surface is bone dry before you inspect the damage.
TL;DR:
Light rain during the first few hours after painting usually does not cause significant damage, but full protection typically requires 24 hours in damp conditions.
Rain damage can manifest as surfactant leaching, patchy washout, or blistering, which often need repair rather than repainting.
Cooler, humid weather and late-night dew extend drying and curing times beyond manufacturer guidelines, especially on darker or thicker coats.
Professional painters monitor dew point and hourly rain probability closely to prevent painting in risky conditions and document weather events for accountability.
Relying solely on the minimum recommended drying time is risky; checking actual environmental conditions like dew point and weather forecasts improves paint durability.
Table of Contents
How rain, humidity and temperature affect exterior paint drying
Paint doesn’t dry and cure in one step, and mixing the two up is where most rain panic starts. Drying is the surface becoming touch-dry as water evaporates out of the film. Curing is the slower process where paint particles coalesce into a continuous, weather-tight coating. A wall can feel dry to the touch within an hour and still be weeks from full cure.
Humidity and temperature both slow that coalescence stage down, sometimes drastically. This is where dew point matters more than the number on a weather app’s temperature reading. Professionals check dew point specifically because condensation forms whenever a surface cools to that threshold, and that condensation re-wets paint that hasn’t finished forming its film, even on a day that never sees a drop of rain.
Warm, dry air speeds evaporation and shortens the vulnerable window.
Cool, humid air slows evaporation and can stretch that window past 24 hours.
Overnight dew behaves exactly like light rain on a still-curing coat.
Formulation changes the equation too. Testing on exterior architectural coatings found early rain resistance times of under a minute in some standard commercial latex formulas, while additives like zinc oxide and rheology modifiers pushed that resistance noticeably higher. Not all “exterior paint” behaves the same the moment rain starts falling.
How long does exterior paint need to dry before rain?
Manufacturer labels give you a floor, not a promise. Most acrylic and latex exteriors list a few hours as the minimum recoat or rain-safe window, but that figure assumes close to ideal conditions: warm air, moderate humidity, decent airflow. Treat it as the earliest possible point paint might survive rain, not the point you should plan around.
Realistic safe windows look more like this:
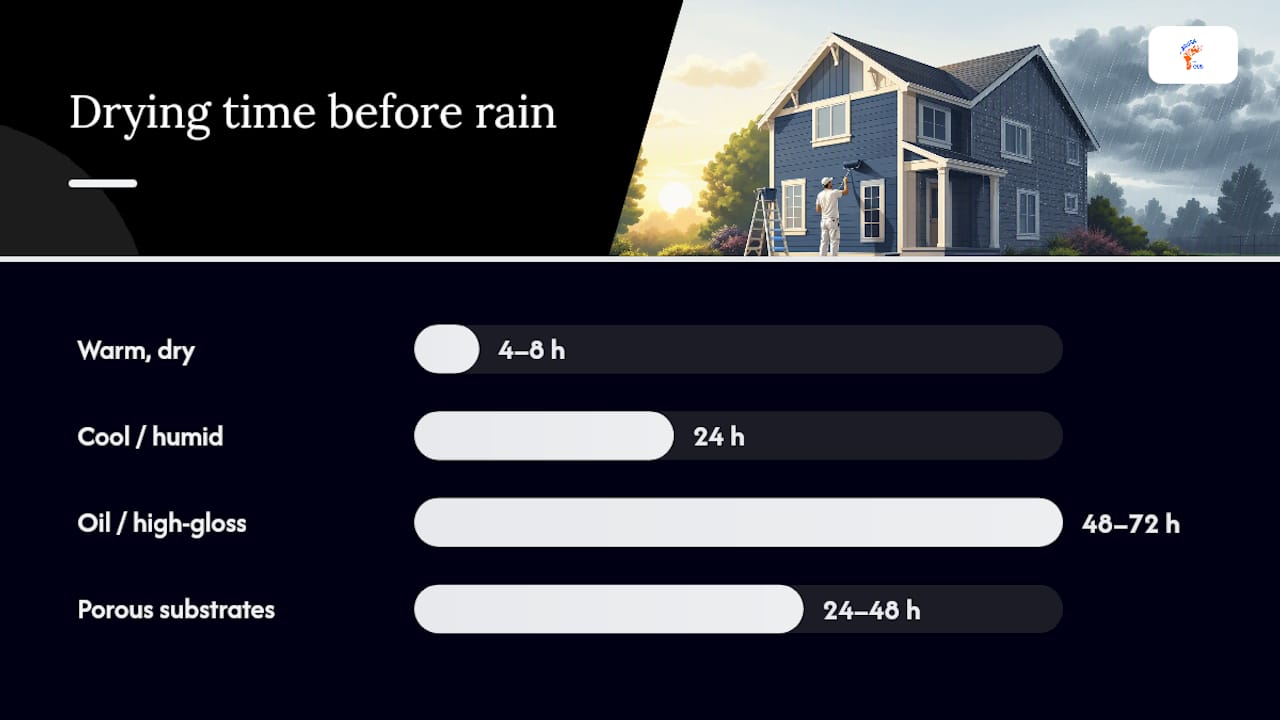
Warm, dry weather: 4 to 8 hours before rain is unlikely to cause visible damage.
Cool or humid weather: plan on a full 24 hours, in line with guidance from paint manufacturers such as Sherwin-Williams.
Oil-based or high-gloss finishes: 48 to 72 hours, since these cure far slower than water-based acrylics.
Masonry, render or bare wood: these substrates soak up and hold moisture longer, so many trade guides recommend waiting 24 to 48 hours after heavy rain before painting them at all.
Thicker coats and darker colours both extend drying time, since more pigment and film means more moisture to shed. A quick check before you trust it to rain: press a knuckle gently against an inconspicuous patch. If it feels tacky or leaves a mark, it isn’t ready.
What does rain damage on fresh paint actually look like?
Not every rain mark means a repaint. The damage falls into three rough categories, and telling them apart saves you unnecessary work.
Surfactant leaching. Sticky brown or amber streaks appear, usually within a day or two of rain hitting a very fresh coat. This is water-soluble surfactant migrating out of the paint, and it often weathers away on its own or wipes off gently once the film has had more time to cure.
Washout or thin patches. Rain that hits paint too early can physically remove pigment and binder before it bonds, leaving uneven, patchy or bare-looking sections. This doesn’t fix itself. It needs light sanding, spot priming and a fresh coat.
Blistering or sagging. Bubbles under the film, or paint that’s visibly run and pooled, point to trapped moisture or a coat applied too thick. This usually means scraping back to a sound edge and repairing the substrate before recoating.
Don’t judge any of this the day it happens. Wait three to five days, then inspect in different light, ideally low, raking sunlight that shows texture problems flat daylight hides.
What to do if rain hits your paint before it’s dry
If it’s raining now and the paint is still wet, leave it alone. Wiping wet paint smears the film and does more harm than the rain itself. Instead:
Rig a breathable tarpaulin or cover on a frame so it shelters the surface without touching it.
Note the time rain started relative to when you finished painting, since this tells you what to expect once it dries.
Once the area is fully dry, photograph it, wash it gently with clean water, and do a light fingernail scrape in an unobtrusive spot to test adhesion.
For genuine damage, the fix follows a set order: wash the area, remove any loose or lifted paint, spot-prime bare substrate, then recoat in thin passes rather than one heavy layer. Anything beyond light surfactant streaking on a large area, or repeated blistering across a wall, is worth a professional look rather than a DIY patch job.
Pro Tip: Keep the paint tin lid and any leftover paint until the job’s fully cured. If you do need a spot repair a week later, matching sheen and colour from the same batch is far easier than guessing at a new one.
How to plan a painting day around the weather
Getting the timing right stops most rain problems before they start.
Check hourly rain probability, not just the daily forecast summary, for the whole drying window you need.
Treat anything over roughly a 40% chance of rain within your critical hours as a reason to reschedule rather than push on.
Start once morning dew has fully burned off the surface, not just once it looks dry.
Finish with several hours of warm daylight left. Painting into the evening means the coat starts cooling toward the dew point before it’s cured.
If you’re working in short, uncertain weather windows, paint in small sections you can fully finish and shelter, rather than leaving a whole wall half-done.
Guides consistently flag cool, humid conditions as the biggest hidden risk for extending vulnerability well past what the forecast temperature suggests. For seasonal timing specifics, it’s worth reading how the best times of year to paint exteriors shift across a typical UK year, and if you’re working with decking or other exterior timber alongside painted walls, similar weatherproofing principles apply to garden structures too.
How professional painters actually manage rain risk
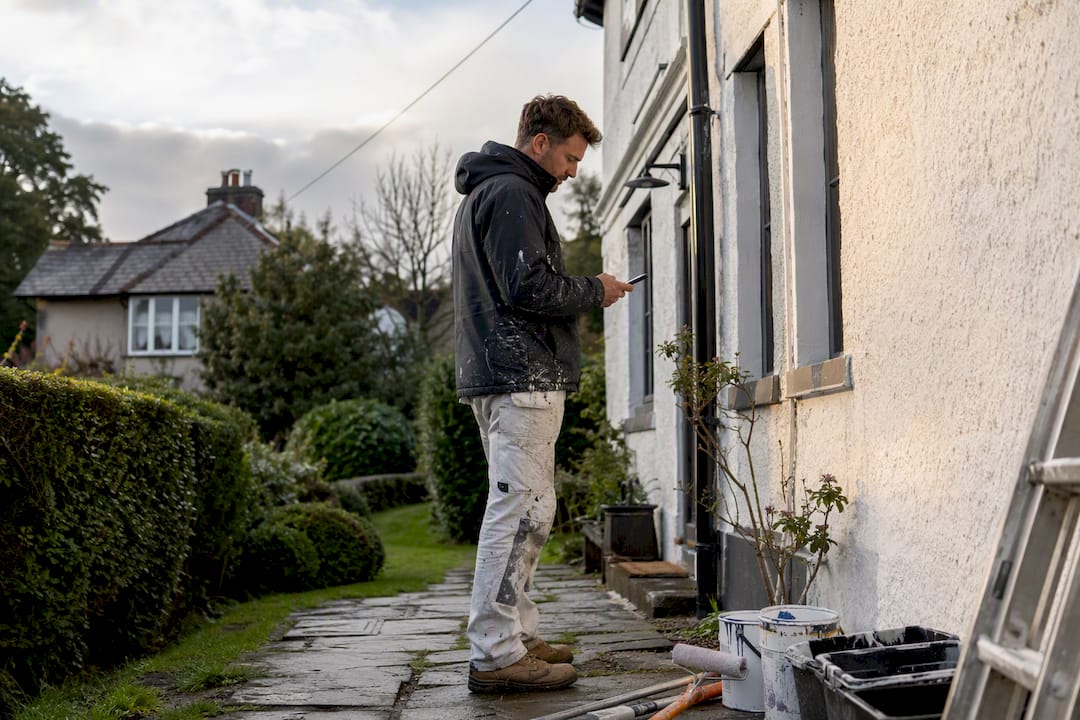
Angus at Abrushwithgus doesn’t rely on a single weather app glance before starting a job. Professional protocol means checking hourly precipitation probability and dew point rather than the general daily forecast, and having a firm threshold for cancelling or delaying recoats when rain risk climbs past a set percentage. Reputable contractors also document any weather event that hits a job mid-way, with photos and timings, so if repair work is needed, it’s clear whether it’s down to the weather or the workmanship. If your property has tricky access, UPVC surfaces, or a pattern of damp problems, that’s exactly when getting a professional to manage the weather call is worth more than saving a day’s labour.
Why the standard advice on rain and paint undersells the risk
Most guidance on this topic stops at “wait a few hours and you’ll be fine,” and that’s honestly where it falls short. The label-minimum figure gets treated as a target instead of a floor, and homeowners end up painting on a borderline afternoon because the tin said four hours was enough. It was enough in a lab, in warm air, with decent ventilation. Your garden wall in October with damp air rolling in off the coast is a different situation entirely.
What the research actually supports is this: dew point matters more than the thermometer, formulation matters more than most people assume, and the honest answer to “how long” is always “it depends on conditions you need to check yourself.” I’d rather see homeowners lose a painting day to caution than lose a weekend to sanding back a washed-out wall. If you take one thing from this, prioritise checking hourly rain probability and dew point over trusting a fixed number of hours. That single habit prevents more rain damage than any product choice.
— Angus
Get a weather-proof finish without the guesswork
Getting exterior paint to survive the South West’s changeable weather comes down to timing and technique, and that’s exactly where a professional site visit earns its keep. Abrushwithgus checks moisture levels, substrate condition and the coming weather window before a brush ever touches your walls, so you’re not left hoping a forecast holds.

A typical visit includes a moisture meter reading on your walls, a check of the existing substrate for damp or previous coating failures, and a realistic weather-window plan built around your property, not a generic forecast. Abrushwithgus also handles UPVC spraying for window and door frames that need a weather-resistant finish, and full exterior home cleaning to prep surfaces properly before any paint goes on. If your property has already taken a hit from a badly timed shower, or you’d simply rather not gamble your weekend on a weather app, get in touch through the exterior home painting page to arrange an inspection and quote.
Sources
Recommended
Comments