
The role of prep in painting: a homeowner's guide
TL;DR:
Proper surface preparation is essential for long-lasting, professional paint results and accounts for most project failures.
Skimping on steps like sanding, filling, and priming causes peeling, cracking, and uneven sheen within months.
Surface preparation in painting is the single most critical factor deciding how well paint adheres, how long it lasts, and how professional the finish appears. Professionals call this process “surface prep,” and it covers everything from filling cracks to applying the right primer before a single drop of topcoat touches the wall. Professional painters invest 50%–70% of project time on prep alone. Skip it, and most paint jobs begin to fail within 18 months. Understanding the role of prep in painting is what separates a finish that lasts a decade from one that peels by next winter.
What are the essential preparation steps for painting?
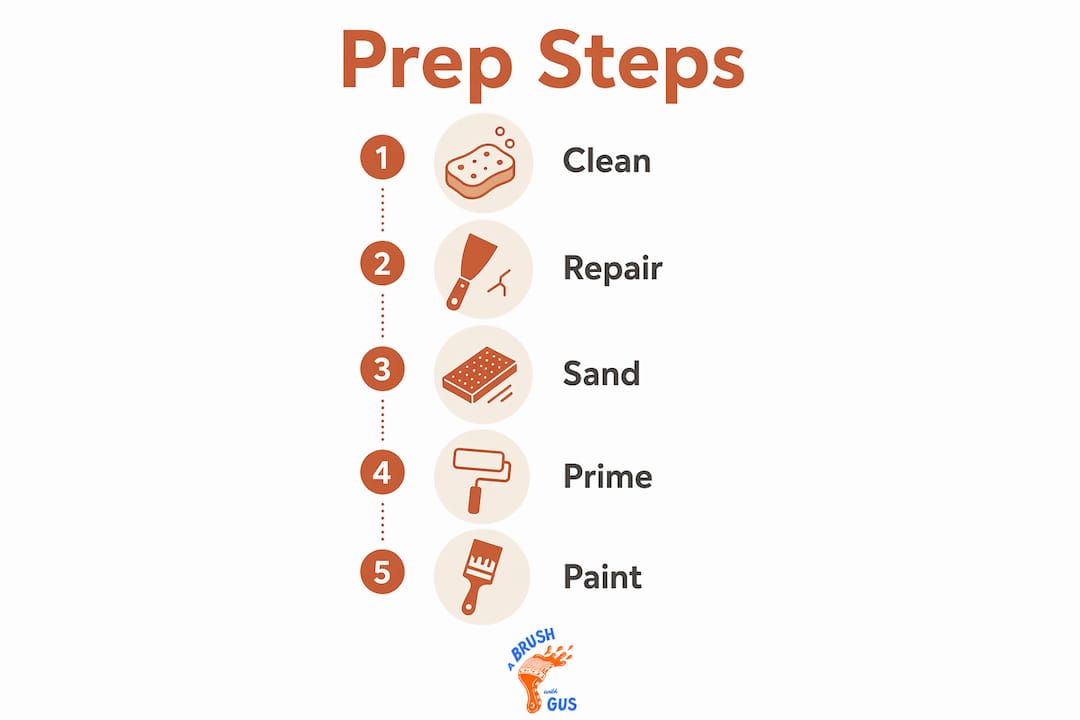
Surface preparation follows a clear seven-step sequence, and the order matters. Each step builds on the last, and a single skipped stage can undermine everything that follows. For an average room, expect 4–12 hours of prep labour before you open a tin of paint.
Inspect the surface. Walk the walls carefully. Look for cracks, holes, flaking paint, damp patches, and mould. Mark every problem area with low-tack tape so nothing gets missed.
Clear and mask. Move furniture to the centre of the room or out entirely. Lay dust sheets on floors. Mask skirting boards, window frames, and light switches with painter’s tape. Masking tape from brands like Frogtape gives cleaner lines than standard low-tack alternatives.
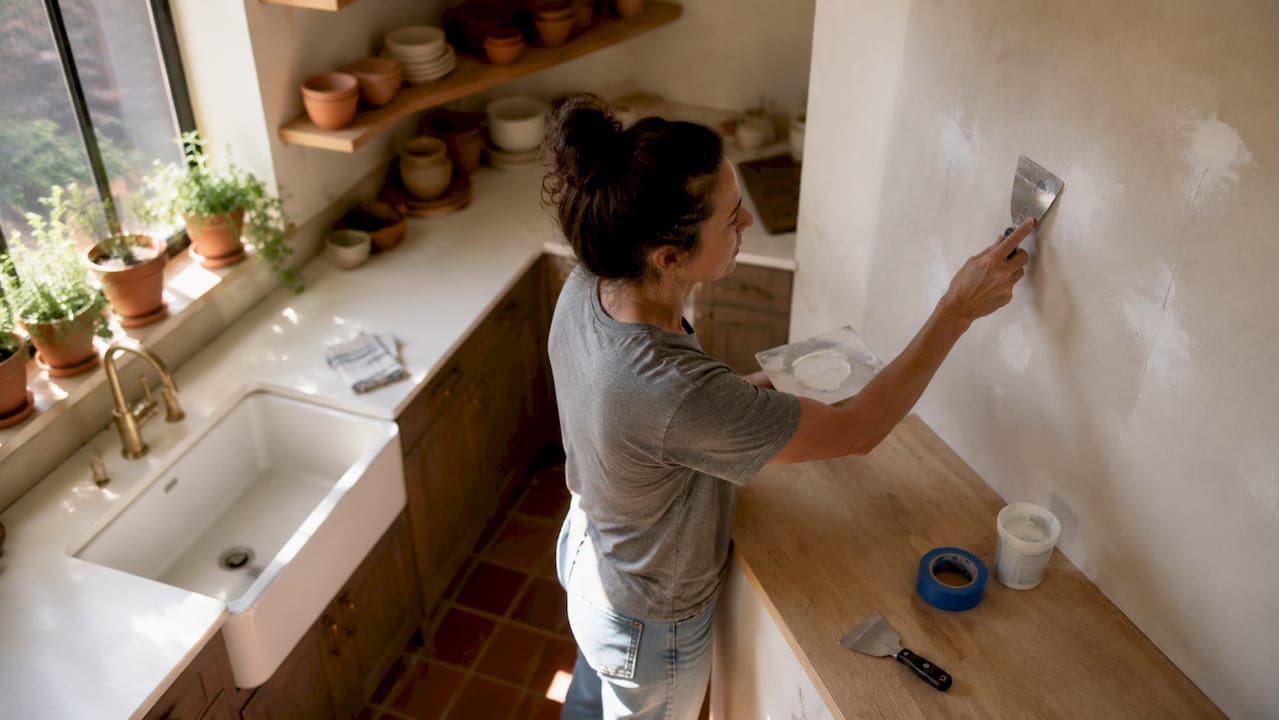
Fill all defects. Use a flexible filler such as Polycell Fine Surface Filler for hairline cracks, and a two-part filler like Ronseal High Performance Wood Filler for deeper holes. Overfill slightly, as most fillers shrink as they dry.
Two-pass sanding. This is where most DIYers cut corners. Two-pass sanding requires 120-grit first to flatten the filler, then 220-grit to smooth the surface before primer. Single-grit sanding leaves visible scratch marks that show through even a thick topcoat.
Vacuum and wipe down. Dust left on walls prevents primer from bonding. Use a HEPA vacuum on all surfaces, then wipe with a damp microfibre cloth. This step is non-negotiable.
Caulk the gaps. Run a bead of flexible decorator’s caulk along any gaps between walls and woodwork. Smooth it with a damp finger. This prevents paint from cracking at joints as the building moves.
Apply primer. Match the primer to the surface. Benjamin Moore Fresh Start works well on new drywall. Zinsser BIN is the go-to for stain blocking on water-damaged or smoke-affected walls. Zinsser STIX handles glossy or difficult surfaces that standard primers struggle to grip.
Pro Tip: After vacuuming, run a clean, barely damp microfibre cloth across the wall. If it picks up grey dust, the surface is not ready for primer. Repeat the wipe until the cloth stays clean.
Why does prep have such a pivotal role in paint adhesion?
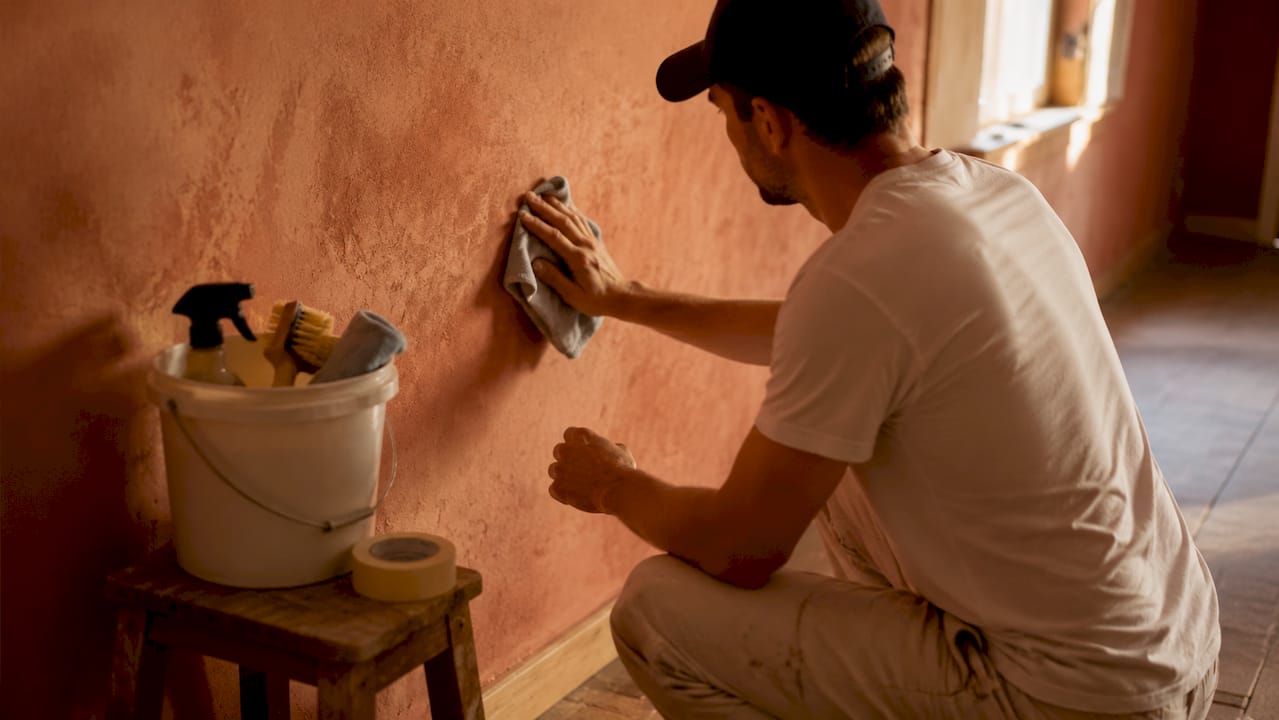
Paint does not fix surface problems. It reveals them. A lump, a crack, or a patch of grease becomes more visible under a fresh coat of paint, not less. Clean, stable, dry surfaces are mandatory for adhesion, and any deviation from that standard leads to peeling, cracking, or uneven sheen.
Expert painter Alston Marker puts it plainly: premium paint cannot compensate for a dirty, glossy, or loose substrate. The paint itself is rarely the cause of failure. Inadequate preparation is.
Here is what poor preparation actually produces:
Peeling and flaking within the first year, caused by paint bonding to dust or grease rather than the wall itself.
Cracking at joints where caulk was skipped and the building’s natural movement breaks the paint film.
Sheen inconsistency, where patched areas absorb paint differently from surrounding surfaces, creating dull patches in an otherwise gloss finish.
Stain bleed-through, where water marks or nicotine stains reappear through the topcoat because no stain-blocking primer was used.
Primer is the component that equalises surface porosity. A raw plaster wall absorbs paint at a different rate than a previously painted section. Without primer, the topcoat dries unevenly and the finish looks patchy. Dedicated primer outperforms all-in-one paint-and-primer products for long-term durability, particularly over repairs or raw surfaces. The convenience of a combined product comes at a real cost to finish quality and longevity.
“The prep is where the job is won or lost. The paint is just the last 20 per cent.” — Alston Marker, professional painter
Full prep vs shortcuts: what is the real difference?
The temptation to skip steps is understandable. Prep is unglamorous, time-consuming, and invisible once the paint goes on. But the consequences of shortcuts are very visible, usually within a single season.
Preparation approach | What gets skipped | Likely outcome |
Full professional prep | Nothing | Durable finish lasting 7–10 years |
Skip sanding | Scratch marks remain | Visible texture through topcoat |
Skip filler | Cracks and holes unfilled | Defects reappear within months |
Skip primer | No porosity equalisation | Patchy sheen, poor adhesion |
Skip caulking | Gaps at joints left open | Cracking at skirting and frames |
Skip cleaning | Dust and grease on surface | Peeling within 12–18 months |
The difference between a professional and a rushed DIY job is not the paint brand. Prep work drives paint longevity more than any other variable. A tin of Farrow and Ball applied over unprimed, unsanded walls will fail faster than own-brand emulsion applied over a properly prepared surface.
When you are comparing quotes from contractors, the prep description tells you everything. Vague prep mentions in estimates indicate lower quality and higher risk of early failure. A quality contractor lists every prep step explicitly: what will be filled, what grit sandpaper will be used, which primer will be applied, and why.
Pro Tip: Ask any painter you are considering to describe their prep process in detail. If the answer is “we’ll give it a light sand and a coat of primer,” that is a warning sign. A thorough answer covering filling, two-pass sanding, dust control, and primer selection is the mark of a quality painting contractor.
How to prepare your walls for painting at home
You can achieve professional-level results as a homeowner if you follow the right sequence and resist the urge to rush. Here is how to approach each stage practically.
Before you touch a wall:
Move all furniture and cover floors with canvas dust sheets, not plastic. Canvas stays put and does not become a slip hazard.
Remove switch plates, socket covers, and curtain hooks. Paint around them looks amateur.
Open windows for ventilation, particularly when using solvent-based primers like Zinsser BIN.
Cleaning and repairing:
Wash walls with sugar soap solution and a sponge. Pay attention to kitchen walls where grease accumulates. Let the surface dry fully, at least 24 hours, before sanding.
Fill cracks with a flexible filler. For cracks wider than 3mm, use a mesh tape and jointing compound for a stronger repair.
For screw holes and small dents, a lightweight filler like Polyfilla Multi-Purpose is quick and easy to sand back.
Sanding and dust control:
Sand filled areas with 120-grit first, then finish with 220-grit across the whole surface. Wrap sandpaper around a sanding block for flat, even pressure.
Use a HEPA vacuum on all sanded surfaces before wiping down with a damp microfibre cloth. This prevents dust from contaminating your primer coat.
Priming:
Apply a dedicated primer rather than relying on a paint-and-primer product. For new plaster, use a mist coat of diluted emulsion first, then a proper primer. For stains or bare wood, reach for Zinsser BIN or a shellac-based primer.
Safety note: Homes built before the mid-1980s may contain lead-based paint. Do not sand these surfaces without testing first. Lead paint test kits are available from most DIY retailers. If the test is positive, professional abatement is required rather than standard DIY prep.
Pro Tip: Buy more sandpaper than you think you need. Clogged sandpaper stops cutting and starts burnishing, which seals the surface rather than opening it. Fresh paper makes a noticeable difference to the final finish.
Key takeaways
Proper surface preparation is the single largest variable in paint longevity, and no amount of premium paint can compensate for a poorly prepared surface.
Point | Details |
Prep time is the majority of the job | Professionals spend 50%–70% of project time on prep, not painting. |
Seven steps, in order | Inspect, clear, fill, sand twice, vacuum, caulk, then prime before any topcoat. |
Two-pass sanding is non-negotiable | Use 120-grit to flatten filler, then 220-grit to smooth before primer application. |
Dedicated primer beats combined products | Separate primer equalises porosity and adhesion in ways paint-and-primer products cannot match. |
Lead paint safety applies to older homes | Test before sanding in any home built before the mid-1980s to avoid hazardous dust exposure. |
Why I think homeowners focus on the wrong thing
Most homeowners spend their energy choosing the right paint colour and brand. I understand why. Paint is the visible part. It is what you show your friends. But after years of working on residential properties across the South West, I can tell you with confidence that the paint brand is almost never the reason a job looks great or fails early.
The jobs I am most proud of are not the ones where we used the most expensive paint. They are the ones where we spent the most time on preparation. A wall that has been properly filled, sanded twice, vacuumed, and primed correctly will hold almost any decent topcoat for years. A wall that has been rushed through prep will show problems regardless of what goes on top.
The pattern I see repeatedly is this: a homeowner has a room painted, it looks fine for six months, then the cracks reappear and the paint starts lifting at the edges. They blame the paint. Almost always, the real cause is that the prep was rushed. The filler was not sanded properly. The primer was skipped. The surface was not clean when the topcoat went on.
My honest advice is to spend more time on prep than feels necessary. If you are doing it yourself, follow the complete surface preparation guide before you open a tin. If you are hiring someone, ask them to walk you through their prep process step by step. The answer will tell you everything you need to know about the quality of the finish you will get.
— Angus
Let Abrushwithgus handle the prep properly

At Abrushwithgus, we know that a great finish starts long before the first coat of paint goes on. Our domestic painting service covers every preparation step: thorough surface cleaning, crack filling, two-pass sanding, dust control, and the right primer for every surface type. Gus and Rhys bring years of hands-on experience to every project across the South West, and our clients consistently highlight the quality of our preparation as the reason their results last. If you want a finish that genuinely stands the test of time, get in touch with Abrushwithgus for a no-obligation quote today.
FAQ
What is the role of prep in painting?
Surface preparation is the process of cleaning, repairing, sanding, and priming a surface before paint is applied. It is the single largest factor in how well paint adheres and how long the finish lasts.
How long does surface preparation take for a typical room?
Proper preparation for an average room takes 4–12 hours depending on the condition of the walls. Professionals typically spend 50%–70% of total project time on prep rather than painting.
Do I really need a separate primer, or will paint-and-primer do?
A dedicated primer outperforms all-in-one paint-and-primer products, particularly over repairs, raw plaster, or stained surfaces. Separate primer equalises surface porosity and creates a stable base that combined products cannot reliably replicate.
What happens if I skip surface preparation?
Skipping prep leads to peeling, cracking, sheen inconsistency, and stain bleed-through, often within 12–18 months. Paint applied to an unprepared surface bonds to dust or grease rather than the wall itself.
Is it safe to sand old paint in a period property?
Homes built before the mid-1980s may contain lead-based paint. Always test with a lead paint test kit before sanding. If the result is positive, professional abatement is required rather than standard DIY preparation.
Recommended
Comments