
How to clean kitchen doors before painting
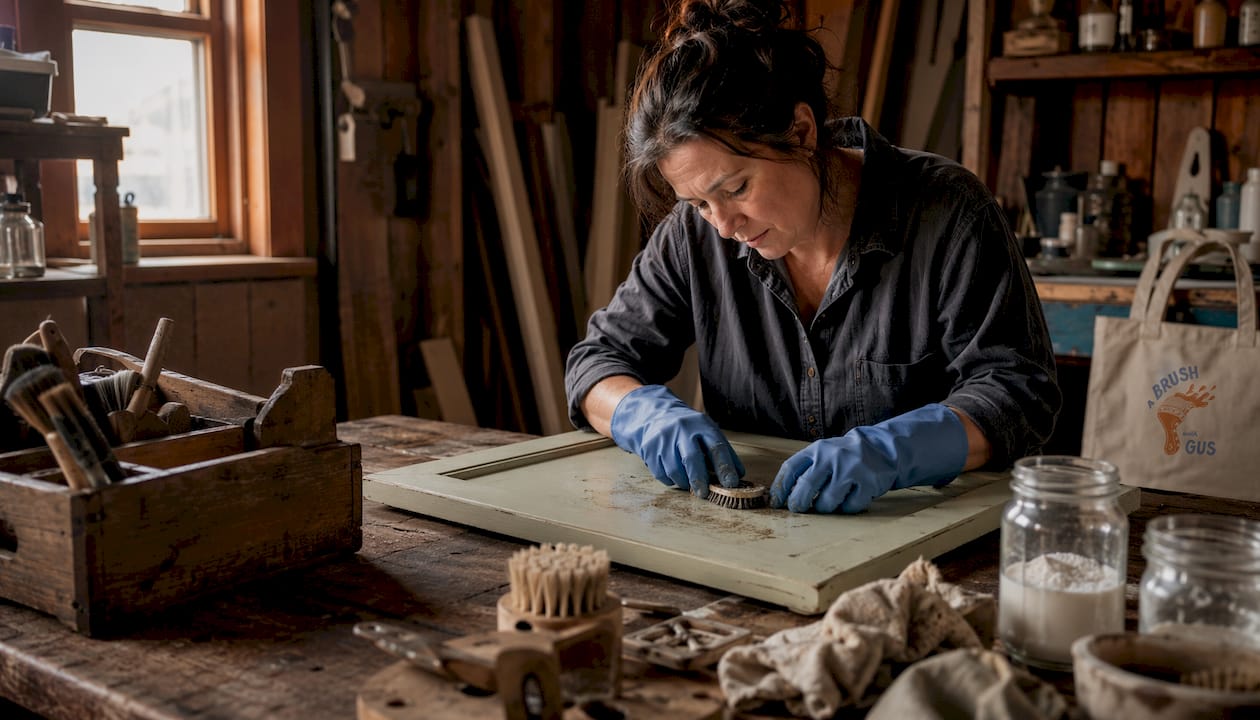
TL;DR:
Proper cleaning of kitchen doors before painting involves thorough degreasing to remove grease, silicone, and residues that prevent primer adhesion. Removing hardware and carefully sanding after cleaning ensure a surface that bonds reliably and lasts years. Rushing these steps causes paint failure and peeling within months.
Cleaning kitchen doors before painting is defined as the systematic removal of grease, silicone, wax, and airborne cooking residue from door surfaces to create a contaminant-free base for primer and paint. Skip this stage and your paint will fail. Degreasing is the leading cause of paint failure when skipped, because residue physically prevents primer from bonding to the surface. The full preparation process covers door removal, degreasing, sanding, and drying. Done correctly, it produces a finish that lasts years rather than months.
How to clean kitchen doors before painting: what you need to know first
Surface preparation in painting is the industry term professionals use for this process. It covers every step between removing the doors and applying the first coat of primer. Preparation typically takes 4–8 hours for a medium kitchen. That figure surprises most homeowners who budget only an afternoon. Rushing any stage, particularly degreasing, is the single most common reason a fresh kitchen paint job peels within six months.
The key principle is this: paint bonds to the surface, not to grease. Any film of cooking oil, furniture wax, or silicone spray sitting on the door acts as a release agent. Even expensive primer cannot overcome a contaminated surface. Cleaning quality determines primer effectiveness regardless of the primer brand you choose.
What tools and materials do you need to clean cabinet doors properly?
Gathering everything before you start saves time and prevents you from cutting corners mid-job.
Cleaning agents:
Industrial-strength degreaser such as trisodium phosphate (TSP) or a dedicated cabinet degreaser
White spirit for spot-treating silicone or wax deposits
Clean water for rinsing
Tools:
Two buckets: one for degreaser solution, one for clean rinse water
Non-scratch scrubbing pads for textured surfaces
Microfibre cloths for wiping and drying
Soft-bristle brush for mouldings and recessed panels
Safety equipment:
Nitrile gloves to protect skin from degreasers
Safety goggles when working overhead or spraying cleaner
A dust mask rated FFP2 for the sanding stage
Material-specific notes:
Door material | Recommended cleaner | Caution |
Solid wood | TSP or cabinet degreaser | Do not saturate; wipe damp only |
MDF | Mild degreaser, minimal water | Moisture swells MDF rapidly |
Laminate | Degreaser, then isopropyl alcohol | Avoid abrasive pads |
Painted finish | Degreaser, gentle scrub | Test in hidden area first |
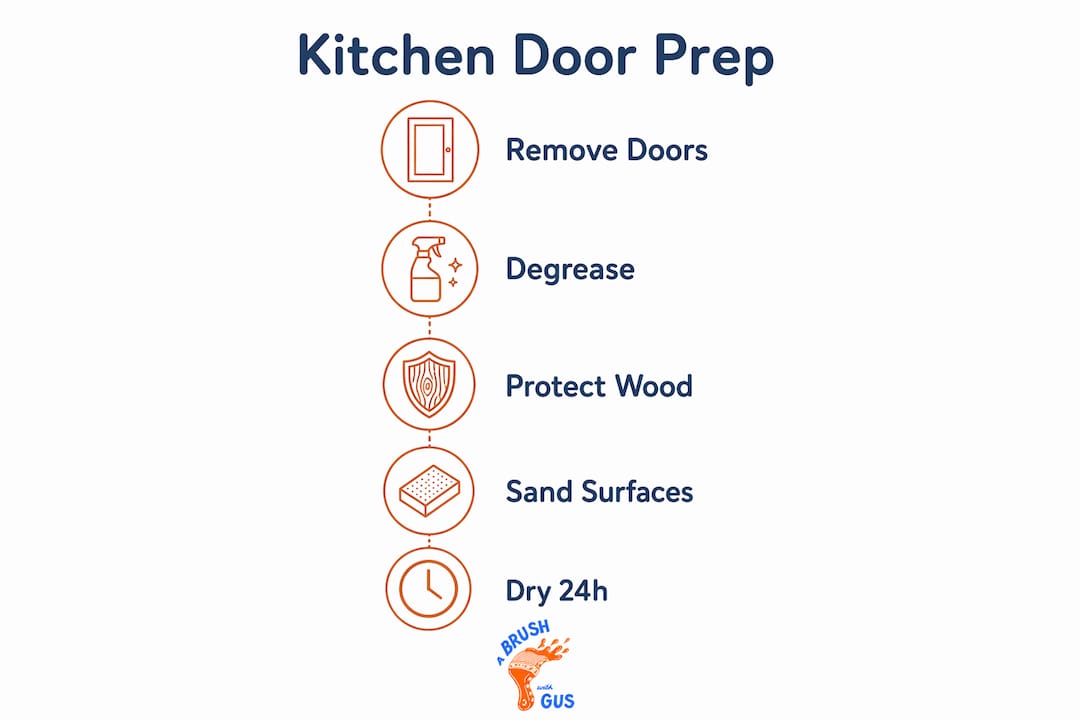
Standard kitchen cleaners are insufficient for removing baked-on cooking oils and silicones. Household washing-up liquid leaves a thin soap film that causes fisheye defects in paint. Always use a product rated for surface preparation, not general cleaning.
How to remove kitchen doors and hardware before cleaning
Removing the doors before cleaning is not optional. Hardware removal prevents paint bridges forming around hinges and handles, which crack and leave uneven edges once fittings are reinstalled. Working flat on a bench also lets you clean every surface properly, including the back face and edges.
Follow these steps in order:
Photograph each door in position. Take a photo showing which door goes where before removing anything. Kitchens often have doors of similar size that fit only one opening.
Number each door and its corresponding cabinet. Use masking tape and a marker. Write the number on the inside face of the door and inside the cabinet frame.
Remove handles and hinges. Place all screws and fittings for each door into a labelled zip-lock bag. Tape the bag to the back of the corresponding door.
Lift doors off their hinges. Have a second person assist with heavy doors. Lay each door flat on a padded workbench or trestle.
Remove drawer fronts. Unscrew from the inside of the drawer box. Label these the same way as the doors.
Store hardware safely. Keep all bags in a single container so nothing goes missing during the preparation phase.
Pro Tip: Photograph the hinge positions on the door frame before removing anything. Some hinges are adjustable and their settings affect how the door sits when rehung. A quick photo saves you 20 minutes of readjustment later.
How to degrease and clean kitchen doors thoroughly
Industrial-strength degreasers remove contaminants that household soaps cannot touch, including baked-on cooking oils, silicone sprays, and furniture waxes. These substances are invisible once dry but they destroy paint adhesion completely. Using the right product at this stage is the single biggest factor in whether your finish lasts.
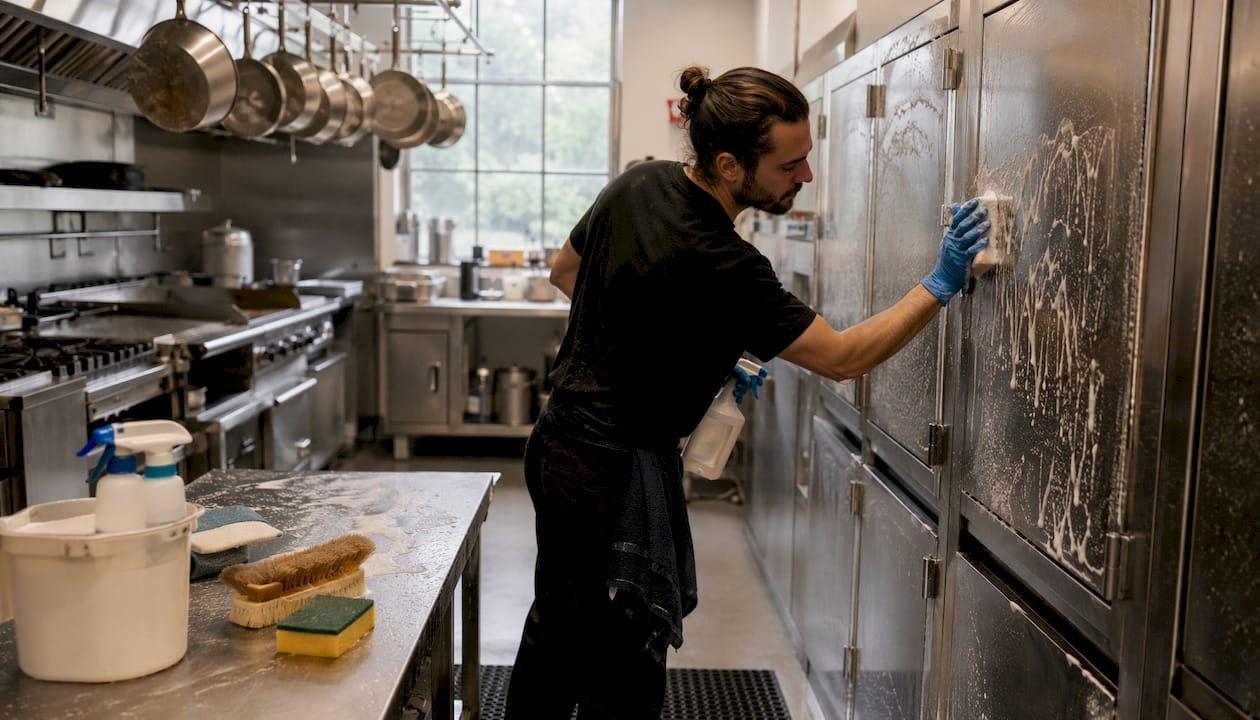
The multi-stage cleaning method
Work through these steps for each door:
First pass: Apply degreaser to a scrubbing pad and work it across the entire surface in circular motions. Pay extra attention to areas around handles and near the hob, where grease concentrates.
Rinse: Wipe the surface with a clean cloth dampened in fresh water. Rinse cleaning agents thoroughly because TSP residue left on the surface creates a barrier that prevents primer bonding.
Second pass: Repeat the degreasing step with a fresh cloth. Multiple cleaning passes are required to remove fine waxy residues that a single pass misses. These invisible films cause fisheye defects in the finished paint.
Final rinse: Wipe down once more with clean water and a fresh microfibre cloth.
Dry immediately: Use a dry microfibre cloth to remove surface moisture, then allow the door to air dry fully.
Protecting wood and MDF during cleaning
Avoid saturating wood or MDF with liquid at any point. Excess moisture raises the grain on wood and causes MDF to swell, both of which create surface defects that show through paint. Wring cloths out thoroughly before wiping. If water beads on the surface, you are using too much.
Pro Tip: Work on one door at a time from start to finish rather than degreasing all doors in sequence. This prevents degreaser from drying on surfaces before you rinse, which leaves a residue that is harder to remove than the original grease.
For a broader look at kitchen painting techniques that complement thorough cleaning, Abrushwithgus covers the full process in detail.
Why is sanding essential after cleaning kitchen doors?
Sanding after cleaning is not about removing material. It creates microscopic scratches in the surface that give primer something to grip. A chemically clean surface is still too smooth for paint to bond reliably, particularly on factory-finished or previously painted doors.
Choosing the right sandpaper:
120 grit: Use on bare wood to smooth rough areas before a finer pass
180–240 grit: The standard range for scuffing previously painted or factory-finished surfaces
320 grit: For MDF or laminate where you want minimal material removal and a fine key
Surface type | Recommended grit | Technique |
Bare solid wood | 120, then 180 | Sand with the grain |
Previously painted wood | 180–240 | Light, even pressure |
MDF | 240–320 | Minimal pressure, no circular motion |
Laminate | 320 | Scuff only; do not sand through the layer |
After sanding, dust removal is critical. Dust left on the surface prevents primer from adhering properly and creates a gritty texture in the finished coat. Use a vacuum with a brush attachment first, then wipe with a tack cloth to pick up every remaining particle. Do not use a damp cloth at this stage as it reintroduces moisture.
Common mistakes at this stage include using too coarse a grit on laminate (which cuts through the surface layer), skipping sanding entirely on glossy factory finishes, and forgetting to sand the edges and back face of the door where primer adhesion matters just as much.
How to prepare kitchen doors for priming after cleaning and sanding
The final check before priming determines whether all your preparation work pays off. Follow these steps before opening any tin of primer:
Inspect under good lighting. Hold a torch at a low angle across the surface. Any remaining glossy patches, grease spots, or dust will show up clearly. Glossy areas mean the degreaser did not fully penetrate; sand and re-clean those spots.
Check for moisture. Press a dry cloth firmly against the surface. If any moisture transfers, the door needs more drying time. A minimum 24-hour drying period before priming is recommended to prevent peeling caused by trapped moisture beneath the primer film.
Spot-clean any remaining marks. Use a clean cloth with a small amount of degreaser on stubborn spots. Rinse and dry again.
Re-sand any areas you re-cleaned. Cleaning after sanding removes the key you created. A light pass with 240 grit restores it.
Wipe with a fresh tack cloth immediately before priming. Do this as the last action before you apply primer. Dust settles quickly, especially in a busy home.
Understanding how primers perform on properly prepared surfaces helps you choose the right product for your door material. Oil-based primers grip well on bare wood; water-based adhesion primers suit MDF and previously painted surfaces. The primer choice matters far less than the quality of the surface beneath it.
Key takeaways
Thorough degreasing with an industrial-strength cleaner, followed by careful sanding and a full 24-hour drying period, is the foundation of a kitchen door paint job that does not peel.
Point | Details |
Degreasing is non-negotiable | Household soaps leave residue; use TSP or a dedicated cabinet degreaser for every pass. |
Multiple cleaning passes are required | One pass misses fine waxy films; always clean, rinse, and clean again before sanding. |
Hardware must be removed first | Leaving fittings in place causes paint bridges that crack when hardware is later removed. |
Sanding creates adhesion | Even a clean surface needs scuffing; match grit to the door material to avoid damage. |
Drying time prevents peeling | Allow at least 24 hours after cleaning and sanding before applying any primer. |
What I have learned from watching DIY kitchen jobs go wrong
The most common mistake I see is homeowners treating degreasing as a quick wipe-down. They use a general kitchen spray, give the door a once-over, and move straight to sanding. Six months later the paint is lifting at the edges and they cannot work out why. The grease was always there. It just hid under the primer.
The second mistake is rushing the drying stage. People clean on a saturday morning and want to prime by the afternoon. Wood and MDF hold moisture longer than they look. A door that feels dry to the touch can still have enough residual moisture to cause primer adhesion problems. I always recommend cleaning the day before you plan to prime, not the same morning.
There is also a tendency to over-wet the surface when cleaning. More liquid does not mean more cleaning power. It means a swollen MDF edge, a raised grain on wood, and another day of drying before you can continue. Wring the cloth out until it is barely damp. That is enough.
The one thing that separates a lasting finish from a failed one is patience at the preparation stage. The painting itself takes a fraction of the time. Protecting surrounding areas properly, working methodically through each door, and not skipping the second degreasing pass are the habits that produce results you are still happy with three years later. For anyone unsure about protecting fixtures during painting, that groundwork matters just as much as the cleaning itself.
— Angus
Professional kitchen door preparation from Abrushwithgus
Preparation is the part of a kitchen paint job that most homeowners underestimate until they are halfway through it.

Abrushwithgus provides professional cleaning services using specialist degreasers that remove the contaminants household products leave behind. The team handles full surface preparation including hardware removal, multi-stage degreasing, sanding, and dust removal before any paint is applied. For homeowners who want a durable, factory-quality result without the preparation headache, Abrushwithgus also offers expert spraying services for kitchen doors across the South West. Get in touch for a no-obligation quote.
FAQ
What is the best way to degrease kitchen cabinet doors?
Use an industrial-strength degreaser such as TSP rather than household soap. Apply two passes with a rinse in between, as a single pass often misses fine waxy residues that cause paint defects.
Do I need to sand kitchen doors after cleaning them?
Yes. Sanding creates a mechanical key that primer needs to bond to. A chemically clean surface is still too smooth for reliable adhesion, particularly on factory-finished or previously painted doors.
How long should kitchen doors dry before priming?
Allow at least 24 hours after cleaning and sanding before applying primer. Wood and MDF retain moisture longer than they appear to, and trapped moisture beneath primer causes peeling.
Can I leave the hinges on when cleaning kitchen doors?
Removing all hardware before cleaning is strongly recommended. Leaving fittings in place traps grit beneath them and causes paint bridges that crack when the hardware is eventually removed.
Does the order of cleaning and sanding matter?
Always degrease before sanding. Sanding over a greasy surface pushes contaminants deeper into the wood grain and clogs the sandpaper, making both steps less effective.
Recommended
Comments