
How to prepare kitchen surfaces for spraying
TL;DR:
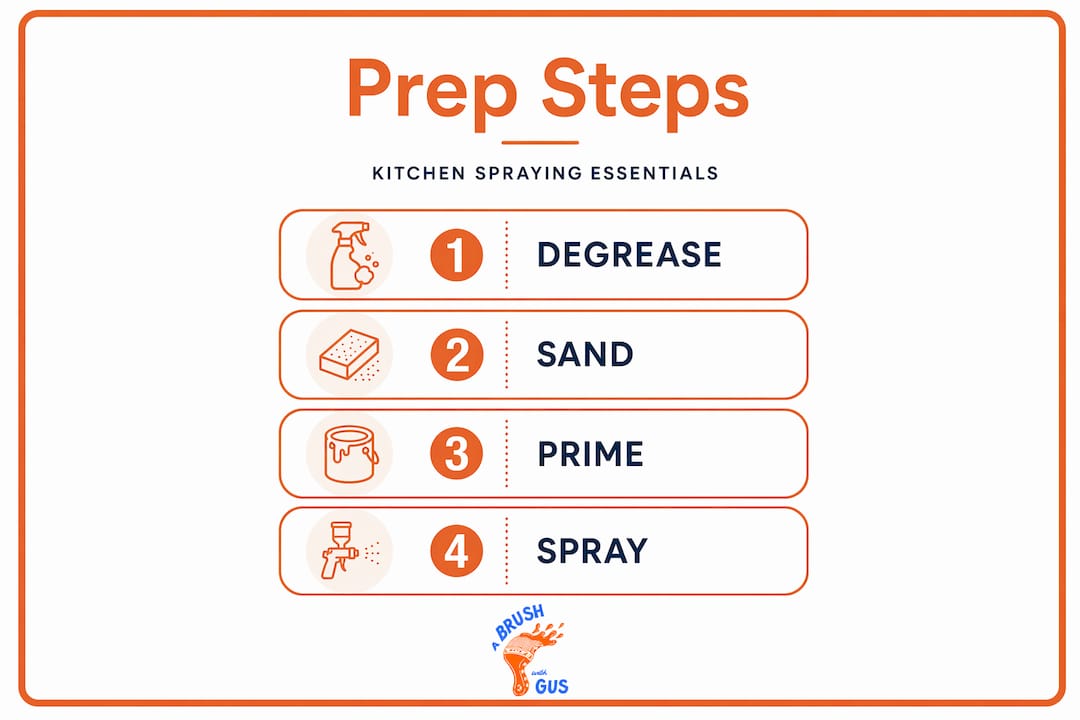
Proper surface preparation, including thorough cleaning, sanding, and priming, is essential for long-lasting spray finishes on kitchens. Skipping steps like degreasing or sanding increases the risk of peeling and coating failure within months. Industry-grade tools and attention to detail ensure even coverage and superior durability, making professional spraying a worthwhile choice.
Getting the surface preparation wrong is the single most common reason a freshly sprayed kitchen looks great for three weeks and then starts peeling. If you want to know how to prepare kitchen surfaces for spraying properly, the answer is less about the paint and more about what happens before the spray gun comes out. Done right, a sprayed kitchen finish can last a decade. Done poorly, you are back to square one within months. This guide walks you through every step, from gathering your materials to final checks before the first coat hits the surface.
Table of Contents
Gathering the right tools and materials
Before any cleaning or sanding begins, having the right kit assembled saves time and prevents the frustration of stopping mid-process to track down a missing item. Professional cabinet spraying requires specific tools including degreasers, sandpaper, primers, and spray guns, and cutting corners on any of these will show in the final finish.
Here is what you need to gather before starting:
Degreaser: A TSP (trisodium phosphate) solution or a dedicated kitchen degreaser. Do not use washing-up liquid. It leaves residue.
Isopropyl alcohol (IPA): 99% concentration for the final surface wipe before priming.
Sandpaper: 220-grit for the initial keying pass, 320 to 400-grit for between coats.
High-performance bonding primer: Specifically formulated for laminate, MDF, or melamine. A general-purpose primer will not cut it on non-porous surfaces.
HVLP spray gun: High Volume Low Pressure guns give you the control needed for cabinet work. Airless sprayers are better suited to larger flat surfaces.
Microfibre cloths: Lint-free, fresh from the packet.
Protective gear: Nitrile gloves, an FFP2 respirator, safety glasses, and overalls.
Use our kitchen spraying checklist to make sure nothing gets missed before you start.
Tool or material | Purpose | Notes |
Kitchen degreaser | Removes grease and oils | Apply before sanding |
Isopropyl alcohol | Final surface cleaning | Use after sanding |
220-grit sandpaper | Surface keying | Uniform pass required |
Bonding primer | Adhesion on slick surfaces | Match to substrate |
HVLP spray gun | Even paint application | Test before use |
Nitrile gloves | Prevents skin oil contamination | Wear throughout prep |
Cleaning and degreasing kitchen surfaces
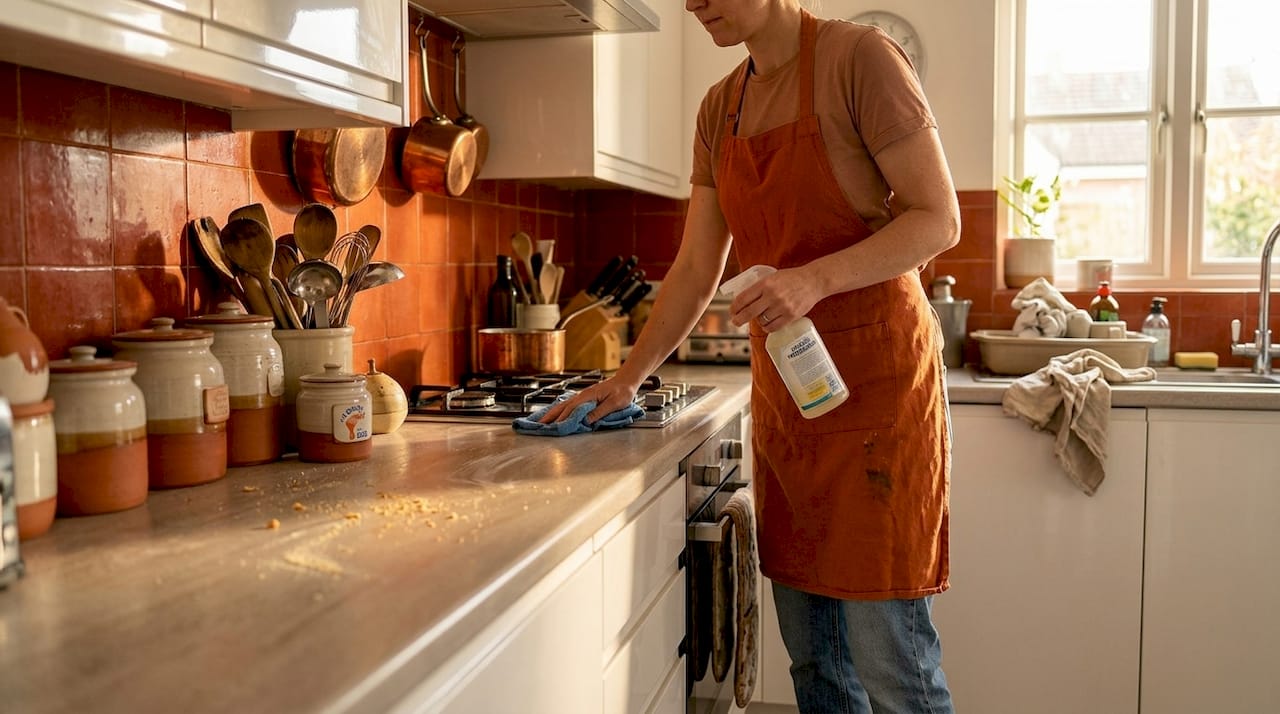
Before sanding and priming, the surfaces must be thoroughly cleaned and degreased to eliminate any adhesion barriers. Kitchen cupboards accumulate an invisible layer of cooking grease, steam residue, and cleaning product build-up. Even surfaces that look clean will fail this test if you run your finger across them and it drags slightly.
Follow these steps in order:
Remove all cabinet doors and drawer fronts if possible. Working flat prevents runs.
Apply your degreaser to a microfibre cloth and wipe the entire surface, working in sections.
Allow the degreaser to penetrate for 10 to 15 minutes. Do not let it dry on the surface.
Wipe clean with a damp cloth, then dry thoroughly.
Apply isopropyl alcohol to a fresh lint-free cloth and wipe the surface down once more.
Allow to fully dry before touching. From this point, wear gloves at all times.
Degreasing removes oils and films that block paint adhesion, and the two-step approach using a dedicated degreaser followed by an IPA wipe is the professional standard for a reason. The degreaser breaks down heavy contamination, and the IPA removes any trace residue left behind.
“The biggest mistake homeowners make at this stage is wiping the surface once with a damp cloth and calling it clean. If your kitchen has been used for more than a few months, that surface needs proper degreasing, not just a wipe-down.”
Pro Tip: If you are working in a room that smells strongly of cooking, consider doing two full degreasing passes before the IPA wipe. Heavily contaminated surfaces need extra attention here, and the few extra minutes are far cheaper than a failed finish.
Read through our kitchen painting tips for more on getting surfaces into the right condition before any paint touches them.
Sanding and keying for optimal adhesion
Once the surface is clean, sanding adds the mechanical texture needed for durable primer and paint adhesion. This step is non-negotiable on laminate, melamine, or any factory-finished surface. Paint cannot grip a perfectly smooth, slick surface reliably, regardless of how good the primer is.
Key points for effective sanding:
Sand the entire surface uniformly. Spot-sanding is one of the most common mistakes in kitchen surface preparation. It leaves high-gloss patches that resist primer and show up as dull or patchy areas in the final finish.
Use 220-grit sandpaper for the first pass. You are not trying to remove material. You are creating a consistent, fine matt finish across the whole surface.
Sand by hand on flat panels using a sanding block to keep even pressure. Random orbital sanders work well on larger doors but can leave swirl marks if not finished by hand.
Vacuum all dust thoroughly, then wipe with a tack cloth or damp microfibre cloth. Any dust left on the surface will be locked under the primer.
Wear your respirator. MDF dust in particular is a serious respiratory irritant. Open windows and use a fan to move air away from your working area.
Sanding to a matt finish provides microscopic texture that is essential for bonding primers and topcoats on glossy and laminate surfaces. Think of it like roughing up a bar of soap before trying to stick a label on it.
Surface type | Grit for keying | Expected result |
Laminate / melamine | 220-grit | Uniform matt finish |
MDF | 220-grit | Smooth with no raised grain |
Painted wood | 240-grit | Light scuff only needed |
Bare timber | 180-grit then 220-grit | Smooth, grain closed |
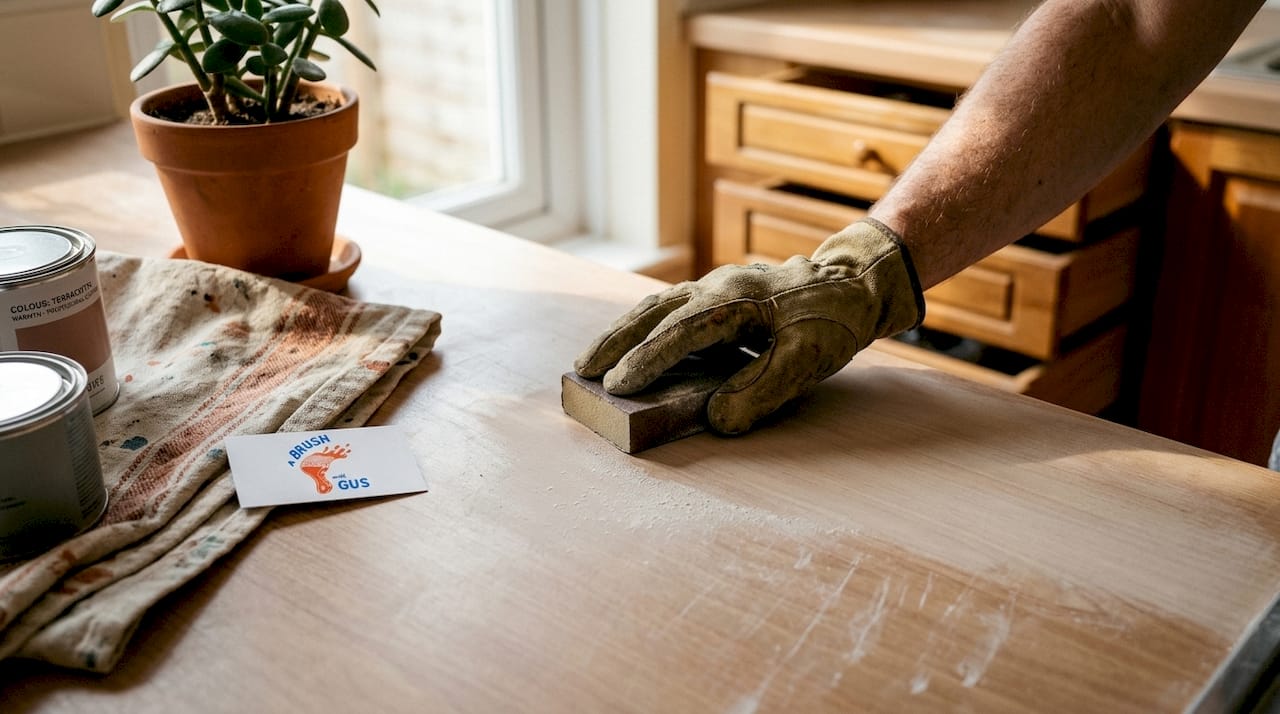
Pro Tip: After sanding, drag a clean gloved hand lightly across the surface. If you can feel any slick patches, go back and sand them again. Inconsistent keying means inconsistent adhesion.
For more on technique, our kitchen painting success tips cover the finer points of achieving an even result across different surface types.
Priming kitchen surfaces before spraying
With a properly keyed surface, applying the right primer sets the foundation for an even sprayed finish. Primer is not a formality. On laminate and melamine, it is the only thing standing between your topcoat and the surface rejecting it entirely.
Choosing and applying primer correctly:
Use a bonding primer designed for non-porous or low-porosity surfaces. Standard primers designed for plaster or bare wood are not formulated to grip factory finishes.
Do not thin the primer unless the manufacturer specifically recommends it for spray application.
Apply in a thin, even coat using your spray gun or a quality foam roller if spraying the primer feels premature at this stage.
Apply primer in this order:
Confirm the surface is dust-free, clean, and at room temperature.
Apply the first coat of bonding primer thinly and evenly.
Allow to dry fully according to the manufacturer’s instructions. Do not rush this.
Lightly sand with 320 to 400-grit paper to remove any nibs or dust particles.
Wipe with a tack cloth.
Apply a second coat if the surface coverage looks uneven or patchy.
Primers designed for laminate and glossy surfaces improve adhesion and support a long-lasting finish in a way that standard primers simply cannot match. If you are using a water-based topcoat, choose a water-based bonding primer for compatibility. Oil-based topcoats pair with oil-based primers.
Explore our guide to professional painting techniques for a deeper look at how primer selection affects the entire project.
Spray setup and application tips for an even finish
After priming, setting up your spray equipment correctly is essential to achieve a flawless painted surface. Even perfect surface preparation can be undone by poor spray technique.
Before spraying any kitchen surface:
Test your spray pattern on cardboard first. Look for an even, consistent fan shape. If the pattern is heavy in the centre or blotchy at the edges, adjust the needle or fluid settings.
Set air pressure for a 6 to 8 inch spray width at your working distance. Too wide and the paint atomises poorly. Too narrow and you build up excessive thickness in one pass.
Maintain a consistent 6 to 8 inch distance from the surface throughout each pass. Moving closer or further creates thick and thin patches.
Use overlapping passes at 50%. Each pass should overlap the previous one by half its width for consistent coverage.
Apply multiple thin coats rather than one thick one. Thick coats sag, run, and take far longer to cure properly.
Adjusting spray gun pressure and testing on scrap material ensures even coat application and avoids patchiness or runs.
“Temperature and humidity matter more than most homeowners realise. Spraying below 10°C or above 70% humidity can prevent the paint from curing correctly, leaving a surface that feels soft and marks easily even weeks later.”
Pro Tip: In the South West, damp autumn and winter conditions can create real problems for paint curing. If you are spraying between October and March, use a dehumidifier in the room and aim for a working temperature of at least 15°C.
Our article on paint spraying technique covers HVLP settings and application methods in much greater detail.
Final checks and common preparation mistakes to avoid
Before you begin spraying, ensure your surfaces are perfectly prepared to avoid common pitfalls. A last-minute check takes five minutes and can save you hours of remedial work.
Common preparation mistakes and how to avoid them:
Skipping degreasing entirely. Even if the surface looks clean, oils from cooking and hands are invisible until they cause paint to crawl or lift. Always degrease.
Partial sanding. Sanding only the rough spots or visible damage leaves a mixed surface profile that will show uneven sheen in the final coat.
Touching surfaces with bare hands after prep. Skin oils transfer immediately. Wear nitrile gloves from the degreasing stage through to the final topcoat.
Residual dust before priming. Run a gloved hand across the surface after your tack cloth wipe. If any grit remains, wipe again.
Priming over incompletely dry degreaser. If the surface smells of solvent or feels at all damp, wait longer.
Skipping degreasing or sanding leads to poor adhesion and premature coating failure, and it is the most common reason a DIY kitchen spraying project fails within the first year.
Pro Tip: Run a light torch beam across primed surfaces at a low angle before topcoating. This raking light technique reveals dust nibs, scratches, and any uneven areas that are invisible under normal lighting.
Find out more about the full process in our guide on kitchen spraying explained.
Why thorough preparation trumps shortcuts every time
There is a phrase that experienced sprayers use: clean, scuff, prime. It sounds almost too simple, but it captures the reality that professional adhesion profiles created by degreasing and sanding are what most coating failures come back to when they are skipped.
Surface preparation accounts for roughly 70% of the outcome in any spraying project. The paint itself matters far less than what is underneath it. A premium topcoat applied over poorly prepped laminate will fail before a budget paint applied over a surface that was properly cleaned, keyed, and primed.
The step that almost nobody talks about is post-prep contamination. You can degrease and sand perfectly, then undo all of it by setting down a coffee cup on the surface or leaning a cabinet door against a dusty wall while you mix primer. This happens constantly on DIY projects and on professional jobs where corners get cut under time pressure.
The other piece of conventional wisdom worth challenging is the idea that newer self-adhesion primers mean you can skip sanding on laminate. They help, genuinely, but they are not a replacement for mechanical keying. They are an enhancement to a properly prepared surface. Using them as a shortcut consistently produces results that last two or three years before failing, which feels fine until you are back to stripping everything down again.
Patience here is not caution for its own sake. It is the most cost-effective decision you can make. A kitchen that holds its finish for ten years is a radically better return on your time and money than one that looks good for eighteen months. Our article on kitchen painting success explores this further if you want to go deeper on long-term finish durability.
Professional spraying services for South West homeowners
If you have read through this guide and decided that thorough surface preparation and spraying is a job best left to someone with the equipment and experience to do it efficiently, that is a very reasonable conclusion.

At A Brush With Gus, Gus and Rhys work across the South West providing professional kitchen spraying services that cover every stage outlined in this guide, from degreasing and sanding through to the final topcoat. Industry-grade HVLP equipment, bonding primers matched to your specific cabinet material, and a process refined across hundreds of kitchen renovations means the finish you get is built to last. As part of our broader domestic painting services, kitchen spraying is completed with minimal disruption and a finish that does not require you to vacate the property for days. Get in touch for a no-obligation quote and see what a properly prepared and sprayed kitchen actually looks like.
Frequently asked questions
What is the most important step when preparing kitchen surfaces for spraying?
Thorough cleaning and degreasing is the most critical first step. Degreasing removes oils and films that block paint adhesion, and no amount of primer or quality paint can compensate for a contaminated surface.
Do I need to sand laminate kitchen surfaces before spraying?
Yes, without exception. Sanding to a matt finish creates the microscopic texture that bonding primers need to grip, and skipping this step on laminate is the fastest route to peeling paint.
Can I skip priming after sanding kitchen surfaces?
No. Primers for laminate and glossy surfaces bridge the gap between the sanded substrate and the topcoat, and without them even a well-keyed laminate surface will not hold paint reliably over time.
How do I avoid patchy finishes when spray painting?
Test your spray pattern on scrap material first, then maintain a consistent gun distance and use 50% overlapping passes to build up even coverage across the whole surface.
What common mistakes should I avoid when preparing kitchen surfaces?
The three most damaging errors are skipping degreasing, sanding only part of the surface rather than the whole, and handling prepped surfaces with bare hands. Skipping degreasing or sanding reliably leads to premature coating failure, often within the first year.
Recommended
Comments