
How long to wait before painting new render
Wait a minimum period typically recommended for standard cementitious or sand and cement render before painting. That’s the industry baseline in UK conditions, and it’s a floor, not a target to hit regardless of what’s happening on your wall. Lime putty render is a different animal entirely and can take months to carbonate fully. Hydraulic lime (NHL) renders and many thincoat or silicone systems often sit at 3 to 4 weeks, but the manufacturer’s technical sheet always overrides a generic number.
If you’re at all unsure, or the substrate was wet before rendering, don’t guess. Here’s what to do instead:
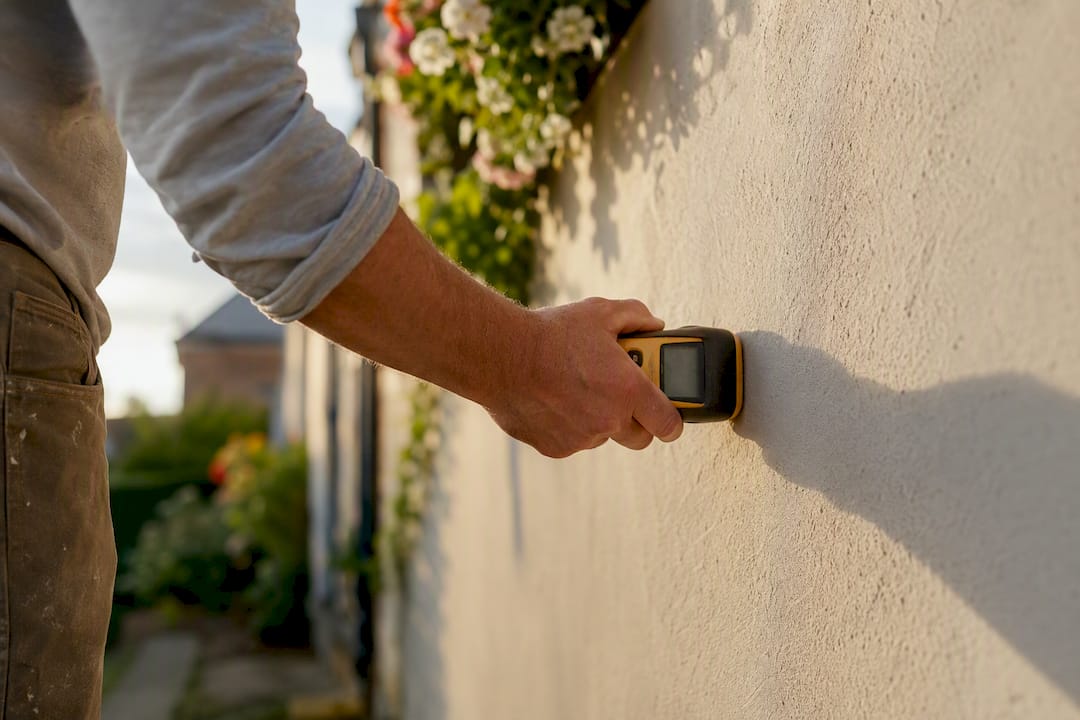
Buy or hire a moisture meter and test the render, not just the surface skin
Check the manufacturer’s data sheet for your specific render type
If readings are borderline, wait longer and test again rather than pressing ahead
Key Takeaways
Painting new render before it has fully dried, rather than merely cured, is the single most common and most avoidable cause of exterior paint failure in the UK.
Point | Details |
Wait sufficiently long | Standard cementitious render needs a minimum curing and drying period before paint. |
Know your render type | Lime putty can take months; hydraulic lime often needs 3 to 4 weeks; always confirm with the supplier. |
Test, don’t guess | Use a moisture meter, aiming below roughly 20 to 22% for thincoat finishes before paint. |
Match paint to render | Lime renders need breathable masonry paint; cementitious render suits masonry or silicone masonry paint. |
Get it done right | Abrushwithgus checks moisture readings across each elevation before recommending paint on South West projects. |
Table of Contents
Why drying time matters: curing versus drying, and the risks of painting too soon
Curing and drying are not the same process, and confusing the two is where most render paint jobs go wrong. Curing is the chemical hardening reaction inside the render as it sets. Drying is the physical evaporation of water out of that render into the air. A wall can feel rock hard within days, chemically cured and touch-dry on the surface, while still holding significant moisture deeper in the material.
Paint over that moisture and you get predictable, expensive failures:
Blistering, as trapped water vapour pushes against the paint film from underneath
Peeling, once the bond between paint and render gives way
Efflorescence, the white powdery salts that migrate to the surface as moisture moves through
Trapped moisture that encourages decay in the render itself over time
PRB’s technical guidance is blunt about this: touch-hard is not the same as dry enough, and relying on that feel alone is how paint jobs fail within a season. British winters make this worse. Cold, damp air slows evaporation dramatically, so a render that would dry in three weeks in July might need six or seven in November. That’s precisely why a calendar rule of thumb, applied without adjustment for the season you’re actually working in, misleads more homeowners than it helps.
How long to wait: timelines by render type and UK season
The 28-day figure gets quoted everywhere, but it only tells part of the story. Different render systems dry and cure at genuinely different rates, and the season you’re rendering in changes the picture again.
Standard cementitious or sand and cement render follows the 28-day baseline. This is the industry standard curing period most manufacturers and trade bodies work from, and it assumes reasonably favourable drying conditions rather than a wet October.

Hydraulic lime (NHL) render commonly needs 3 to 4 weeks, though this varies by NHL grade and thickness. Always confirm with your supplier rather than assuming it matches cement render timelines.
Lime putty render is the outlier. It carbonates slowly through exposure to air, and Smith Plastering’s guidance notes this process can take months rather than weeks. Lime systems also demand breathable finishes only, never standard masonry paint, because sealing them with a film-forming product traps moisture the render needs to release.
Thincoat and silicone renders often feel ready sooner than cementitious systems, but “feels ready” and “is ready” aren’t the same thing here either. Follow the manufacturer’s guidance and test rather than assume the surface tells the whole story.
Seasonal adjustment matters more than most guides admit:
Fresh render applied in autumn or winter should push well past 28 days as standard practice
A run of hot, dry days can create surface set fast, but that’s not the same as full-depth drying
Spring and early autumn tend to offer the most reliable drying windows in the South West
What speeds up or slows down render drying time
Four variables decide whether your render dries in three weeks or three months, and most homeowners only think about one of them.
Weather. Temperature, humidity, wind and sunlight all affect evaporation. Warm, dry, breezy conditions pull moisture out fast. Cold, still, humid air barely shifts it. Manufacturer guidance is often based on 20°C and 65% relative humidity, conditions the UK rarely delivers reliably outside summer.
Substrate moisture. Render applied onto a rain-saturated wall has to dry both the render and the wall behind it, which can double or triple your realistic waiting time compared with render applied onto a dry substrate.
Thickness. Some trades use a rough “1mm per day” heuristic for guidance, but treat it as exactly that, a rough guide, not a formula you can rely on in British weather.
Site specifics. A north-facing wall, a sheltered courtyard corner, overhanging trees, or heavy coastal exposure to salt-laden damp air can all extend drying well beyond what a south-facing gable wall would need.
Pro Tip: If your property has a mix of aspects, don’t paint the whole house on the same day just because the scaffold’s up. Test each elevation separately. The shaded north wall may need another fortnight after the sunny south wall is ready.
How to check readiness without guessing
Calendar counting only gets you so far. A moisture meter gets you the rest of the way, and it’s the difference between an educated decision and a hopeful one.
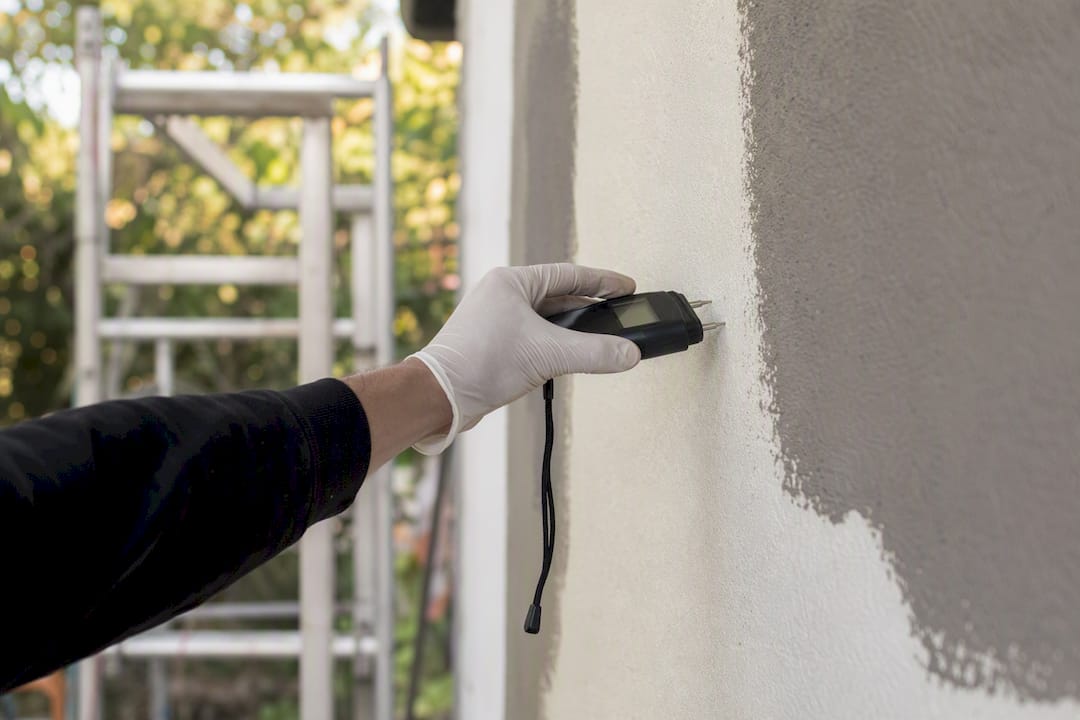
PRB’s winter rendering advice recommends checking with a proper moisture meter rather than relying on eye or touch. As a working guide, aim for readings below 20 to 22% for thincoat finishes, with paint finishes generally needing the render drier still. Your specific product’s data sheet always takes precedence over these general figures.
Technique matters as much as the tool:
Take multiple readings across each elevation, not just one spot
Test at different heights, since moisture often lingers lower down and near ground level
Avoid surface-only readings, which can flatter a render that’s still wet underneath
Where possible, compare an external reading against an internal wall reading on the same section, which helps flag trapped moisture from a source other than the render itself
Visual checks come second, but they’re not useless. Dark, damp-looking patches that don’t lighten on a dry day, and early efflorescence, that pale powdery bloom on the surface, both signal render that isn’t ready. If your meter readings and visual signs disagree, or you’re dealing with a lime system, an older property, or a wall with a history of damp, that’s the point to call in a professional rather than push ahead. Give them the render type, application date, and any meter readings you’ve already taken.
Getting new render ready for paint: primers, paint type and coats
Once your render passes its moisture check, preparation still decides whether the paint job lasts five years or fifteen.
Friable or dusty surfaces, common on some cementitious renders, usually need a stabilising solution or primer before anything else goes on. Skip this step on a chalky surface and your topcoat will struggle to bond, however dry the render is underneath.
Paint choice depends entirely on what’s beneath it:
Lime-based renders need breathable masonry paint, full stop, because a film-forming product traps the moisture lime systems rely on releasing gradually
Cementitious render generally suits masonry or silicone masonry paints, which offer good weather resistance while still allowing some vapour movement
Always cross-check against the render manufacturer’s own technical data sheet rather than assuming one product suits every substrate
The usual sequence is a mist coat or primer where the surface demands it, followed by two full top coats, with proper drying time between each rather than rushing the second coat on because the first looks dry. Correct paint curing between coats matters almost as much as the render’s own drying period.
A square metre in an inconspicuous corner tells you more than any data sheet ever will.*
Common mistakes homeowners make when painting render
Most render paint failures trace back to one of five avoidable errors.
Painting while the substrate still holds moisture, sealing damp inside where it causes blistering and decay over time.
Applying standard, non-breathable masonry paint onto lime render, which stops the render’s natural moisture cycle dead.
Skipping a stabiliser on a dusty or friable surface, leading to poor adhesion and early peeling.
Painting into a rain-prone forecast, giving fresh paint no chance to form a proper film before it’s washed or diluted.
Using forced heaters, plastic sheeting, or other artificial drying methods that dry the surface unevenly and risk cracking.
Practical checks Abrushwithgus uses on South West projects
On real jobs across Cornwall and the wider South West, the approach that avoids callbacks is the same one this guide has been building towards: measure, don’t guess.
Moisture readings get taken at multiple points per elevation, not just one spot near eye level
Scheduling around the region’s wet spells means building in extra margin during autumn and winter rather than chasing a fixed date
Fresh render caught by unexpected rain in its first few days gets protected with breathable covers, never plastic sheeting that traps moisture against the surface
Lime render systems sometimes get a gentle, controlled misting rather than being left to dry too fast in a hot spell, which helps prevent the cracking that forced drying can cause
Objective measurement beats calendar counting every time. A moisture meter reading plus a realistic weather forecast will tell you more than any fixed number of days ever could.
What the conventional advice gets wrong
Most guidance on this topic treats 28 days as a rule rather than a starting point, and that’s the biggest disservice done to homeowners. The number is a reasonable baseline under decent drying conditions. It says nothing about a wall that was rendered onto a rain-soaked substrate in October, or a lime system that needs a fundamentally different mindset rather than just a longer wait.
What the evidence actually supports is simple: measurement beats memory. A moisture meter reading, taken properly across several points on an elevation, tells you more than any date on a calendar. The reader’s priority should be learning to use that meter correctly, not memorising a single number and treating it as gospel regardless of season, render type, or substrate history.
Where I’d push back hardest is on the instinct to rush. A fortnight saved by painting early can cost several years of paint life once blistering or efflorescence sets in. Patience, backed by an actual reading rather than a guess, is the cheapest insurance available on a render job.
Get your new render painted properly by Abrushwithgus
Abrushwithgus is the option for South West homeowners who’d rather not spend weekends squinting at a moisture meter or second-guessing a manufacturer’s data sheet. You’ve read what it takes to get this right: the right waiting period for your render type, verified readings rather than assumptions, and the correct primer and paint system matched to your substrate. That’s exactly the judgement call the team makes on every render job across Cornwall and the wider South West, before a single tin of paint gets opened.

Whether you need exterior render painted, UPVC spraying and restoration on windows and doors, or exterior cleaning to prepare a surface properly before paint goes anywhere near it, the same principle applies: check first, then commit. Get in touch to arrange a site visit and quotation, and let someone else carry the moisture meter for a change.
Frequently asked questions
Can I paint render after 2 weeks if the weather has been hot and dry? Surface set can happen fast in hot weather, but that’s not the same as full-depth drying. Test with a moisture meter rather than assuming a warm fortnight has done the job that normally takes 28 days.
Does new render need to be primed before painting? Friable or dusty renders usually need a stabiliser or primer first. Check the render manufacturer’s technical data sheet, since requirements vary between cementitious, lime, and thincoat systems.
What happens if I paint render too early? Trapped moisture typically causes blistering, peeling, or efflorescence, the white powdery salt deposits that signal water still moving through the render. In some cases it accelerates decay in the render itself.
Is lime render painting time really longer than cement render? Yes. Lime putty render carbonates slowly and can take months rather than weeks, and it needs breathable paint rather than the standard masonry paints used on cementitious render.
Should I hire a professional to check if render is dry enough to paint? If your own moisture readings are inconsistent, or you’re dealing with a lime system, an older property, or previous damp issues, a professional assessment is worth the call before any paint goes on.
Sources
For readers who want to check the technical detail directly:
Recommended
Comments