
Qualities of professional paint jobs: what to look for
- WM Creative Designs Limited
- May 30
- 9 min read
TL;DR:
A quality paint job features a smooth finish, consistent color, and sharp edges, reflecting professional skill. Surface preparation and adherence to safety standards, especially in older properties, are essential for durability and health protection. Observing preparation practices and certification details helps distinguish skilled painters from amateurs.
A poor paint job costs more than it saves. Peeling edges, patchy colour, drips running down freshly painted skirting boards — these are not just eyesores. They signal surface failure that leads to damp ingress, accelerated wear, and expensive remedial work within a few years. Whether you’re commissioning a decorator for the first time or inspecting work already done, knowing the key qualities of professional paint jobs gives you a genuine advantage. This article walks you through every major quality marker, from surface smoothness to regulatory compliance, so you can hire with confidence and assess results accurately.
Table of Contents
Key takeaways
Point | Details |
Smooth, even finish matters | No visible brush strokes, drips, or roller marks are the clearest signs of a competent painter. |
Colour consistency is protective | Patchy or uneven colour signals inadequate coats, which leaves surfaces vulnerable to moisture and wear. |
Clean edges show real skill | Sharp lines around trims and fixtures separate a professional finish from an amateur one. |
Durability starts with prep | Surface cleaning, sanding, and priming determine how long paint adheres, not just which tin is used. |
Compliance protects your household | In older properties, lead-safe practices are a non-negotiable quality criterion, not optional paperwork. |
1. The core qualities of professional paint jobs: smoothness and evenness
The most immediate sign of expert painting is a finish that looks and feels smooth. Run your hand across a freshly painted wall. You should feel nothing — no ridges, no bumps, no raised lines from a brush tip dragged too fast. A professional finish is entirely free of visible brush strokes, roller marks, drips, and streaks across all surfaces.
Achieving this requires deliberate technique. Professionals work in sections, maintaining a wet edge so that paint blends seamlessly rather than drying at different rates. They use thin coats rather than thick single applications, which prevents the sagging and drip formation that plagues rushed jobs. They also observe correct drying times between coats, because applying a second coat over tacky paint traps moisture and creates texture.
Brush strokes become visible when a painter uses worn brushes, cheap bristles, or the wrong paint consistency
Roller marks appear when rollers are overloaded or moved too quickly across the surface
Drip marks form when too much paint is applied in one pass, particularly on vertical surfaces
Bumps or raised patches usually indicate inadequate sanding of the substrate before painting began
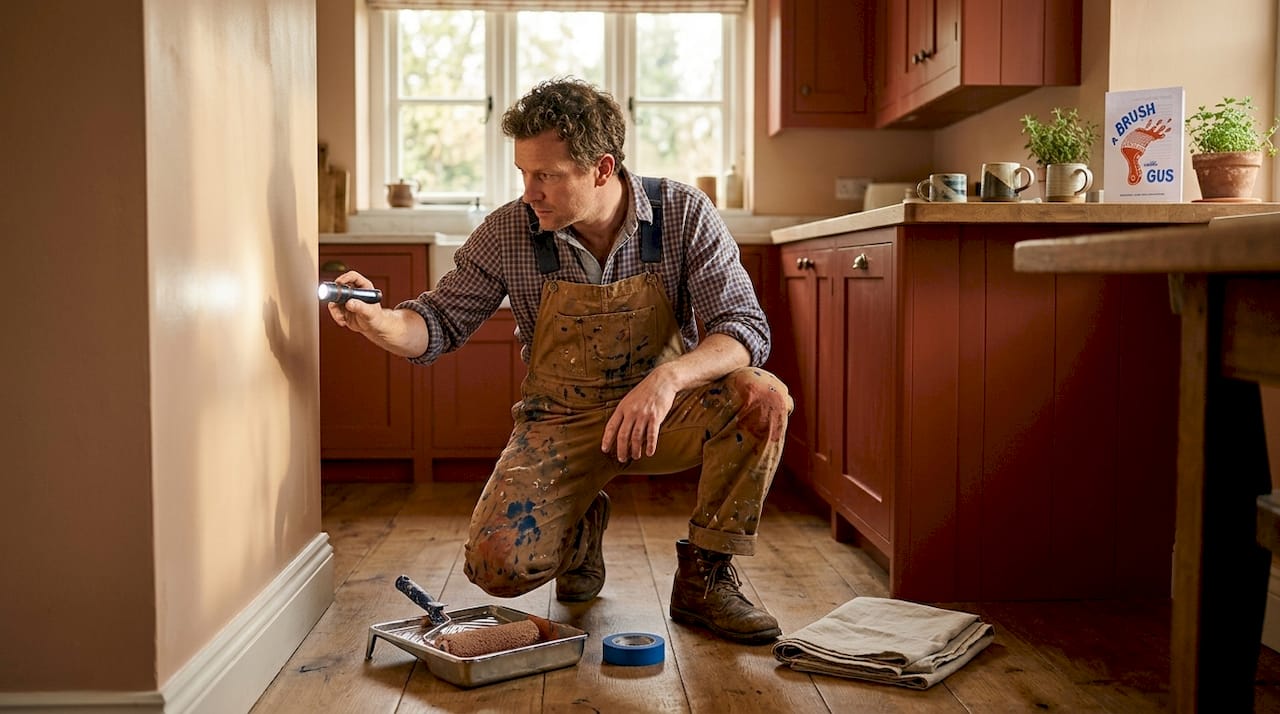
Pro Tip: To check for uneven texture indoors, hold a torch or phone light at a low angle to the wall surface. Any ridges, bumps, or roller lines become immediately visible under raking light. Use this technique before signing off on any completed work.
2. Colour consistency and complete coverage
Uniform colour across a surface is both an aesthetic requirement and a functional one. Consistent colour comes from thoroughly mixing paint before application, applying the correct number of thin coats, and allowing full drying between each coat. Skip any one of these steps and the result is patchiness or a finish that fades unevenly within months.
Coverage matters beyond appearance. Paint forms a protective barrier against moisture, UV radiation, and physical wear. If coverage is thin or incomplete, the substrate beneath is exposed and will deteriorate faster. This is especially relevant for exterior surfaces and high-traffic interior walls.
Warning signs to look for:
Visible substrate through the paint surface, which means insufficient coats were applied
Colour variations across a single wall, which typically indicates inconsistent mixing or dilution
Patchy areas that look flat or slightly transparent compared to surrounding sections
Sheen inconsistency, where some patches look more matt or more glossy than the rest
Pro Tip: View painted surfaces in natural daylight from a 45-degree angle. This reveals patchiness and sheen inconsistencies that are invisible under artificial overhead lighting. It’s also the closest approximation to how the surface will appear on most days.
Understanding why paint quality matters in terms of product selection is equally important. The right formulation for the surface type makes consistent coverage far easier to achieve.
3. Precision of edges and masking for clean, sharp lines
Sharp, clean lines around architraves, window frames, skirting boards, and ceiling edges are one of the most reliable signs of a skilled painter. These are the areas where most amateurs leave evidence of their limitations. Paint bleeds, wobbly borders, and sloppy tape lines are immediately noticeable and cannot be hidden once the work is dry.
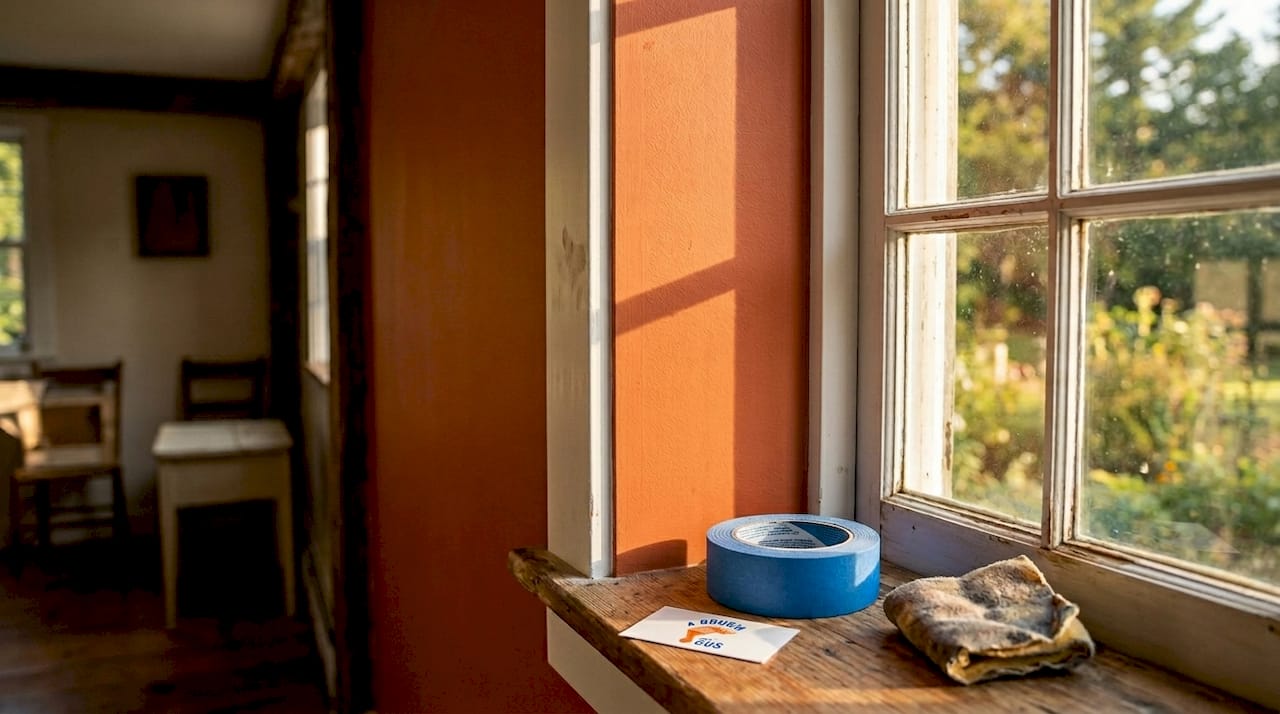
A high-quality paint job uses proper painter’s tape applied with care along all boundaries, combined with a steady, confident hand for freehand cutting-in where tape alone won’t reach. Professionals also control paint viscosity, because paint that is too thin bleeds under tape regardless of how well it’s applied.
Inspect the following areas closely when assessing edge quality:
Where ceiling meets wall: the line should be perfectly straight with no paint crossing onto the adjacent surface
Around light switches and sockets: no paint on the fitting and no ragged edge at the border
Along skirting boards: the wall colour should stop cleanly at the top of the board, with no smearing
Window and door reveals: both faces of each reveal should be painted uniformly with no bleed onto the frame
Surface preparation also affects edge sharpness. Gaps, cracks, or swelling along trim edges must be filled and sanded before taping. If the surface is uneven, even perfect tape placement won’t produce a perfectly straight line.
4. Durability and adhesion that prevent early failure
Paint that peels within a year is not a paint problem. It is a preparation problem. Long-lasting coatings depend on substrate preparation, correct formulation, and application technique aligned to the specific site conditions. This is why two painters using the same tin of paint can produce results with dramatically different lifespans.
Professional painters follow a controlled workflow. They clean surfaces to remove grease, dust, and loose material. They sand to create a key for the paint to grip. They apply an appropriate primer, which bonds to both the substrate and the finish coat. They then observe minimum drying times per coat before the next application, rather than rushing to finish.
Paint durability is engineered through preparation and process, not purchased from a tin. Matching formulation, substrate prep, and application technique to site-specific conditions is what separates a coating that lasts from one that fails. MPI, via AMPP
Early signs of poor adhesion to watch for:
Peeling or flaking at edges or corners, often appearing within the first six to twelve months
Bubbling or blistering, which indicates moisture trapped beneath an inadequately prepared surface
Cracking or crazing, which results from a film applied too thickly or over an incompatible primer
Chalking on exterior surfaces, which signals the wrong formulation was used for external conditions
Proper drying conditions matter as well. Ventilation and temperature control during application significantly affect curing. A professional will not paint in extreme cold, direct summer sun, or poorly ventilated rooms without taking steps to manage those conditions. Guidance on surface preparation is covered in detail for those who want to understand what good prep actually involves.
5. Compliance with safety standards in older properties
If your property was built before 1978, lead-based paint compliance is not a bureaucratic nicety. It is a health and safety requirement that any reputable painter working on older homes must meet. In the UK context, the principle is the same: disturbing old painted surfaces without proper controls creates airborne lead dust that poses serious risks to adults, children, and pets alike.
In the United States, the EPA’s RRP Rule requires certified firms and renovators for any renovation work that disturbs lead-based paint areas in pre-1978 homes and child-occupied facilities. Certification requires an eight-hour course and a formal exam. The professional workflow for lead-safe jobs includes:
Testing or assuming lead presence before any sanding, scraping, or stripping begins
Setting up containment to prevent dust and debris from spreading beyond the work area
Using wet methods to suppress dust during removal of old paint material
Posting appropriate warning signs around the work area for the duration of the project
Thorough cleaning of all surfaces and tools after work is complete
Cleaning verification using EPA-approved methods or wipes to confirm no lead residue remains
Certified renovators are also required to provide written notification to occupants and maintain records for at least three years. This documentation is part of professional quality control. Ask for it. If a painter working on your older property cannot provide certification or refuses to discuss their lead-safe procedures, treat that as a disqualifying issue. Failure to comply can result in fines exceeding $49,000 per violation per day. More importantly, the health risks are real and irreversible.
For heritage properties, safety standards for heritage home painting go into considerable detail on how to approach these challenges responsibly.
My take on what actually separates good painters from great ones
I’ve been around painting and decorating projects long enough to know what the finished surface reveals about everything that happened before the first tin was opened. And here’s what I’ve found most homeowners get wrong when they try to assess a paint job: they focus on what they can see immediately and miss what will become visible in six months.
Smoothness gets all the attention, but smoothness without correct prep is cosmetic. I’ve seen walls that looked flawless on day one start peeling at the edges by autumn, because the painter skipped priming or applied the topcoat before the undercoat had fully cured. That’s not a paint failure. That’s a process failure, and it comes from cutting time rather than corners.
The other thing I’d say from experience: the quality of a painter’s work is visible before they even open a tin. Watch how they prepare. Do they move furniture carefully and cover it properly? Do they sand and fill before they tape? Do they check the label on the tin before they start rather than defaulting to whatever they used on the last job? These small behaviours are far more predictive of the finished quality than anything they say during a quote. When you are considering tips for hiring painters, look at how they work, not just what they promise.
— Angus
Let Abrushwithgus deliver the standard you’ve been reading about

Everything covered in this article — smooth finishes, consistent colour, sharp edges, proper adhesion, and compliance where it matters — is the everyday standard at Abrushwithgus. As a family business serving the South West, Gus and Rhys bring the same level of care to every domestic and exterior project, whether it’s a full exterior repaint, interior decorating, or specialist UPVC spraying.
If you’re planning a painting project and want to be confident you’re getting genuine quality rather than a rushed finish, explore the exterior home painting service or the full range of domestic painting options available. Both pages include details on how Abrushwithgus works and what to expect from start to finish. Get in touch for a personalised quote and see the difference preparation and process actually make.
FAQ
What are the main signs of a good paint job?
The clearest signs are a smooth, even finish with no visible brush strokes or roller marks, consistent colour across the entire surface, and sharp, clean edges around all trims and fixtures. A professional finish also shows no drips, streaks, or bubbling.
How can I assess paint quality after a job is completed?
Use a torch held at a low angle to the wall surface to reveal any texture, ridges, or unevenness. Check edges and trims for paint bleed, and inspect the surface in natural daylight for colour consistency and coverage.
Why does paint peel shortly after application?
Early peeling almost always points to inadequate surface preparation, specifically skipping cleaning, sanding, or priming before painting. Applying a topcoat before the undercoat has fully cured is another common cause.
What should I ask a painter before hiring them?
Ask about their preparation process, which primer they plan to use, how many coats they’re applying, and their expected drying times between coats. For older properties, ask directly about their lead-safe certification and procedures.
Is lead-safe certification necessary for all painting projects?
It is required for renovation work disturbing lead-based paint in properties built before 1978, particularly where children are present. Certified renovators must follow strict containment, cleaning, and documentation protocols to protect occupants and comply with regulations.
Recommended
Comments