
Transform your home: the essential guide to UPVC respraying
- WM Creative Designs Limited
- Apr 17
- 8 min read
TL;DR:
UPVC respraying restores faded frames cost-effectively, lasting up to 20 years.
Proper preparation, including cleaning and masking, is crucial for a durable finish.
DIY resprays often fail prematurely; professional techniques ensure long-lasting results.
Faded, yellowing UPVC frames are one of the most common complaints we hear from homeowners across the South West. What was once crisp and white gradually turns a tired, chalky shade that drags down the whole appearance of your property. The good news is that full replacement is rarely necessary. Professional UPVC respraying offers a genuinely transformative result at a fraction of the cost, and this guide walks you through everything you need to know: from understanding the process and preparing correctly, to executing a flawless finish and keeping it looking sharp for years to come.
Table of Contents
Key Takeaways
Point | Details |
Cost-effective transformation | Respraying UPVC gives your home a new look for much less than replacing doors or windows. |
Preparation is crucial | Most failures come from poor cleaning or surface prep—this step determines durability. |
Expert finish lasts longer | Professional respray results can last up to 20 years compared to 2–7 years for DIY efforts. |
Aftercare ensures longevity | Gentle, pH-neutral cleaners and avoiding pressure washing protect your resprayed surfaces. |
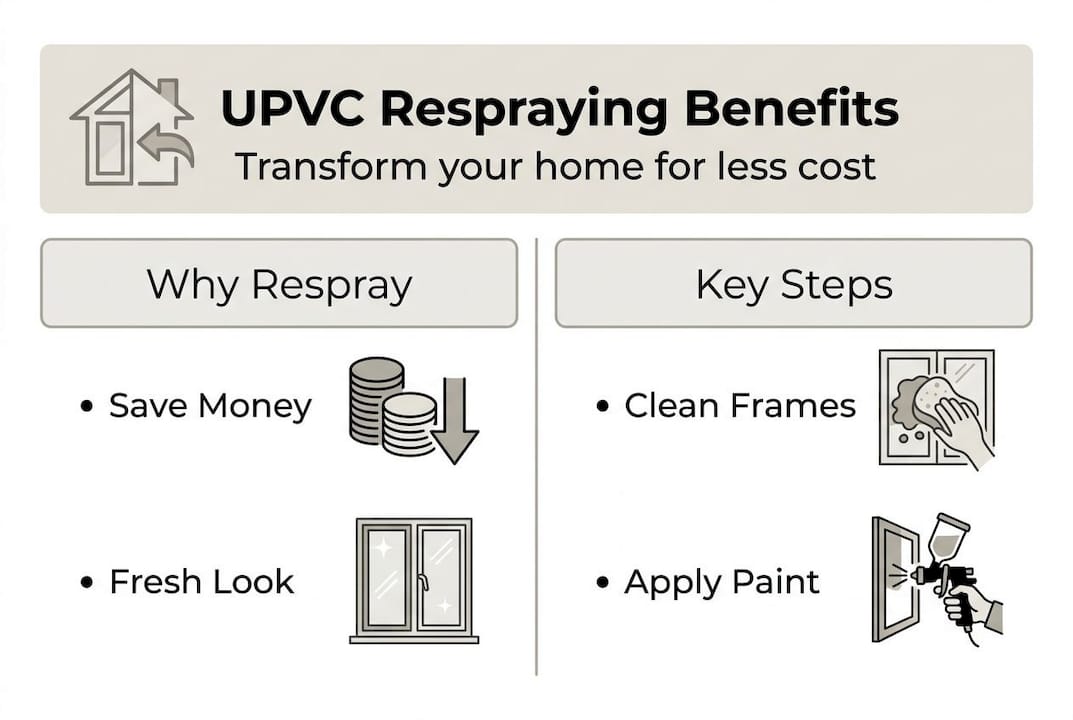
What is UPVC respraying and why choose it?
UPVC respraying is the process of applying specialist paint directly onto existing UPVC window frames, door frames, fascias, and soffits to restore or completely change their colour. Rather than ripping out perfectly functional frames and sending them to landfill, respraying revives them in place. It is a far more sustainable and wallet-friendly approach.
The cost difference is striking. A professional UPVC respray saves 70 to 80% compared to full replacement, with results lasting up to 20 years when applied correctly. For a typical South West semi-detached home, that could mean saving several thousand pounds while achieving a finish that looks brand new.
Our UPVC spraying services use a professional three-coat system. The three-coat spray system is touch-dry in around 30 minutes and reaches a full cure within 24 to 48 hours, meaning minimal disruption to your household.
Key benefits of UPVC respraying:
Dramatically improves kerb appeal without structural work
Choose from hundreds of RAL colours to match or modernise your home
Environmentally friendlier than replacement
Completed in a single day for most properties
Professionally applied finishes carry long-term durability
The same principle applies beyond windows. If you have seen the results of kitchen respraying applications, you will already understand how transformative a quality respray can be on any surface.
Option | Approximate cost | Lifespan | Disruption |
Full UPVC replacement | £££££ | 25 to 35 years | High |
Professional respray | ££ | 10 to 20 years | Low |
DIY respray | £ | 2 to 7 years | Low |
One important limitation: respraying is not suitable for frames that are structurally warped, cracked, or suffering from seal failure. In those cases, replacement is the only sensible path.
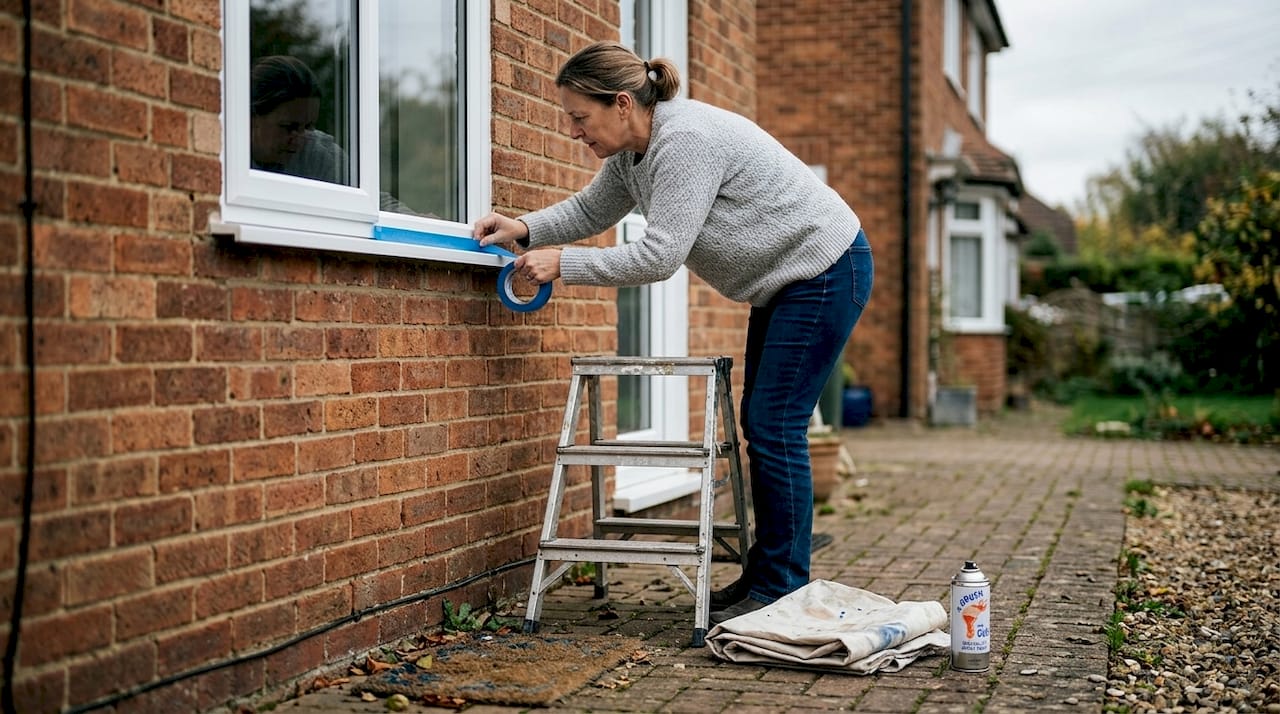
Preparing for a successful UPVC respray
Preparation is where most jobs are won or lost. Prep work accounts for 40 to 50% of total job time, and that figure exists for very good reason. Rushing this stage is the single most common cause of premature peeling and a patchy finish.
Here is the full preparation sequence we follow before any respray:
Thorough cleaning. Wash all UPVC surfaces with a degreasing solution to remove dirt, grease, mould, and any silicone residue. Any contamination left on the surface will prevent proper adhesion.
Light abrasion. Use fine-grit abrasive paper or a scotch pad to lightly key the surface. This gives the primer something to grip onto rather than sitting on top of a smooth, slippery surface.
Inspect for damage. Check every frame for warping, cracks, or failed seals before proceeding. Painting over structural problems wastes time and money.
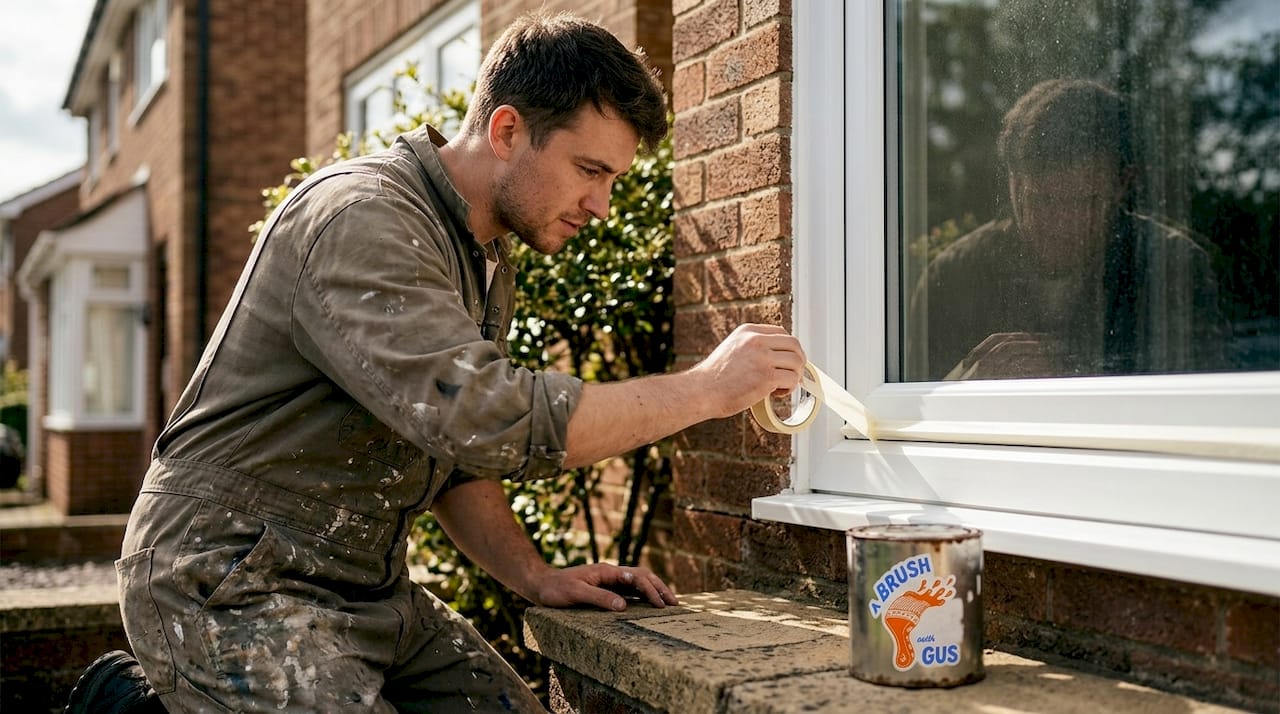
Masking. Carefully mask all glass panes, brickwork, handles, hinges, and any surrounding surfaces. Overspray travels further than you expect, especially in a breeze.
Weather check. Confirm conditions are dry, mild, and have low humidity. Ideal temperature is between 10°C and 25°C.
Pro Tip: Never respray in direct strong sunlight. The paint dries too quickly on the surface before it can bond properly, which leads to bubbling and uneven texture.
For a more detailed breakdown of how we approach this stage, our step-by-step spray preparation guide covers the finer points of surface treatment.
“The quality of a respray is determined before the first drop of paint leaves the gun. Clean, keyed, and properly masked surfaces are non-negotiable.”
Preparation task | Time required | Importance |
Cleaning and degreasing | 30 to 60 minutes | Critical |
Sanding and keying | 20 to 40 minutes | High |
Masking | 30 to 90 minutes | Critical |
Weather and frame inspection | 10 to 15 minutes | High |
For further context on how South West weather patterns affect exterior work, our home painting best practices article is well worth reading before you start.
UPVC respraying step by step
With your prep complete and conditions right, here is exactly how to carry out a professional-standard UPVC respray.
Apply a bonding primer. Use a UPVC-specific primer to create a stable base. This is not optional. Skipping primer is one of the fastest routes to a failed job.
First colour coat. Load your airless sprayer with specialist flexible, UV-resistant paint. Two to three thin coats with a 50% overlap pattern deliver the most even, durable result. Hold the gun 25 to 30 cm from the surface and keep it moving at a steady pace.
Inspect between coats. After each coat, check for runs, thin patches, or any missed areas. It is far easier to correct at this stage than after the final coat.
Second and third colour coats. Allow each coat to become touch-dry before applying the next. In normal South West conditions, this takes around 30 minutes per coat.
Edge and corner detail. Pay close attention to corners, rebates, and tight joints. These areas are prone to paint build-up or missed coverage. A steady hand and slower movement here pays dividends.
Final inspection and cure. Once the final coat is applied, leave the surface to cure fully for 24 to 48 hours before removing masking tape or allowing any contact with the frames.
Pro Tip: Always pull masking tape away at a 45-degree angle once the paint is touch-dry but not fully cured. Waiting too long risks tearing the paint edge.
For further guidance on spray technique and equipment settings, our professional spray painting advice covers the specifics in detail.
Common mistakes, troubleshooting, and aftercare
Perfect execution is about more than just painting. The real test lies in the finish and ongoing maintenance.
The most common mistakes we see:
Using standard exterior paint instead of specialist UPVC paint. UPVC expands and contracts with temperature, and rigid paint will crack and peel within months.
Applying coats that are too thick. Thick coats run, sag, and take far longer to cure properly.
Skipping the primer stage entirely.
Cleaning the frames with harsh chemicals or abrasive cloths before the paint has fully cured.
Respraying in cold, damp, or windy conditions without checking the forecast.
DIY resprays frequently fail prematurely due to wrong products or poor preparation, lasting just 2 to 7 years compared to 10 to 20-plus years for a professionally applied finish.
“The difference between a respray that lasts two years and one that lasts twenty comes down almost entirely to preparation and the correct materials.”
If you notice peeling or flaking within the first year, it almost always points to a prep or product issue rather than a technique problem. Small areas of lifting can sometimes be sanded back and touched in, but widespread failure means the whole job needs stripping and starting again.
For aftercare, keep it simple:
Wait a full 48 hours before any cleaning
Use only pH-neutral cleaners and a soft cloth
Never use abrasive pads, solvent-based cleaners, or a pressure washer on resprayed surfaces
Inspect frames annually for any chips or areas of wear and address them early
Understanding how weather affects exterior painting in the South West is particularly useful here, as our coastal and changeable climate places extra demands on any external finish. For specific guidance on avoiding respray failures, we cover the most frequent pitfalls in detail.
A professional’s perspective: when to respray and when to replace
After years of working on properties across the South West, we have seen the full range of UPVC conditions. Here is the honest advice that most guides skip over.
The majority of homeowners who attempt a DIY respray underestimate the preparation stage. We spend close to half our time on prep for a reason. It is not glamorous work, but it is where the longevity of the job is decided.
We have also seen jobs where no amount of preparation would have helped. Severely warped or damaged frames should be replaced, not resprayed. Paint cannot fix a structural problem, and attempting to do so just delays an inevitable cost.
The other factor people underestimate is equipment. A professional-grade airless sprayer applies paint in a way that a brush or roller simply cannot replicate on UPVC. The atomisation creates a smooth, factory-like finish that bonds correctly and wears evenly. This is not something you can replicate with a tin and a brush from a DIY shop.
Our South West UK painting advice reflects the specific climate challenges of this region. Humidity, salt air near the coast, and unpredictable weather all factor into the timing and product choices we make on every job. Experience in this specific environment genuinely matters.
Want flawless results? Choose a local UPVC respray specialist
If this guide has shown you anything, it is that a quality UPVC respray is achievable but demands the right preparation, materials, and technique to last.

At A Brush With Gus, we provide expert UPVC spraying across the South West, with warranty-backed finishes and local references you can check. Our full spraying services cover everything from windows and doors to fascias and soffits, and our exterior home transformations gallery shows exactly what is possible. Get in touch today for a no-obligation quote tailored to your property, and let Gus and Rhys show you what a professional finish really looks like.
Frequently asked questions
How long does a UPVC respray really last?
A professional UPVC respray can last 10 to 20 years, while typical DIY jobs last only 2 to 7 years due to differences in materials and preparation quality.
Is it safe to pressure-wash resprayed UPVC?
No. You should wait at least 48 hours before any cleaning, and pressure-washing should be avoided entirely on resprayed surfaces to protect the finish.
What paint is best for spraying UPVC?
Always use specialist flexible, UV-resistant paints formulated specifically for UPVC or plastics, as these accommodate the natural expansion and contraction of the material.
Can I change the colour of my UPVC doors or windows?
Yes. Respraying allows you to choose from a wide range of RAL colours, making it straightforward to match your home’s existing style or update it to something more contemporary.
Recommended
Comments