
UK Homeowners: 6 Step Checklist for Painting Over Mould on Walls
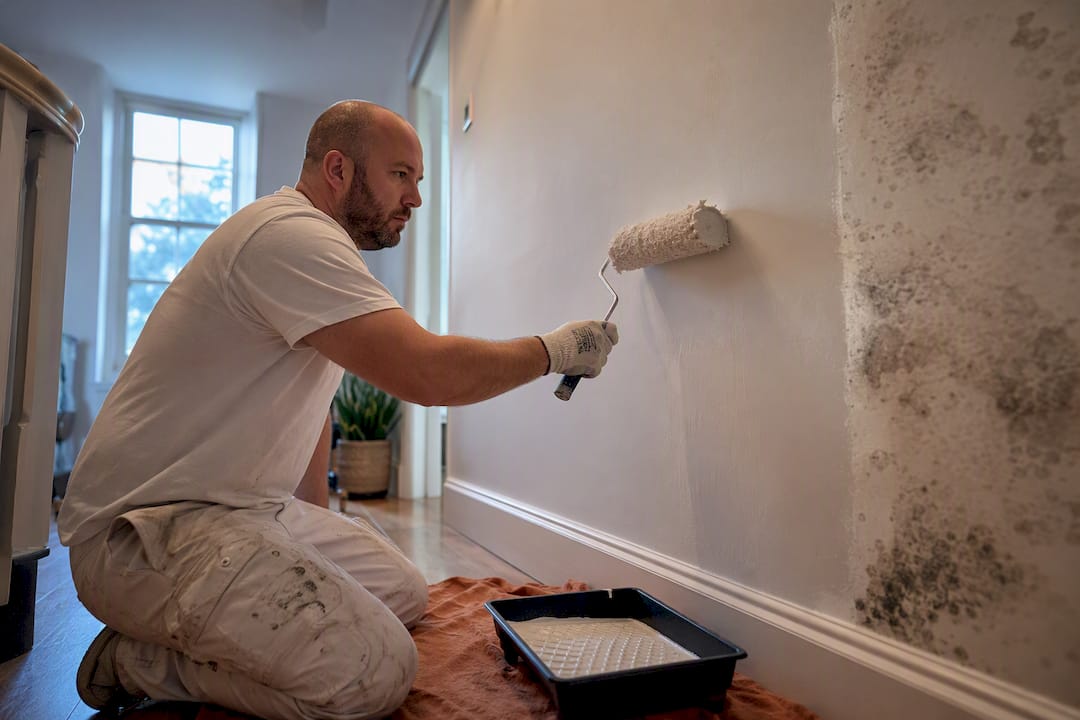
Don’t paint over active mould. You need to remove it and dry the wall first, then prime and paint. If the patch is small and only on the surface, a fungicidal wash followed by proper drying usually sorts it. If the drywall feels soft, the patch covers more than a small visible area, or there’s a persistent musty smell, get a professional in before you touch a brush.
TL;DR:
For mould patches larger than one square meter or linked to leaks, a professional assessment is necessary, as DIY cleaning may not resolve underlying moisture issues.
Soft or crumbly mould-affected drywall indicates deeper substrate penetration, requiring removal and repair rather than simple cleaning.
Persistent mould reappearance after cleaning suggests the moisture source was never fixed, especially with ongoing condensation, rising damp, or leaks.
Proper drying of walls after cleaning can take several weeks, and testing moisture levels is essential before repainting to prevent re-moulding.
Addressing indoor humidity above 60 percent and improving ventilation are critical to prevent mould from returning, especially in poorly insulated or cold walls.
Table of Contents
Quick, ordered checklist: what to do right now
Before anything else, ventilate the room and move anyone with asthma, allergies, or breathing problems out while you work. Cover or remove furniture and soft furnishings nearby, since mould spores travel further than the visible patch suggests.
Isolate and protect. Close the door to contain spores, open a window, and clear the area of furniture and fabric.
Run the press test. Push a fingertip gently into the affected plaster or drywall. If it gives or feels spongy, you’re dealing with substrate penetration, not a surface stain.
Measure the patch. Roughly gauge the affected area against the widely used 1 square metre / 10 sq ft guidance for calling in a specialist.
Decide: clean it yourself or call a professional, based on that size and the press test result.
Find and fix the moisture source first. Painting over a wall that’s still feeding on a leak or condensation is wasted effort.
Let it dry fully before priming. Skipping this step is the single biggest reason mould jobs fail twice.
Get these six steps right and the rest of the job, priming and painting, becomes fairly straightforward.
How do you know what’s causing mould on your walls?
Most mould in UK homes comes from one of four sources: condensation, a hidden leak, rising damp, or poor ventilation. Working out which one you’ve got matters more than the cleaning product you eventually reach for, because treating the symptom without fixing the cause just buys you a repeat performance in six months.
Condensation mould tends to show up in predictable spots: window reveals, corners where an external wall meets the ceiling, behind wardrobes pushed against cold walls, and above skirting boards in poorly heated rooms. It’s usually black, speckled, and spreads across a fairly flat area rather than following a line.
Leaks and rising damp behave differently. Look for:
Tide marks or brown staining that follows a pipe run, a roofline, or rises from the skirting board in a band.
Bubbling or flaking paint clustered around one specific point rather than spread evenly.
A white, powdery crust (efflorescence) on plaster, which points to salts moving through damp masonry.
A persistent musty smell in a spot with no visible mould yet, often a sign it’s building up behind the surface.
Trace any staining back to its source: check behind furniture, follow pipe runs under sinks and behind radiators, and look up at guttering and roof junctions from outside. Mould that reappears in the same spot within weeks of cleaning, even after a good scrub, usually means the moisture source was never fixed. Condensation and poor ventilation are the most common triggers in UK housing, and no amount of repainting solves that without addressing airflow and heat.
Pro Tip: Run your hand along a suspect wall on a cold morning. If it feels noticeably colder or damper than the surrounding plaster, you’ve likely found a cold bridge, and that’s where condensation mould will keep coming back.
Is it safe to DIY, or do you need a professional?
The press test is your first filter. Push gently on the mouldy patch. If the surface holds firm, you’re likely looking at surface mould that responds well to cleaning. If it dents, crumbles, or feels soft under light pressure, the substrate has been penetrated, and cleaning alone won’t fix it. That section of plasterboard or plaster usually needs cutting out.
Size is the next test. The widely cited rule of thumb is that patches larger than roughly 1 square metre (about 10 sq ft), or mould linked to HVAC systems, sewage contamination, or repeated leaks, call for a remediation specialist rather than a DIY clean-up. Below that threshold, most homeowners can handle it safely with the right precautions.
Watch for these additional red flags:
A smell that persists after cleaning and drying, suggesting hidden mould behind the surface.
Vulnerable occupants in the house, including babies, elderly residents, or anyone with respiratory conditions, which lowers your risk tolerance considerably.
Recurrence within weeks of a previous clean, pointing to an unresolved moisture source.
Mould inside air vents or ductwork, which spreads spores through the whole property when the heating runs.
A professional survey goes further than a fingertip test. Decorators and remediation specialists check behind sockets, tap into cavity walls with moisture meters, and map humidity readings across a room rather than judging by eye. That’s the kind of detail that separates a job that lasts from one that needs redoing by autumn.
How do you clean and treat mould safely before painting?
Ventilation and protection come first, always. Open windows, wear a fitted mask (an FFP2 or FFP3 respirator, not a flimsy paper one), disposable gloves, and eye protection. Mould spores become airborne the moment you disturb them, and breathing them in repeatedly is not something to shrug off.
Contain the area. Close doors, cover flooring nearby, and keep pets and children out while you work.
Choose your cleaner. A dedicated fungicidal wash is the safest bet for painted surfaces, as bleach can be misused on painted walls and cause adhesion problems later. White vinegar works on light surface mould and is gentler on older paintwork, but it’s weaker against ingrained staining. Specialist mould removers sit in between: effective, but always check they’re suitable for the wall finish first.
Apply and dwell. Follow the product’s dwell time rather than wiping immediately. Rushing this step is the most common reason people re-clean the same patch a week later.
Scrub gently, then rinse. Use a soft brush or cloth, avoid soaking the wall, and rinse with clean water on a barely damp cloth.
Dispose of materials properly. Bag sponges, cloths, and any removed material rather than leaving them to dry out and release spores again.
Stop and reassess if the stain won’t lift or the wall feels wet through, rather than pushing on with more product.
Over-wetting is the trap most people fall into. Soaking a wall to “make sure it’s really clean” just adds moisture to a surface that’s already had a mould problem, which extends your drying time and risks pushing dampness deeper into plaster or plasterboard.
Pro Tip: Test your cleaner on a small hidden patch first, especially on older painted walls. Some fungicidal washes can lift or dull certain paint finishes, and you’d rather find that out on a skirting board than the middle of a feature wall.
How long does a wall need to dry before you paint?
Timelines vary enormously depending on what you’re dealing with. Surface mould on a wall that’s otherwise dry can be ready to prime within a few days, while a wall with underlying damp, the kind linked to a leak or rising damp, can take several weeks to dry out fully. Painting too early is one of the most common reasons homeowners find themselves redoing the same wall twice in a year.
A few checks tell you whether the wall is genuinely ready:
The press test, repeated. A wall that felt soft when wet should feel firm and solid once fully dry.
A hygrometer reading, if you have access to one, gives a proper moisture percentage rather than a guess.
The hair-dryer spot test. Warm a small patch for thirty seconds; if condensation beads on the surface immediately after, there’s still moisture trapped underneath.
Colour and texture. Damp plaster often looks darker and feels cool to the touch compared with surrounding dry areas.
Dehumidifiers and gentle heating speed things up considerably, but don’t crank the heat and seal the room completely. That traps humidity rather than shifting it. Crack a window, run a dehumidifier, and let air actually move through the space.
Painting over a wall that isn’t fully dry traps moisture behind the new paint film. That’s when you get bubbling, peeling, and mould reappearing within weeks, exactly the outcome you were trying to avoid in the first place.
What primer and paint actually work on previously mouldy walls?
Fungicidal primers and mould-resistant topcoats do different jobs, and mixing them up is where a lot of repaint jobs go wrong. A fungicidal primer is treated to resist mould growth on the primer coat itself, and it’s what you apply directly onto a cleaned, fully dried wall before anything else. A mould-resistant topcoat is the finish coat, formulated to resist future moisture and mould once the wall’s already sound.
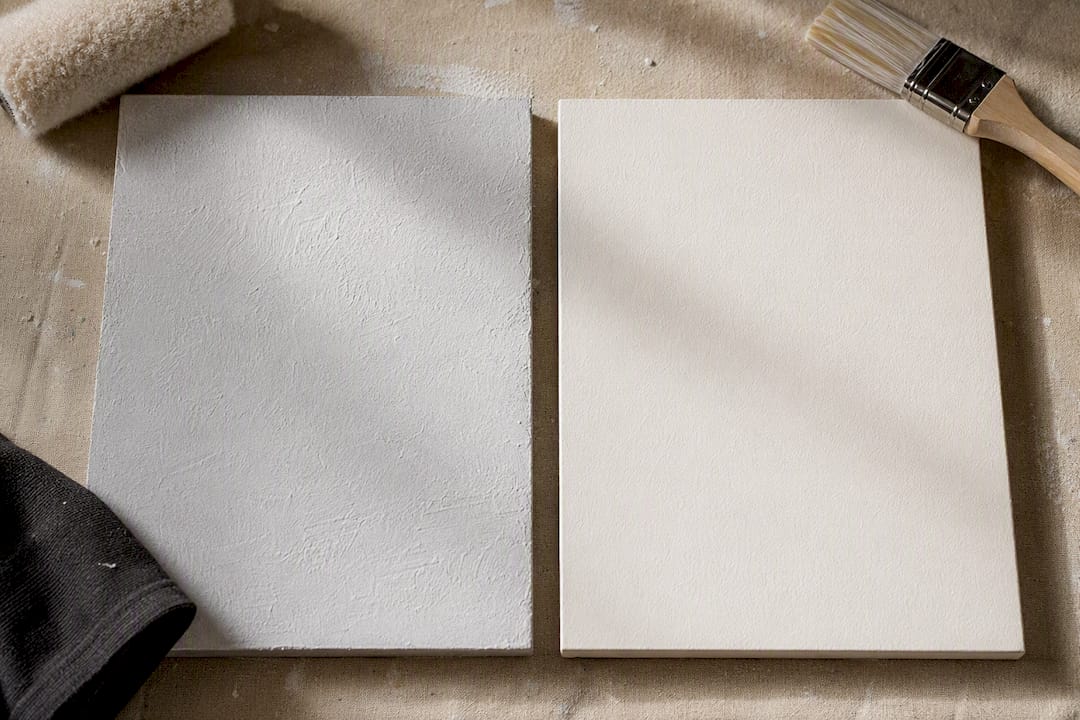
Mould-resistant paints only work as a preventative layer on a surface that’s already clean and dry. They’re not a fix for active mould, and treating them as one is the single most common cause of homeowners redoing a wall within the year. Zinsser’s PermaWhite range is a widely used example, designed to be applied only once the substrate is genuinely clean and dry, not as a shortcut past remediation.
When choosing products, prioritise:
Breathability, particularly in older or solid-walled UK properties where trapped moisture behind an impermeable paint film causes its own problems.
Washability, useful in kitchens, bathrooms, and children’s bedrooms where surfaces get wiped down regularly.
Low VOC formulations, especially in bedrooms and smaller rooms with limited ventilation.
Stain-blocking properties, if the old mould left a visible tide mark that plain paint won’t fully cover.
On finish and colour, matt and flat finishes hide minor surface imperfections left after patch repairs, while satin and semi-gloss stand up better to condensation-prone rooms like bathrooms. Whatever you choose, check compatibility with damp-proofing products already on the wall before layering anything new on top.
How do you paint over treated mould step by step?
Once the wall is clean, dry, and tested, the sequence itself isn’t complicated. Rushing any single stage is what causes callbacks.
Remove loose material. Scrape away any flaking paint or crumbling plaster, then fill holes or gouges with a suitable filler and leave to cure fully.
Sand back. Sand the filled areas and any rough patches until they’re flush with the surrounding wall, then wipe down with a damp cloth to lift dust.
Apply the fungicidal primer. Follow the manufacturer’s recoat time exactly. Most primers need several hours minimum before a second coat or topcoat goes on, and rushing this step affects adhesion.
Apply your topcoat. Two coats is standard for even coverage and lasting colour, applied in thin, even layers rather than one thick pass that risks drips and uneven drying.
Let it cure fully. Curing takes longer than drying, sometimes several days, before the paint reaches full hardness and washability.
Check and touch up. Look at the wall in daylight from a few angles once cured, and touch up any thin patches missed on the first pass.
A thorough wall preparation checklist before you even open a primer tin saves more rework than any product choice further down the line.
How do you stop mould coming back after repainting?
Prevention comes down to controlling moisture, not fighting mould after it’s already there. Indoor humidity above roughly 60% for sustained periods creates the conditions mould needs, so keeping rooms nearer 40 to 50% makes a genuine difference. A cheap hygrometer costs very little and tells you far more than guesswork.
Ventilation fixes matter more than most homeowners expect:
Extractor fans in bathrooms and kitchens, run during and for a good while after showers or cooking.
Trickle vents kept open, even in winter, rather than sealed shut to save heat.
Drying laundry outdoors or in a ventilated space, since indoor drying racks push huge amounts of moisture into the air.
Gaps around furniture and cold walls, leaving a few centimetres of airflow behind wardrobes and beds.
Insulation and thermal bridging are the less obvious culprits. A cold external wall, particularly in solid-walled Victorian and Edwardian properties common across the South West, condenses moisture from warm indoor air the moment temperatures drop. If mould keeps returning to the same wall despite good ventilation habits, that’s usually a sign it’s time to commission a proper building survey rather than reach for another tin of paint.
How do professionals approach mould before decorating?
A professional survey doesn’t stop at a fingertip press test. Decorators and remediation specialists check behind sockets, probe with moisture meters at multiple points, and look for patterns across a whole room rather than judging one visible patch in isolation. That mapping often reveals a cold bridge or hidden leak that explains why a DIY clean kept failing.
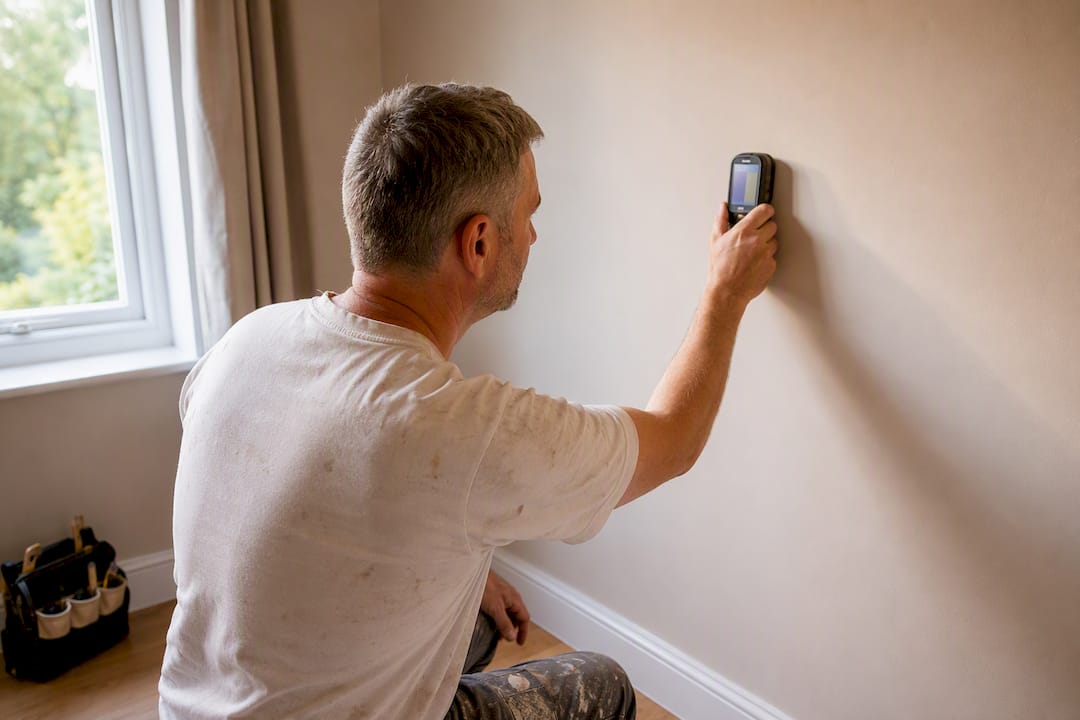
The typical professional sequence runs: contain the area, remove or repair affected material, dry the substrate properly using industrial dehumidifiers where needed, then prime and paint once moisture readings confirm the wall is genuinely ready. Skipping the drying stage is the most common reason a DIY job needs redoing.
Professional painting and decorating services can handle cleaning affected surfaces, managing drying, carrying out minor repairs, and finishing with a proper repaint once the wall is sound. Customer reviews commonly describe finishes that hold up well after difficult jobs, which is the standard a mould repaint needs to meet.
A note from Angus on getting this right
The approach that actually works never changes: diagnose the cause, treat the mould, dry the wall properly, then prime and paint. Skip a step and you’re just delaying the same job.
The pitfall we see most often is homeowners reaching for a tin of mould-resistant paint the same afternoon they’ve scrubbed a wall, while it’s still damp underneath. That’s not a shortcut, it’s a guarantee of doing it twice. If you’re unsure whether a patch is surface-level or something deeper, get a quote and a proper look before you commit to paint.
— Angus
How Abrushwithgus can help with mould, drying and redecorating
If the press test worries you, or the patch is bigger than a square metre, that’s exactly when a professional eye earns its keep rather than another trip to the DIY shop.

Hiring professional services is an alternative to piecing together your own clean, dry, prime, and paint sequence across several weekends. We handle the whole job as one process: mould cleaning and treatment, proper drying, minor plaster repairs, and a full repaint once the wall’s genuinely ready, so you’re not guessing whether it’s safe to pick up a brush. For homes where the mould’s linked to external penetration or weatherproofing issues, our exterior home service covers the outside causes too, and for domestic properties across Cornwall and the South West, we quote the job properly before any work starts, so there are no surprises on drying time or scope once we’re on site.
If you’ve spotted mould and you’re not sure whether it’s a Saturday job or a job for us, get in touch for a quote. We’ll tell you straight which one it is.
Sources
Recommended
Comments