
What is wall priming: a homeowner's guide
TL;DR:
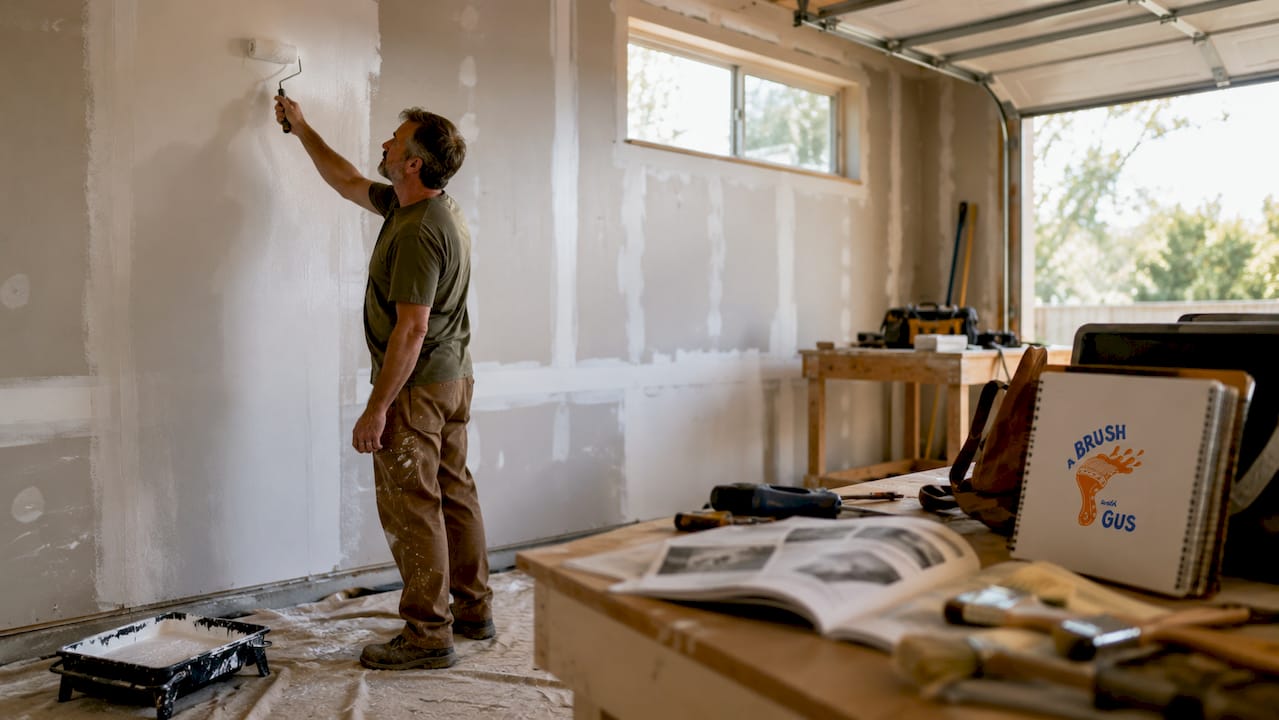
Wall priming prepares surfaces by sealing porosity, improving adhesion, and blocking stains for longer-lasting paint. It is essential on bare, repaired, stained, or glossy surfaces but can be skipped on previously painted, sound walls with no stains. Proper priming ensures a durable, even finish and prevents early paint failure.
Wall priming is the application of a preparatory coating to a surface before paint, creating a sealed, stable base that improves adhesion, blocks stains, and prevents premature failure. Without it, even the most expensive topcoat will underperform. Proper surface preparation, including priming, accounts for 40–60% of total project time and directly determines how long your paint lasts. Skip it, and you are likely looking at peeling, blotching, or stain bleed-through within a few years.
What does wall priming actually do to a surface?
Wall priming works differently from paint, and that distinction matters. Primer chemistry is designed to bond to the substrate and seal its porosity. Paint chemistry is designed to deliver colour, sheen, and UV resistance. The two jobs require different formulations.
Porous surfaces like bare drywall, fresh plaster, and masonry absorb liquid unevenly. When you apply paint directly to them, it soaks in at different rates and produces a patchy, uneven finish known as “flashing.” Primer seals those pores first, giving the topcoat a consistent surface to sit on.
Primer also creates mechanical adhesion. It grips the substrate and gives the paint something to lock onto. On a glossy or contaminated wall, paint has no grip and will eventually peel. Primer solves that before it becomes a problem.
Stain blocking is another core function. Water stains, nicotine marks, and tannin from bare wood will bleed through standard paint no matter how many coats you apply. A dedicated stain-blocking primer traps those compounds beneath the surface.
Key benefits of wall priming at a glance:
Seals porous drywall, plaster, and masonry for an even finish
Improves paint adhesion and reduces the risk of peeling
Blocks stains, tannins, and water marks from bleeding through
Creates a uniform base that reduces the number of topcoats needed
Improves the overall durability of the finished paint job
Pro Tip: High-quality primers carry a pigment volume concentration of 35–50% and typically cover 200–300 square feet per gallon, with a recoat window of around one hour. Check the label before you buy, because a low-PVC primer will not seal a porous surface effectively.
When is wall priming necessary?
Priming is not always required, but knowing when to skip it and when to use it is the difference between a lasting finish and an early repaint. The following scenarios call for a dedicated primer every time.
Bare or new surfaces. Fresh drywall, new plaster, and bare masonry are all highly porous. Paint applied directly will soak in unevenly, look patchy, and fail to bond properly. A PVA-based or water-based primer is the correct first step.
Patched or repaired walls. Filler and plaster patches are more porous than the surrounding wall. Without spot-priming at minimum, those patches will show through the topcoat as dull, flat areas.
Major colour changes. Going from a deep charcoal to a pale cream without primer means applying coat after coat of topcoat to achieve coverage. Tinted primer closes that gap far more efficiently.
Stained or damaged walls. Water damage, smoke, nicotine, and marker pen all require a shellac-based or oil-based stain-blocking primer. Standard paint will not contain them.
Glossy or non-porous surfaces. Gloss paint, tiles, and some plastics need a bonding primer to give the topcoat something to grip. Without it, wrong primer choice leads directly to peeling.
When can you skip priming?
Previously painted walls in good condition, with no staining, no major colour change, and no peeling, can often be repainted without a dedicated primer. A light sand and a clean surface are still required. Many homeowners reach for “paint and primer in one” products in these situations. These combination products work well for repainting sound, previously painted walls. They cannot replicate the sealing and adhesion properties of a dedicated primer on bare drywall or stained surfaces. Use them only where the wall genuinely does not need a full prime.
Pro Tip: When making a significant colour change, tint your primer to approximately 50% of the finish colour. This reduces the number of topcoats you need and saves both time and paint cost. Ask your paint supplier to tint it when you buy.
How to prime walls properly: a step-by-step guide
Getting the application right matters as much as choosing the correct primer. Follow these steps and you will give your topcoat the best possible foundation.
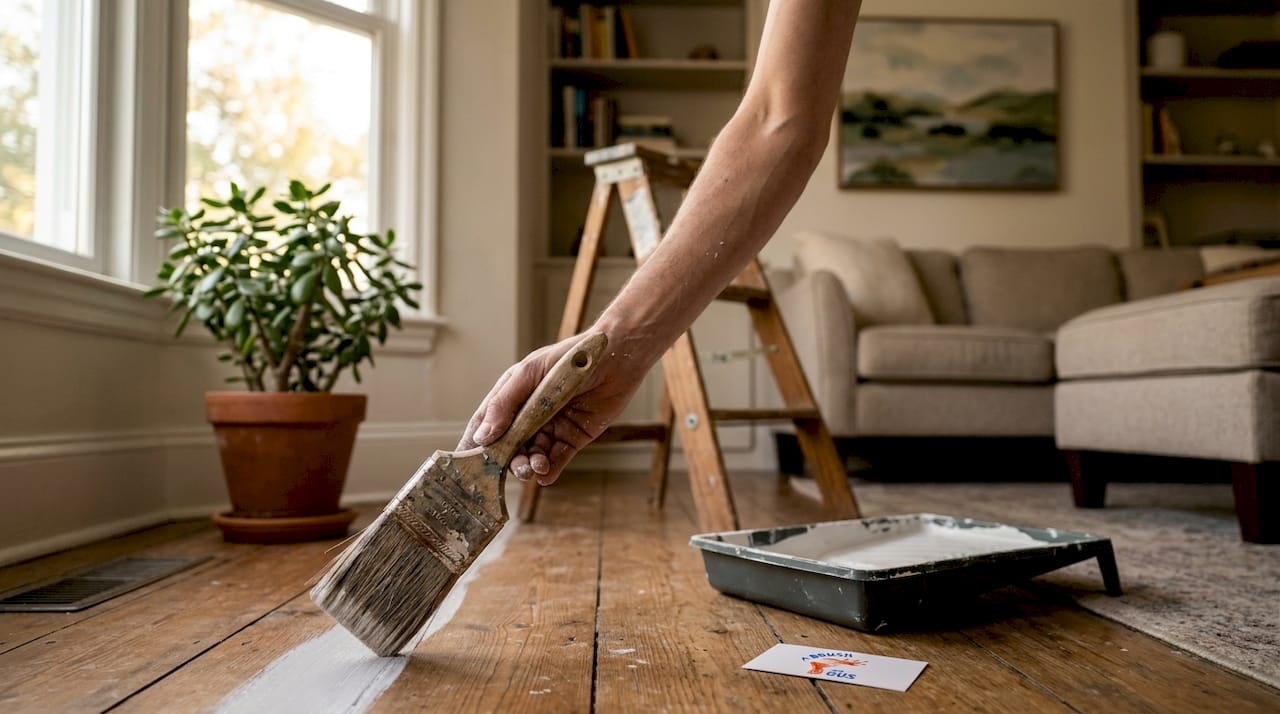
Step 1: Clean the surface thoroughly. Grease, dust, and grime prevent primer from bonding. Wash walls with a sugar soap solution and allow them to dry completely before you do anything else.
Step 2: Repair any damage. Fill cracks and holes with a suitable filler. Sand smooth once dry. Feather the edges so the repair blends into the surrounding wall. Do not skip this step, because primer will not hide physical defects.
Step 3: Sand glossy surfaces. If the existing paint has a sheen, lightly sand the wall with 120-grit sandpaper. This gives the primer a key to grip. Wipe away dust with a damp cloth and allow to dry.
Step 4: Choose the right primer. Match the primer to the surface and the problem. Bare drywall needs a water-based primer. Stained walls need a stain-blocking primer. Glossy surfaces need a bonding primer. More on this in the next section.
Step 5: Apply primer with the right tool. Use a brush to cut in around edges, architraves, and corners. Use a medium-nap roller (10–12mm) for large flat areas. Apply in a consistent direction and avoid overworking wet primer.
Step 6: Allow full drying time. Most water-based primers are touch-dry within one hour, but check the manufacturer’s guidance for recoat times. Applying topcoat too soon traps moisture and causes adhesion problems.
Common mistakes to avoid:
Applying primer to a damp or dirty surface
Using a single thin coat on highly porous surfaces (apply two coats where needed)
Painting over primer before it has fully cured
Using a roller with too fine a nap, which leaves insufficient film thickness
Assuming one primer type suits every surface
Pro Tip: On bare plaster, apply a mist coat first. Dilute water-based primer or emulsion with water at roughly a 70:30 ratio. This seals the surface gently without trapping moisture, which full-strength primer can sometimes do on very fresh plaster.
For a broader look at professional painting techniques, the Abrushwithgus blog covers application methods in detail.
What types of primer are there, and which should you use?
Choosing the wrong primer is the most common cause of paint failure. Each primer type is formulated for a specific substrate or problem, and treating them as interchangeable leads to peeling, staining, and poor coverage.
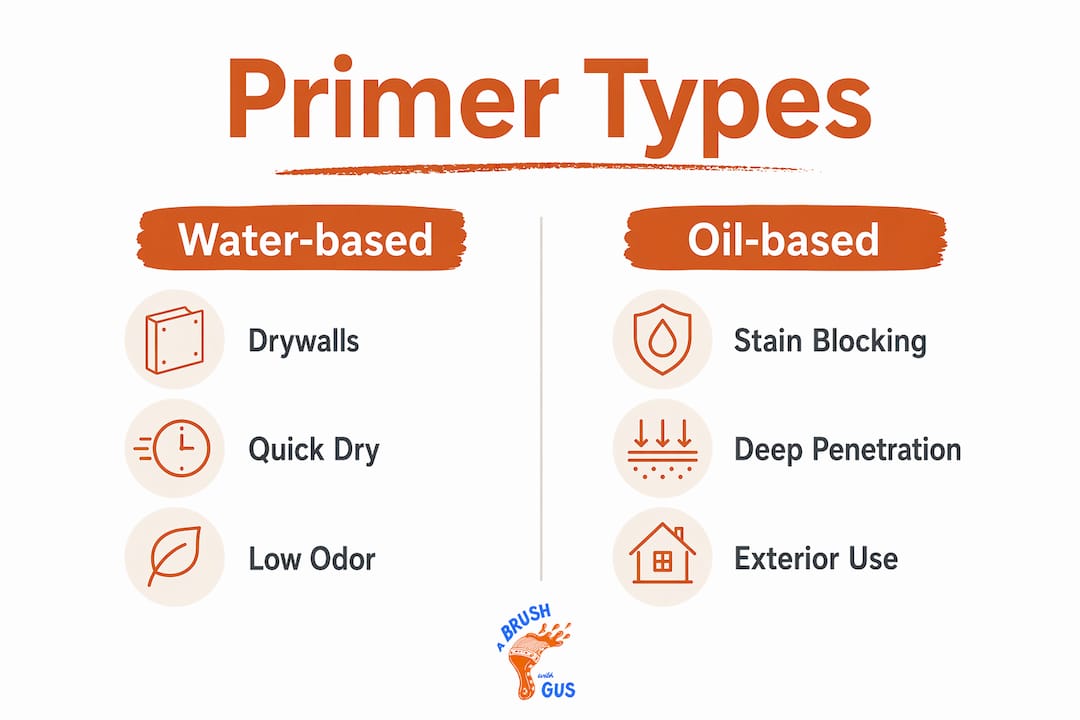
Primer type | Best used for | Key advantage |
Water-based (acrylic) | Bare drywall, plaster, previously painted walls | Low odour, fast drying, easy clean-up |
Oil-based | Bare wood, metal, heavily stained surfaces | Superior penetration and stain blocking |
Shellac-based | Severe stains, smoke, nicotine, water damage | Blocks virtually any stain; fast drying |
Bonding primer | Glossy paint, tiles, non-porous surfaces | Adheres where standard primers cannot |
PVA primer | Fresh plaster, porous masonry | Seals high-absorption surfaces before painting |
Water-based acrylic primers suit most interior walls and ceilings. They dry quickly, produce low odour, and clean up with water. They are the right choice for bare drywall and previously painted surfaces in reasonable condition.
Oil-based primers penetrate deeper and block stains more effectively than water-based alternatives. They are the correct choice for bare timber, metal, and heavily marked walls. The trade-off is longer drying time and stronger fumes, so ventilation is non-negotiable.
Shellac-based primers are the most powerful stain blockers available. They seal nicotine, smoke damage, and severe water stains that oil-based primers sometimes cannot contain. They dry fast but require methylated spirits for clean-up.
Bonding primers use a chemical grip to adhere to surfaces that would otherwise reject paint. Glossy walls, tiles, and some plastics all benefit from a bonding primer before any topcoat is applied.
Pro Tip: Do not assume a “universal” primer covers every scenario. Different primers suit different surfaces, and a product marketed as all-purpose will often underperform on bare drywall or severe stains. Read the technical data sheet before committing.
Key takeaways
Wall priming is the single most important preparatory step in any painting project, and skipping it causes paint failure within 1–3 years on most surfaces.
Point | Details |
Primer seals and bonds | Primer seals porous surfaces and creates mechanical adhesion that paint alone cannot achieve. |
Match primer to surface | Water-based suits drywall; shellac-based blocks severe stains; bonding primer grips glossy surfaces. |
Prep before priming | Clean, repair, and sand walls before applying primer or the coating will not bond correctly. |
Tint primer for colour changes | Tinting primer to 50% of the finish colour reduces topcoats needed and cuts paint cost. |
Combination products have limits | Paint-and-primer-in-one products work on sound painted walls but cannot replace dedicated primer on bare or stained surfaces. |
Why I always prime, even when clients think it is unnecessary
Homeowners often ask me whether priming is really worth the extra day. My honest answer is that the question itself reveals a misunderstanding of what primer does. Paint is not designed to bond to raw surfaces. Primer is. Treating them as interchangeable is the single most common reason paint jobs fail early.
The most frequent mistake I see on DIY projects is painting over a patched wall without spot-priming the repairs. The filler absorbs paint at a completely different rate from the surrounding wall. The result is a finish that looks fine when wet and then reveals every patch once dry. A quick coat of primer on each repair before the topcoat costs ten minutes and prevents that entirely.
Tinting primer is another technique most homeowners miss. When a client wants to go from a dark navy to a warm white, I always tint the primer to a mid-grey or light cream. It closes the gap between the old colour and the new one, and it means two topcoats instead of four. That saves real money and real time.
The broader point is this: thorough surface preparation is what separates a paint job that lasts a decade from one that starts peeling in two years. Primer is not an optional extra. It is the foundation everything else depends on.
— Angus
Professional priming and painting by Abrushwithgus

Getting primer right on exterior walls is harder than it looks. Surfaces face rain, temperature swings, and UV exposure that interior walls never encounter. The prep standards required are higher, and the consequences of skipping steps are faster and more visible.
Abrushwithgus provides exterior home painting across the South West, with thorough surface preparation and correct primer selection built into every project. Brothers Gus and Rhys bring years of hands-on experience to every job, using quality primers matched to the specific substrate and condition of your home. If you want a finish that holds up to the South West weather without peeling or fading prematurely, get in touch with Abrushwithgus for a quotation.
FAQ
What is wall priming in simple terms?
Wall priming is applying a preparatory coating before paint to seal the surface, improve adhesion, and block stains. It gives the topcoat a stable, consistent base to bond to.
Is wall priming necessary for every paint job?
Priming is necessary for bare, patched, stained, or glossy surfaces. Previously painted walls in good condition with no major colour change can sometimes be repainted without a dedicated primer.
How long does primer take to dry before painting?
Most water-based primers are touch-dry within one hour, though full cure time varies by product and conditions. Always check the manufacturer’s recoat guidance before applying your topcoat.
Can I use paint and primer in one instead of a separate primer?
Combination products work on sound, previously painted walls. They cannot replace dedicated primers on bare drywall, fresh plaster, or stained surfaces where sealing and adhesion are critical.
What happens if you skip priming?
Skipping primer leads to poor adhesion, uneven coverage, stain bleed-through, and premature paint failure. Paint applied without primer on a porous or contaminated surface typically fails within 1–3 years.
Recommended
Comments