
Step by step home decorating: your complete guide

TL;DR:
Following a structured decorating sequence prevents costly mistakes and ensures cohesive design. Preparing thoroughly by measuring, planning, and choosing an anchor piece helps homeowners make confident choices in a logical order. Phased, deliberate work across rooms creates a harmonious, personalized home that reflects thoughtful planning.
Step by step home decorating is the process of methodically enhancing your living space by coordinating design choices from initial style definition through to final accessories, ensuring both function and aesthetic harmony. Most homeowners who struggle with decorating skip the planning phase entirely and buy furniture before measuring a single wall. A structured interior decorating approach, built around mood boards, room layout planning, and realistic budget allocation, prevents that costly cycle of returns and regrets. This guide walks you through every stage, from prerequisites to finishing touches, so you can create a cohesive, personalised home with confidence.
What do you need before starting home decorating?
Preparation is the single biggest predictor of a successful decorating project. Homeowners who skip this stage spend more money, make more returns, and take far longer to finish. Before you buy a single item or open a tin of paint, complete these four preparation steps.
Create a priority list of rooms. Ranking rooms by renovation intensity helps manage your budget and reduces disruption, letting you live comfortably in untouched areas while work progresses. Score each room from 1 to 5 based on how urgently it needs attention and how much work it requires.
Set a realistic budget with a contingency. DIY materials for a standard room cost between £80 and £150, and first-timers should allow 12–14 hours for preparation and painting a typical 12x12 bedroom. Add at least 15% on top of your estimated total for unexpected costs such as filler, primer, or additional coats.
Gather your tools and inspiration. You will need a tape measure, graph paper or a free floor-planning app, painter’s tape, and a mood board. A mood board takes roughly 30 minutes to create and prevents expensive aesthetic mistakes by letting you test colour and texture combinations before spending money. Collect paint swatches, fabric samples, and magazine clippings or digital images.
Audit your existing style. Walk through your home and note what you already own and love. This tells you whether your natural direction is contemporary, traditional, Scandi, or something else entirely. Knowing your style before you shop stops impulse purchases that clash with everything else.
Here is a quick-reference overview of the core tools and materials you need at the preparation stage:
Category | What you need | Purpose |
Measuring | Tape measure, graph paper | Accurate room dimensions and layout planning |
Painting prep | Painter’s tape, dust sheets, filler | Surface protection and clean edges |
Inspiration | Mood board, paint swatches, fabric samples | Colour and texture testing before purchase |
Budget | Spreadsheet or notebook | Track spend and contingency allocation |
Planning | Floor-planning app or grid paper | Furniture layout before buying |
For a deeper look at the residential painting process before you start, Abrushwithgus has a detailed guide covering preparation through to final coat.
How to plan your room layout and style direction
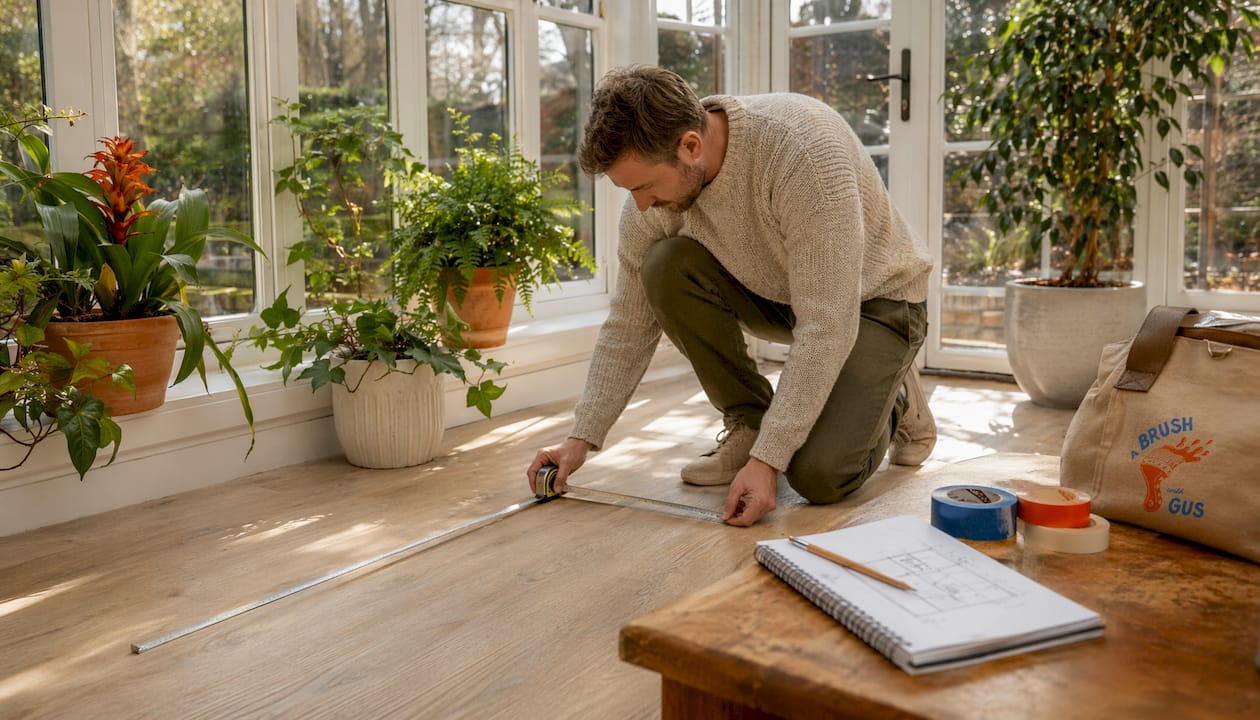
Measuring every room before buying a single piece of furniture is non-negotiable. Write down the length, width, and ceiling height of each room, and note the position of doors, windows, radiators, and sockets. These fixed points dictate where furniture can realistically go.
Mapping your layout
Use painter’s tape or a digital tool to mark furniture footprints on the floor before committing to any purchase. The rule of thumb is to maintain at least 30 inches of walking space between pieces. That clearance prevents a room from feeling cramped and keeps traffic flow natural. A living room with a 3-metre sofa and no clear path to the door is a common and entirely avoidable mistake.
Choosing your colour palette
Every room needs three colour roles: a base, a secondary, and an accent. Your base colour covers the largest surfaces, typically walls and large furniture. The secondary appears on soft furnishings and smaller furniture. The accent is used sparingly on cushions, artwork, and accessories. Consistent base colours across rooms maintain visual unity throughout the whole home, so the space feels connected rather than like a series of unrelated rooms.
Building your mood board
Pin or paste your paint swatches, fabric samples, and inspiration images together before making any purchases. Step back and look at the board as a whole. If anything jars, replace it now rather than after you have bought it. Mood boards are the cheapest design tool available, and they save far more money than they cost in time.
Pro Tip: Photograph your mood board and take it shopping with you. Holding a paint swatch next to a fabric in a shop is far more reliable than trusting your memory of what “warm grey” looks like.
Which decorating steps should you follow from anchor pieces to finishing touches?
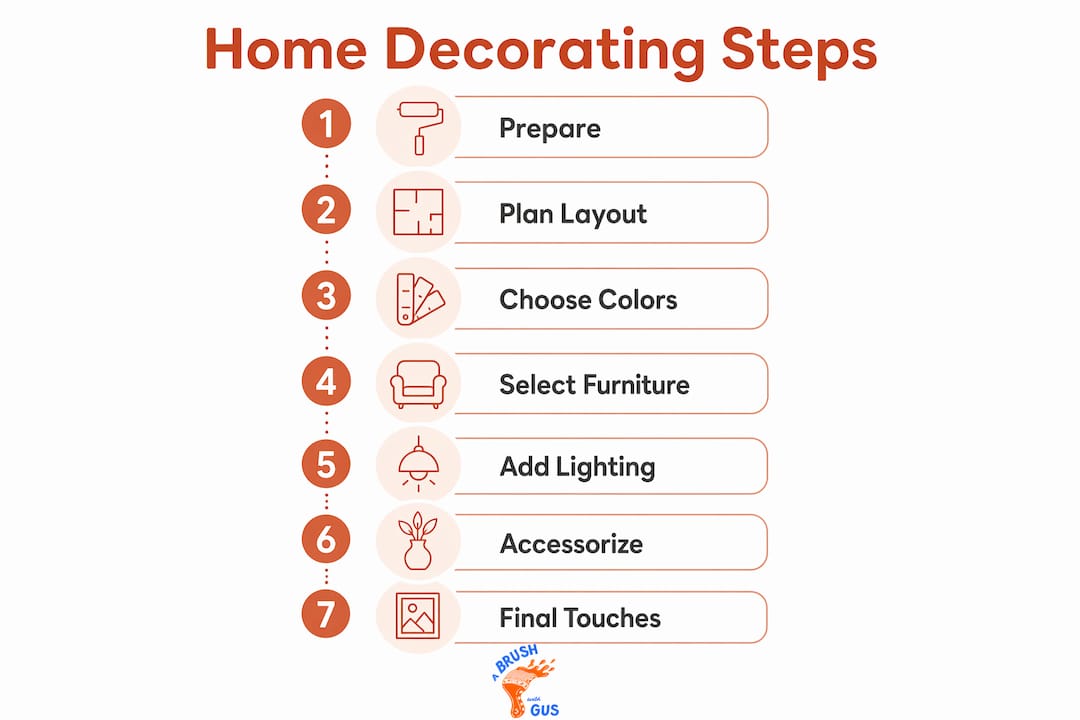
The interior decorating step by step sequence matters as much as the individual choices. Starting in the wrong order, such as painting walls before choosing your sofa, forces you to repaint or return furniture. Follow this sequence to avoid that trap.
Choose your anchor piece first. Starting with a textile, artwork, or rug rather than a sofa defines your colour palette and prevents expensive rematches later. An anchor piece is anything with multiple colours that you love unconditionally. Your wall colour, soft furnishings, and accessories all follow from it.
Select and place large furniture. Once your anchor is chosen, bring in the largest furniture pieces. Position them according to your taped layout, maintaining the 30-inch clearance rule. Large pieces define the room’s scale and set the proportions for everything that follows.
Layer your lighting. Most rooms rely on a single overhead light, which creates flat, unflattering illumination. Layer three types: ambient (general overhead), task (reading lamps, under-cabinet lights), and accent (uplighters, picture lights). Each layer serves a different purpose and together they make a room feel considered and alive.
Hang window treatments at the correct height. Curtains hung at ceiling height rather than just above the window frame make ceilings appear taller and rooms feel larger. Use a rod that extends at least 15 centimetres beyond the window frame on each side so the curtains clear the glass when open and maximise natural light.
Add finishing touches and personal accessories. Accessories are the last layer, not the first. Group objects in odd numbers, vary heights within a group, and leave negative space. A shelf crammed with equal-height objects reads as clutter. Three objects of different heights read as a deliberate arrangement.
Pro Tip: Before buying accessories, live in the room for two weeks after the furniture is placed. You will quickly learn which surfaces attract clutter and which feel naturally empty. Buy accessories to fill the intentional gaps, not every surface.
What are the most common mistakes in home decorating?
Even well-planned projects hit problems. Knowing the most frequent mistakes in advance lets you sidestep them entirely.
Buying furniture before measuring. This is the single most common and most expensive mistake in step by step house painting and decorating projects. A sofa that is 10 centimetres too wide for a wall cannot be returned once it has been delivered and unwrapped.
Ignoring room-to-room flow. Decorating each room as a standalone project produces a home that feels disjointed. Carry at least one colour or material through every room to create a visual thread.
Underestimating hidden costs. Paint, filler, primer, dust sheets, brushes, and rollers add up quickly. Budget for these consumables separately from your furniture and accessory spend.
Skipping decluttering. Decorating around existing clutter means you never see the room clearly. Clear every surface and remove items you no longer want before you begin.
Rushing a multi-room project. A whole-home redesign typically spans an 8-month phased timeline, moving progressively through kitchen and dining areas, bathrooms, living spaces, and final details. Trying to do everything at once leads to budget overruns and decision fatigue.
For painting specifically, remove painter’s tape at a 45-degree angle while the paint is still slightly tacky. Waiting until the paint is fully dry causes it to peel away with the tape. Store any leftover paint in a labelled tin for future touch-ups. That one habit saves you from repainting an entire wall to fix a single scuff.
“The most expensive decorating mistake is not the wrong sofa or the wrong paint colour. It is starting without a plan and making every decision reactively. A clear sequence, even a rough one, saves more money than any discount ever will.”
For new homeowners tackling painting for the first time, the 10-step painting guide from Abrushwithgus covers preparation through to final coat in plain language.
Key takeaways
A successful step by step decorating process depends on sequencing decisions correctly, from anchor piece selection through to accessories, with consistent planning at every stage.
Point | Details |
Prepare before you purchase | Measure every room and build a mood board before buying furniture or paint. |
Anchor piece first | Choose a rug, artwork, or textile to define your palette before selecting wall colours. |
Maintain 30-inch clearance | Map furniture with painter’s tape to confirm walking space before any delivery. |
Phase multi-room projects | Rank rooms by priority and work through them sequentially to protect budget and reduce disruption. |
Remove tape at 45 degrees | Pull painter’s tape while paint is tacky to protect edges and avoid peeling. |
What I have learned from years of decorating homes
The advice that most guides skip is this: the sequence matters more than the individual choices. I have seen homeowners spend weeks agonising over the perfect shade of grey for their living room walls, only to choose a sofa that clashes with it entirely because they painted first. The anchor piece principle is not a stylistic preference. It is a practical system that prevents the most common and most expensive decorating errors.
The other thing I have noticed is that people underestimate patience. A room that looks “almost right” after the furniture is placed will often resolve itself once the curtains go up and the lighting is layered. Resist the urge to fill every surface immediately. Negative space is not emptiness. It is breathing room, and it makes the pieces you do display look deliberate rather than desperate.
For whole-home projects, the phased approach is the only one that works without burning out or blowing the budget. Focus on one room completely before moving to the next. The satisfaction of finishing a room properly fuels the motivation to start the next one. Trying to do everything at once produces a house full of half-finished rooms and a homeowner who has lost all enthusiasm for the project.
Cohesion across rooms is the mark of a well-decorated home. Carry a colour, a material, or a finish through every space. It does not need to be identical. A warm oak tone in the kitchen, repeated in a picture frame in the hallway and a side table in the bedroom, creates a thread that ties the whole home together without making it feel monotonous.
— Angus
How Abrushwithgus can help with your decorating project
Decorating a home well takes time, skill, and the right materials. When the painting stage arrives, the quality of the finish depends as much on preparation as on the paint itself.

Abrushwithgus provides domestic interior painting and exterior home services across the South West, carried out by Gus and Rhys with the kind of care that only a family-run business brings to every job. Whether you need a single room refreshed or a whole-house repaint to match your new decorating scheme, the team delivers clean, professional finishes at fair prices. Get in touch for a no-obligation quote and take the stress out of the painting stage entirely.
FAQ
What is the correct order for step by step home decorating?
Start with an anchor piece such as a rug or artwork, then choose wall colours, place large furniture, layer lighting, hang window treatments, and add accessories last. This sequence prevents costly rematches and returns.
How long does a full home decorating project take?
A whole-home redesign typically follows an 8-month phased timeline, working through rooms in order of priority. Rushing the process leads to budget overruns and poor decisions.
How much should I budget for DIY interior painting?
DIY materials for a standard room cost between £80 and £150, and first-timers should allow 12–14 hours for preparation and painting. Add a 15% contingency for consumables such as primer and filler.
Why should I start decorating with an anchor piece?
An anchor piece such as a patterned rug, artwork, or wallpaper panel gives you a fixed palette to work from. Starting with an anchor prevents the common mistake of choosing wall colours in isolation and then struggling to match furniture to them.
How do I keep a consistent style across multiple rooms?
Use consistent base colours or repeating materials such as the same wood tone or metal finish across rooms. This creates visual unity without making every room look identical.
Recommended
Comments